Ap operation – Tripp Lite B051-000 IP User Manual
Page 52
52
LDAP Authentication Settings
LDAP Configuration
AP Operation
To allow authentication and authorization for the B051-000 via LDAPS, do the following:
1. Check Enable in the LDAP Authentication Settings section of the ANMS screen.
2. Select either the LDAP or LDAPS radio button.
3. Check the Enable Authorization check box.
4. Fill in the IP address and port number for the LDAP or LDAPS server. For LDAP, the default port number is 389; for LDAPS, the default port
number is 636.
5. In the Timeout field: Set the time in seconds that the B051-000 waits for an LDAP or LDAPS server reply before it times out.
6. In the LDAP Administrator DN field, set the ‘root’ point for the LDAP manager to bind to the server.
7. In the Search DN field, set the distinguished name of the search base (i.e. the domain name where the search starts for the user name).
8. In the B051-000 Admin Group field, key in the name of the LDAP manager. (This field is optional.)
9. In the LDAP Administrator Password field, key in the LDAP manager’s password. (This field is optional.)
10. On the LDAP server, set the access rights for each user. (See LDAP Configuration below for details on setting up LDAP for use with the
B051-000.)
Active Directory
To allow authentication and authorization for the B051-000 via LDAP
or LDAPS, the Active Directory’s LDAP Schema must be extended
so that an extended attribute name for the B051-000 – permission – is
added as an optional attribute to the person class.
• Authentication refers to determining the authenticity of the person
logging in.
• Authorization refers to assigning permission to use the device’s
various features.
In order to configure the LDAP server, you will have to complete the
following procedures: 1) Install the Windows 2003 Support Tools;
2) Install the Active Directory Schema Snap-in; and 3) Extend and
Update the Active Directory Schema.
Install the Windows 2003 Support Tools
1. On the CD that came with the B051-000, open the Support → Tools
folder.
2. In the right panel of the dialog box that comes up, double click
SupTools .msi.
3. Follow along with the Installation Wizard to complete the
procedure.
Install the Active Directory Schema Snap-in
1. Open a Command prompt.
2. Key in regsvr32 schmmgmt.dll to register schmmgmt.dll
on your computer.
3. Open the Start menu. Click Run and key in mmc /a. Click OK.
4. On the File menu of the screen that appears, click Add/Remove
Snap-in, then click Add.
5. Under Available Standalone Snap-ins, double click Active
Directory Schema, click Close and click OK.
6. On the screen you are in, open the File menu and click Save.
7. For Save in, specify the C:\Windows\system32 directory.
8. For File name, key in schmmgmt.msc.
9. Click Save to complete the procedure.
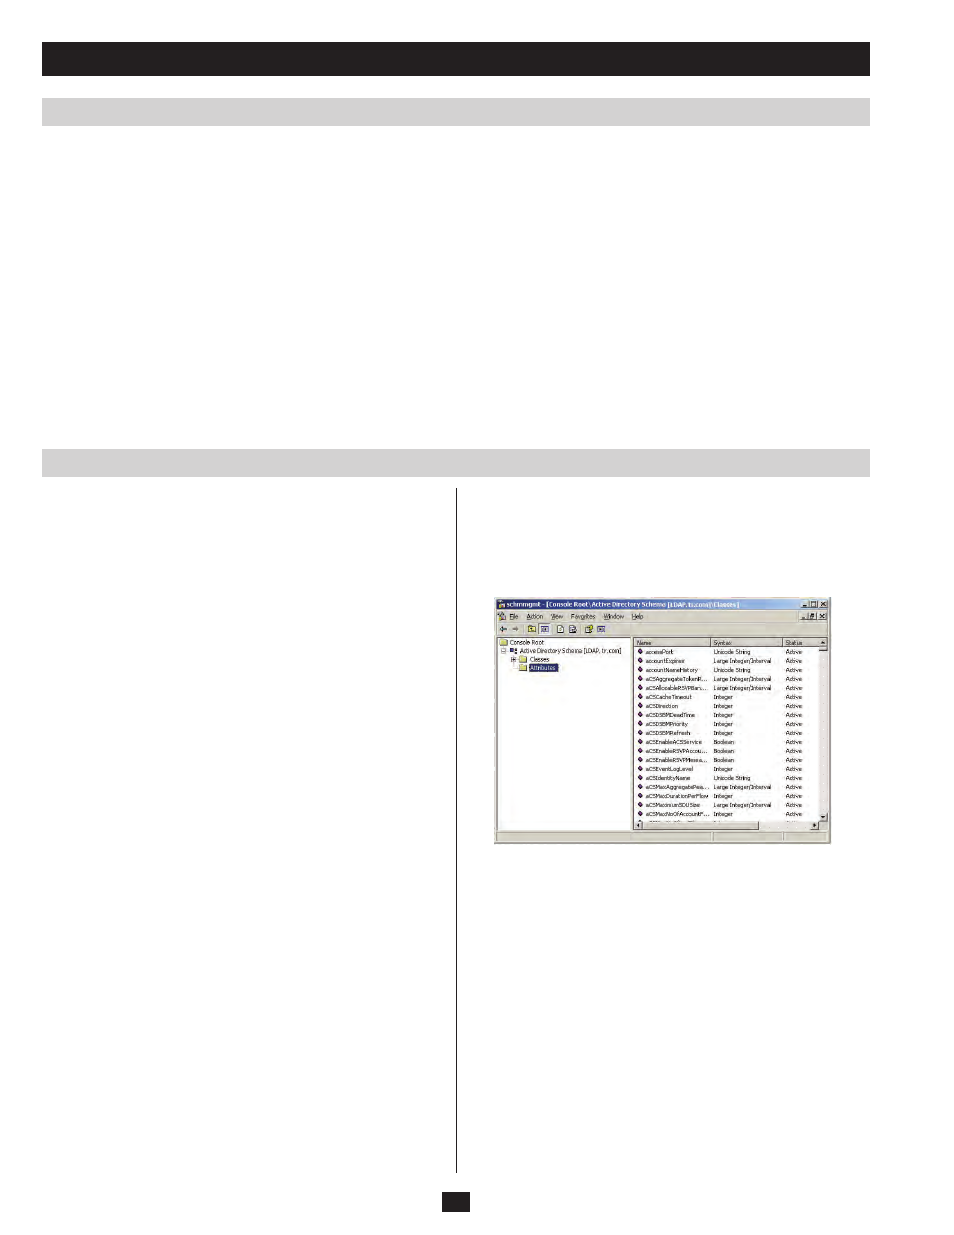
Extend and Update the Active Directory Schema
Step 1 - Create a New Attribute:
a) Open Control Panel
→ Administrative Tools → Active
Directory Schema.
b) In the left panel of the screen that comes up, right-click Attributes:
c) Select New
→ Attribute.
d) In the warning message that appears, click Continue to bring up
the Create New Attribute dialog box.
e) Fill in the dialog box, then click OK to complete Step 1 of the
procedure.