4 connecting the cables to the printer – Toshiba B-SV4T-GS10-QM User Manual
Page 12
2. PRINTER SETUP
ENGLISH VERSION
2.4 Connecting the Cables to the Printer
E2- 3
2.3.2 Turning OFF the
Printer
2.4 Connecting the
Cables to the Printer
1. Before turning off the printer power switch verify that the Indicator
Lamp is illuminated in green, not flashing.
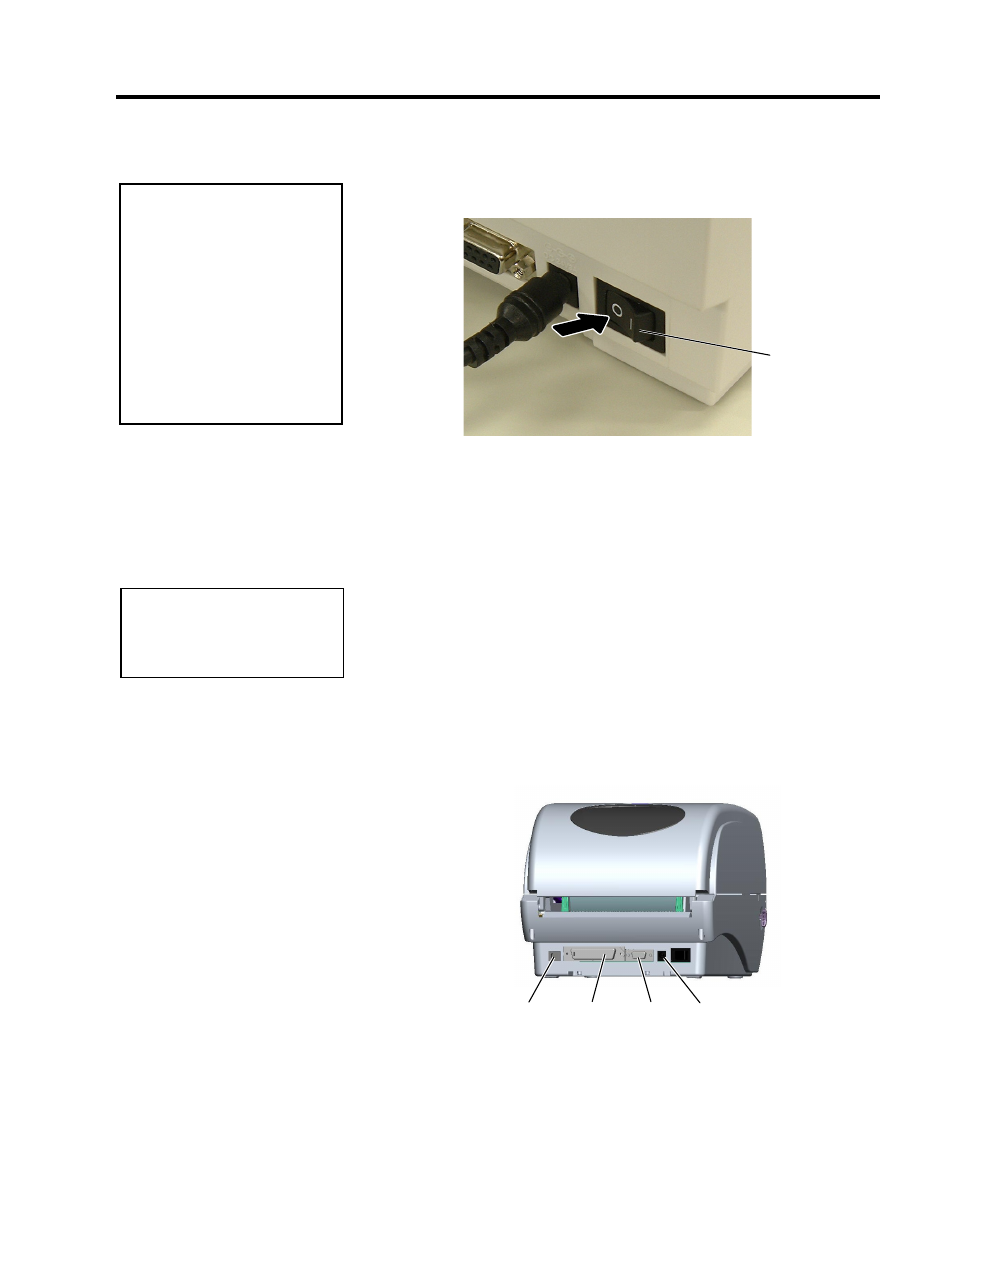
2. To turn OFF the printer power press the power switch as shown in the
diagram below. Note that ( ) is the power OFF side of the switch.
The following paragraphs outline how to connect the cables from the
printer to your host computer, and will also show how to make cable
connections to other devices. Depending on the application software you
use to print labels, there are three possibilities for connecting the printer
to your host computer. These are:
• A serial cable connection between the printer’s RS-232C serial
connector and one of your host computer’s COM ports.
• A parallel cable connection between the printer’s standard parallel
connector and your host computer’s parallel port (LPT).
• A USB cable connection between the printer’s USB interface
connector and one of your host computer’s USB port.
The diagram below shows all the possible cable connections to the
current version of the printer.
USB Interface
Parallel Interface (Centronics)
Serial Interface (RS-232C)
Power Jack
CAUTION!
1. Do not turn off the printer
power while the media is
being printed as this may
cause a paper jam or
damage to the printer.
2. Do not turn off the printer
power while the Green
Indicator Lamp is flashing
as this may cause damage
to the data being
downloaded.
Power Switch
NOTE:
For the specifications of the
serial interface cable, refer to
APPENDIX 2, INTERFACE.