Step 2: designate a capture schedule – Thecus Technology Thecus N199 User Manual
Page 59
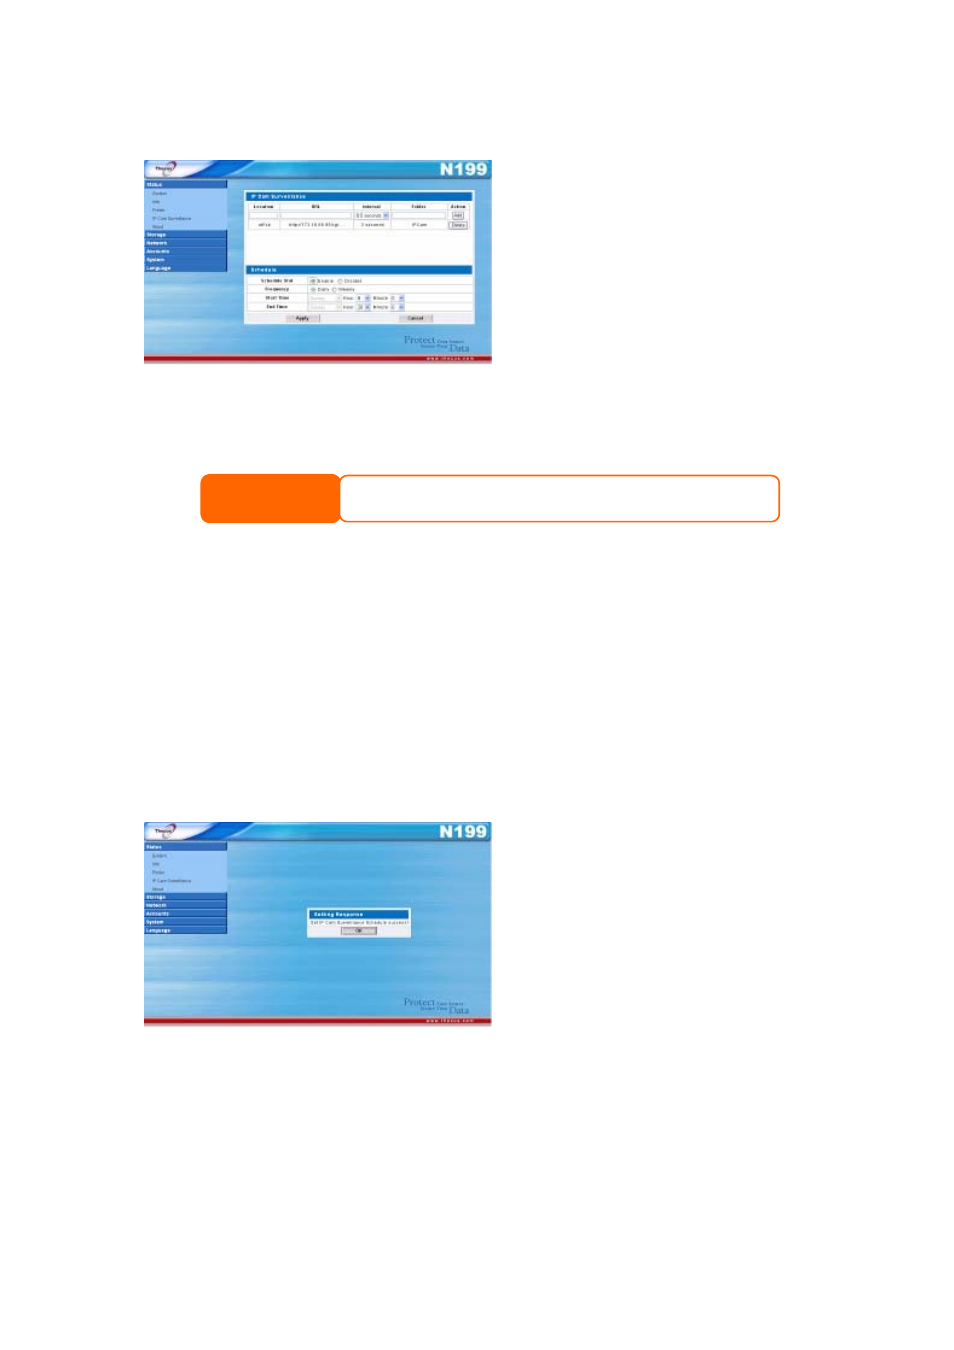
Step 2: Designate a Capture Schedule
Once connected, the next step is to
create a capture schedule for your IP
cam. To do this, enter the correct
information into the Schedule
window.
Let’s take a closer look at each field:
Schedule Stat: To enable the scheduling function, click Enable.
NOTE
If the scheduling function is set to Disable, images from any connected IP cameras
will not be saved onto the N199.
Frequency: Here, you can set the frequence of the schedule to either Daily or
Weekly. When set to Daily, images will be captured every day at the designated
time. When set to Weekly, you can have the IP camera capture images at certain
days of the week (i.e Monday to Friday).
Start Time: Choose the start day and time for image capture. If you’ve selected
a Daily frequency, you will be unable to select the start day as the IP camera will
be set to capture images every day.
End Time: Chosse the end day and time for image capture. If you’ve selected a
Daily frequency, you will be unable to select the end day as the IP camera will be
set to capture images every day.
Once you are finished, click Apply to enable your new schedule.
59