Cartridge alignment, Your name and number, Time and date – Toshiba ESTUDIO 60F User Manual
Page 9: Pc connection, Software installation
9
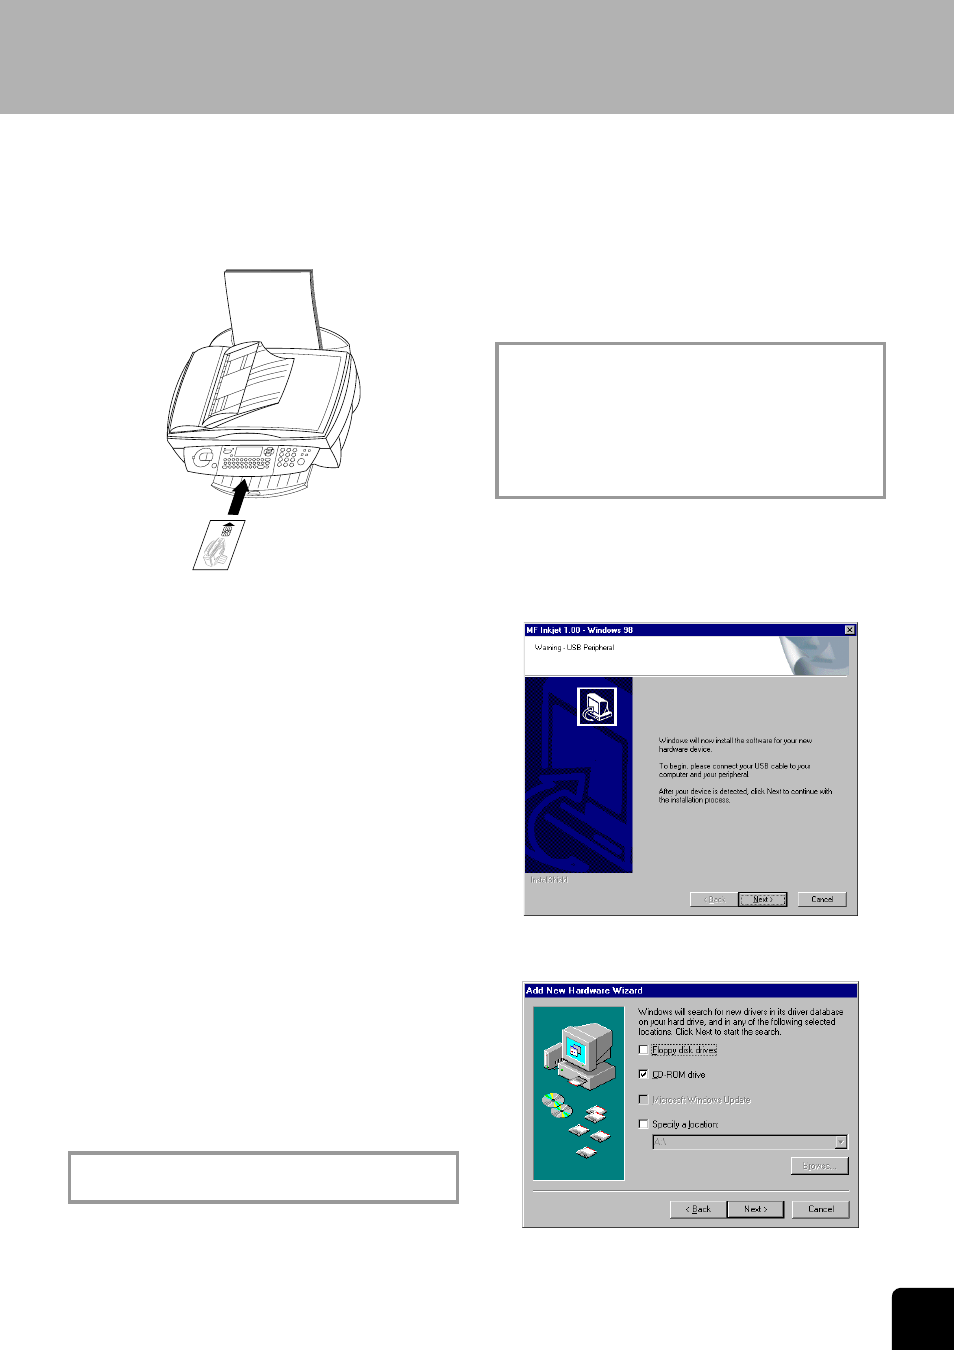
7 Insert the chip card “Plug ’n Print” with the contacts
facing up into the slot under the control panel and
confirm with OK
. Remove the cartridge and repeat
the process for the second cartridge
.
Cartridge alignment
1 After inserting the cartridges for the first time, the
machine will print out a page to check their align-
ment
.
VALUE A
2 Enter the value A where the image is the clearest
.
3 Confirm with OK and repeat these steps for values
B, C and D
.
VALUE B
Your name and number
1 Enter your fax number (max
. twenty digits) and
press OK (to enter a plus sign hold down the CTRL
key and press Q; to enter a blank space, press the
_@ key)
.
2 Enter your name by using the keyboard for text in-
put (max
. twenty characters). You can also enter a
plus sign (CTRL and Q) or a slash (CTRL and M)
.
Press OK
.
Time and date
Enter the date and time and confirm with OK, e
. g.
12 09 03 16 30 OK for September 12
th
2003, 4:30 p
. m.
PC connection
v Don’t connect the e-STUDIO60F to a PC before
installing the software!
Minimum configuration
Your PC must have the following minimum configura-
tion:
• Pentium
processor,
200
MHz
or
higher
• Windows 98/2000/ME/XP and 128 MB RAM
• 80 MB free disk space for the installation
• USB
port
Software installation
v Don’t connect the e-STUDIO60F to a PC before
installing the software!
If you receive a warning message that the pe-
ripheral hasn’t passed Windows Logo testing,
choose “Continue Anyway”
. Your multifunctional
device has been tested for TOSHIBA and is fully
compatible with Windows XP
.
1 Insert the
CD-ROM into your PC
. The installation
procedure will start automatically
. Follow the in-
structions on the screen
.
2 Connect the e-STUDIO60F to your PC with a USB
cable when you are prompted to do so
.
3 Click “Next” and follow the instructions
. Choose to
search for the driver on the CD-ROM: