Toshiba ESTUDIO 60F User Manual
Page 17
17
FAST
—for good quality documents, without drawings
or small details
NORMAL
—for documents with drawings or small char-
acters
QUALITY
—for maximal resolution
Press
OK
.
5 Your e-STUDIO60F can reduce or magnify a spe-
cific part of a document from 25% to 400%
. Set
the desired zoom value with the key pad and press
OK
.
ZOOMING
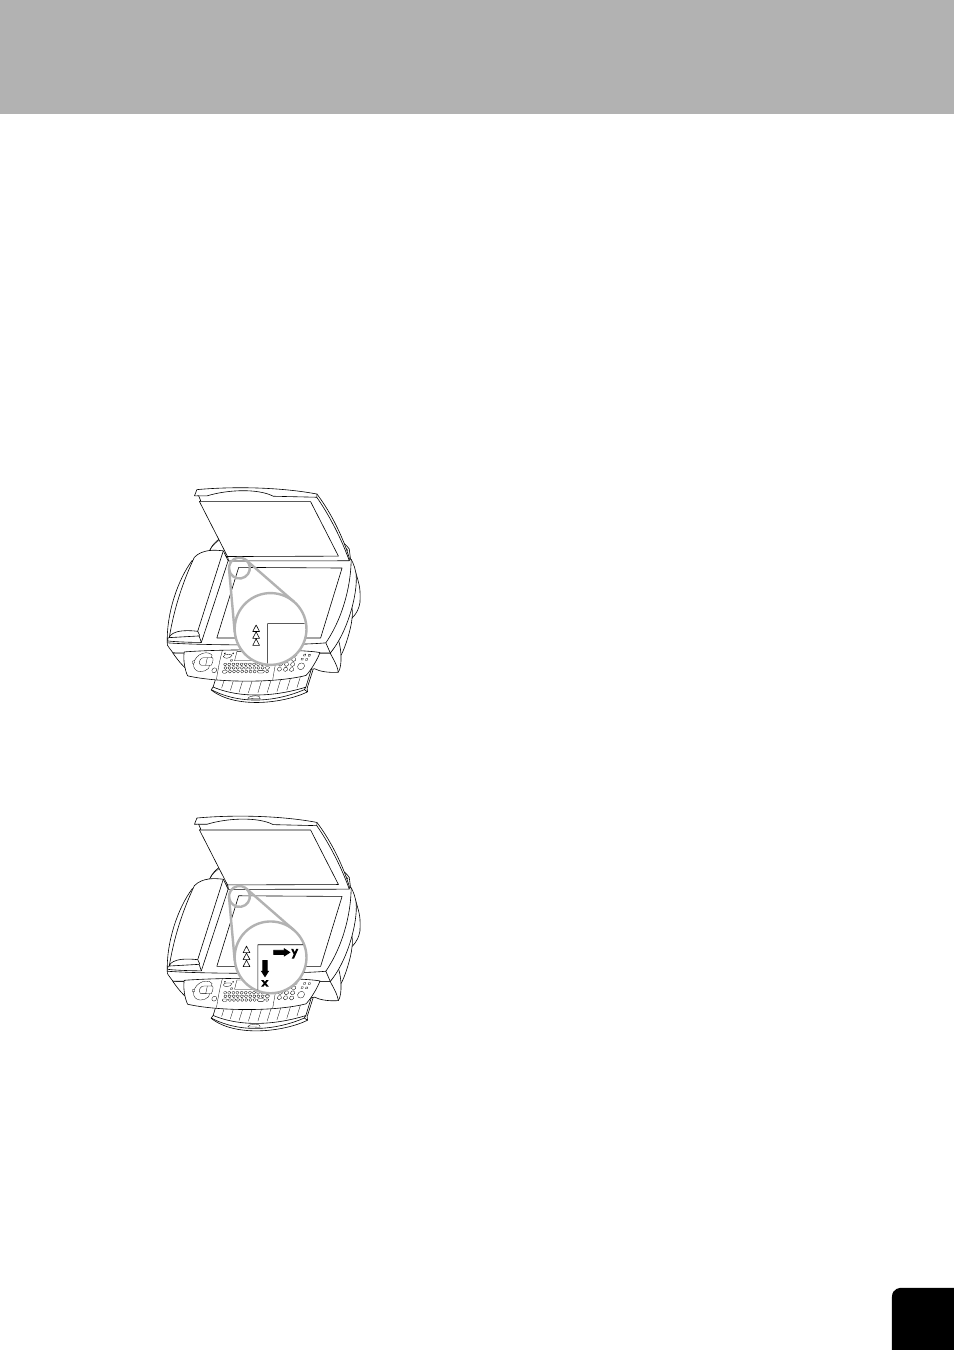
6 You can change the origin of the flatbed scanner
(by default, this is the back left angle of the scanner
window marked with arrows)
.
By entering new values of x and y given in millime-
tres, you will move the scanning zone as shown
on the figure below
. Confirm the entries with
OK
.
ORIGIN
7 If the document is too light or too dark, you may
change the scanning contrast
. Press / or O as
many times as necessary to choose the desired
contrast, as shown by the position of the cursor
.
Press OK.
CONTRAST
8 You can adjust the saturation
. Saturation is the col-
ourfulness judged in proportion to its brightness
.
Use / to change the setting: - is more grey, + is
more saturated
. Confirm with OK.
SATURATION
9 If you have chosen colour copy, you can adjust the
RGB values
. All colours can be defined as combi-
nations of red (R), green (G) and blue (B)
. You can
change the values for each of these basic colours
with /
. Press OK.
R.G.B.
10 You can adjust the luminosity (brightness) of the
printer
. Use / to change the setting: - is darker, +
is lighter
. Press OK.
LUMINOSITY
11 Use / to set
whether you use plain, coated,
or photo paper, or transparent film and press
OK
.
»PLAIN PAPER