Rimage Everest III User Manual
Page 28
Rimage Everest III printer
22
110875_A
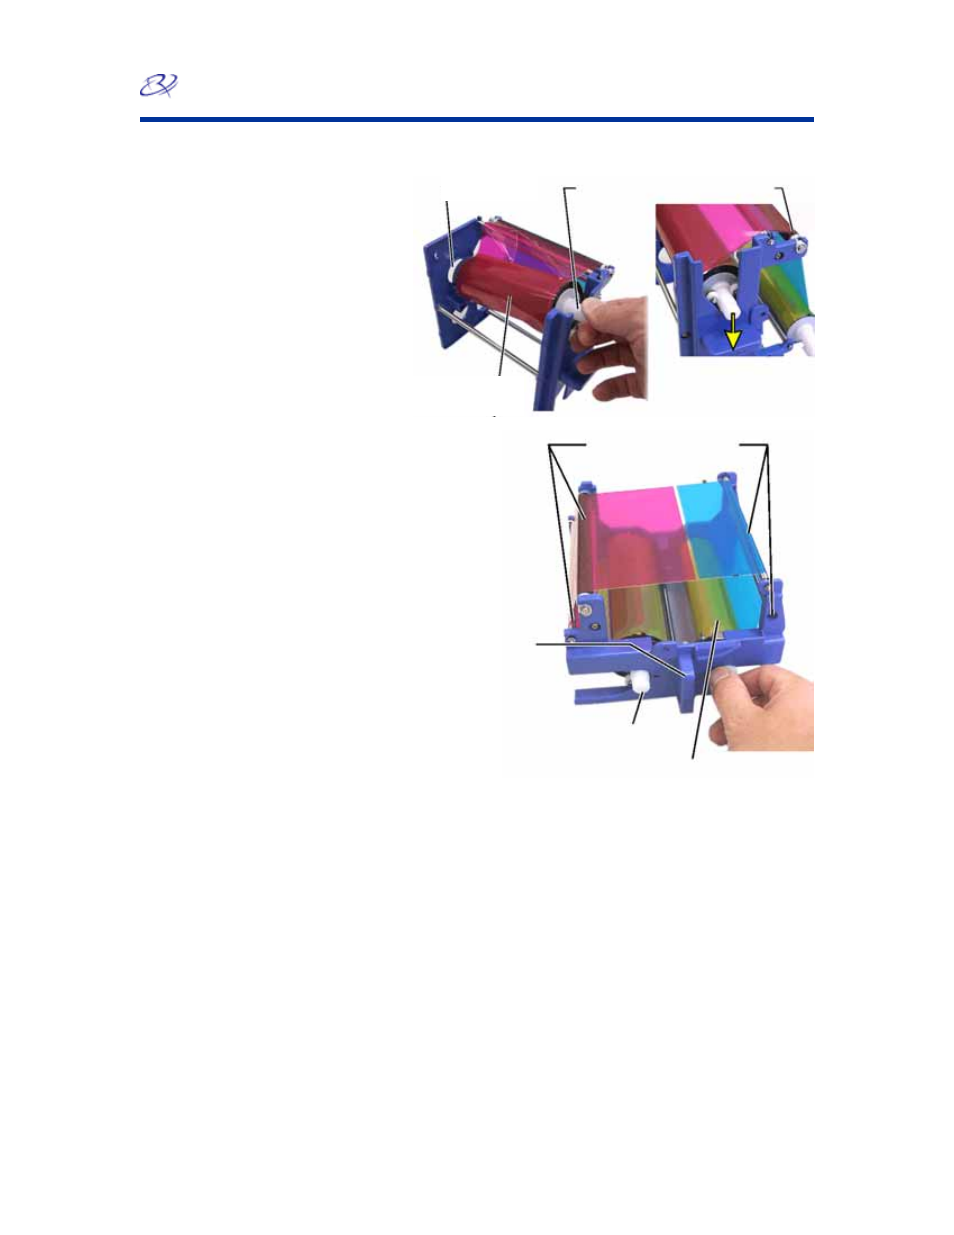
4. Install the new print ribbon.
a. Remove
the
new
ribbon
from the packaging.
b. Install
the
supply roll
end
of the print ribbon on the
top of the carrier.
c. Insert
the
large shaft
in the
large opening and press the
small shaft
into place.
Note:
The ribbon must
come over the tacky
roller.
d. Wrap the ribbon around the
guide rollers
.
e. Install
the
take up roll
.
f. Rotate
the
take up roll
so
the ribbon is aligned and
lies flat.
Large
opening
Small
shaft
Tacky roller
Supply roll
#
Tip:
You may need to
lift the ribbon up from
the tacky roller to
straighten it.
Note:
If you installed a
monocolor ribbon,
advance the ribbon so
the ink portion of the
ribbon is advanced to
the take up roll.
5. Reassemble
the
printer
.
a. Slide
the
carrier
into the printer.
Guide rollers
Pull handle
Supply roll
Take up roll
b. Close
latch 1
.
c. Close
the
side cover
.
6. Power on the printer. The printer is ready.