Correcting images automatically (auto) – Ricoh GX200 User Manual
Page 172
170
O
th
e
r P
lay
b
ack
F
u
n
c
ti
o
n
s
3
5
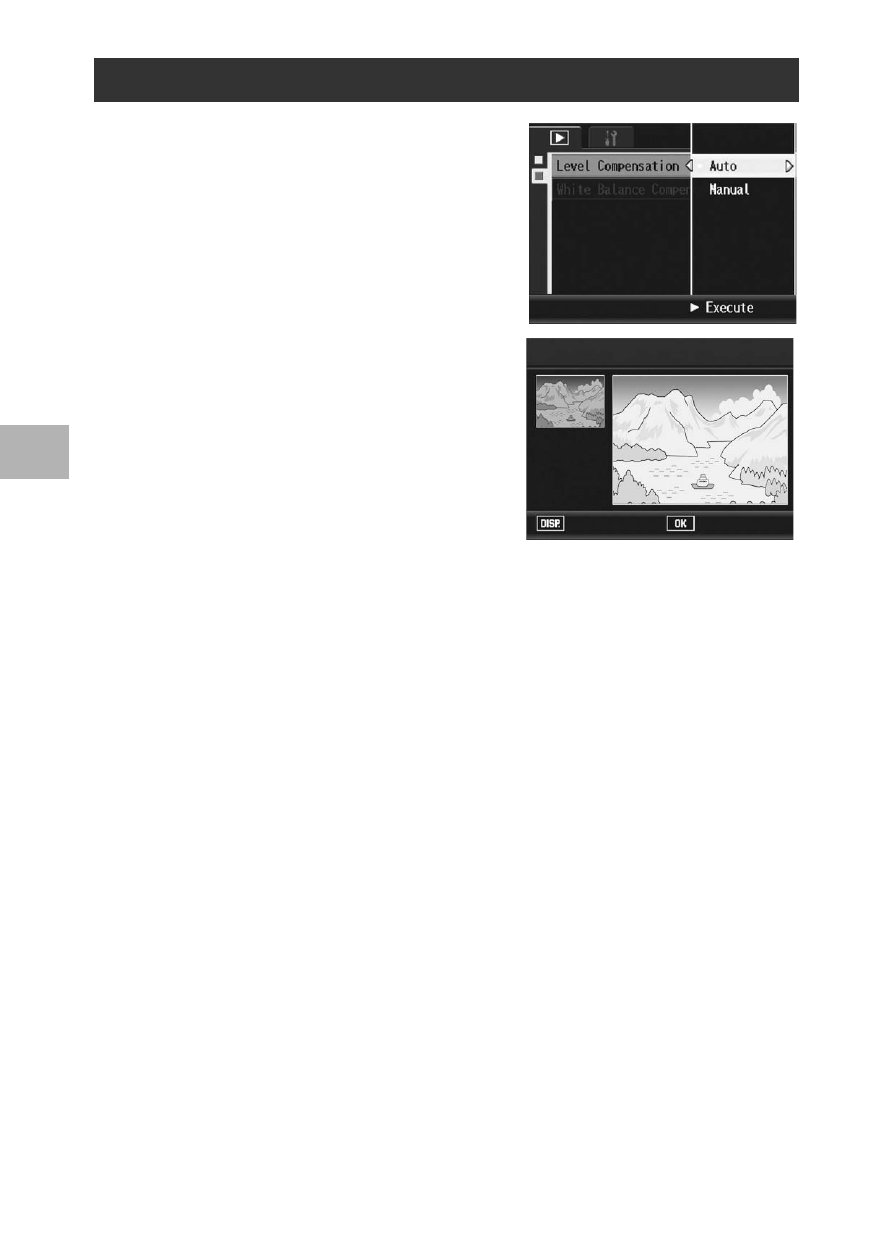
Press the !" buttons to select
[Auto] and press the $ button.
• The [Level Compensation] screen
appears. The original image appears
at the upper left of the screen and the
corrected image is shown on the right.
• If you select a file that cannot use
level compensation, an error
message appears and you are
returned to the playback menu.
• To cancel level compensation, press
the DISP. button.
6
Press the MENU/OK button.
• Messages appear during the correction process, and then the
corrected image is recorded. The original image remains unchanged.
Correcting Images Automatically (Auto)
Level Compensation
Ok
Cancel
Auto