Raypak 1334001 User Manual
Page 14
14
Models 0514-0824
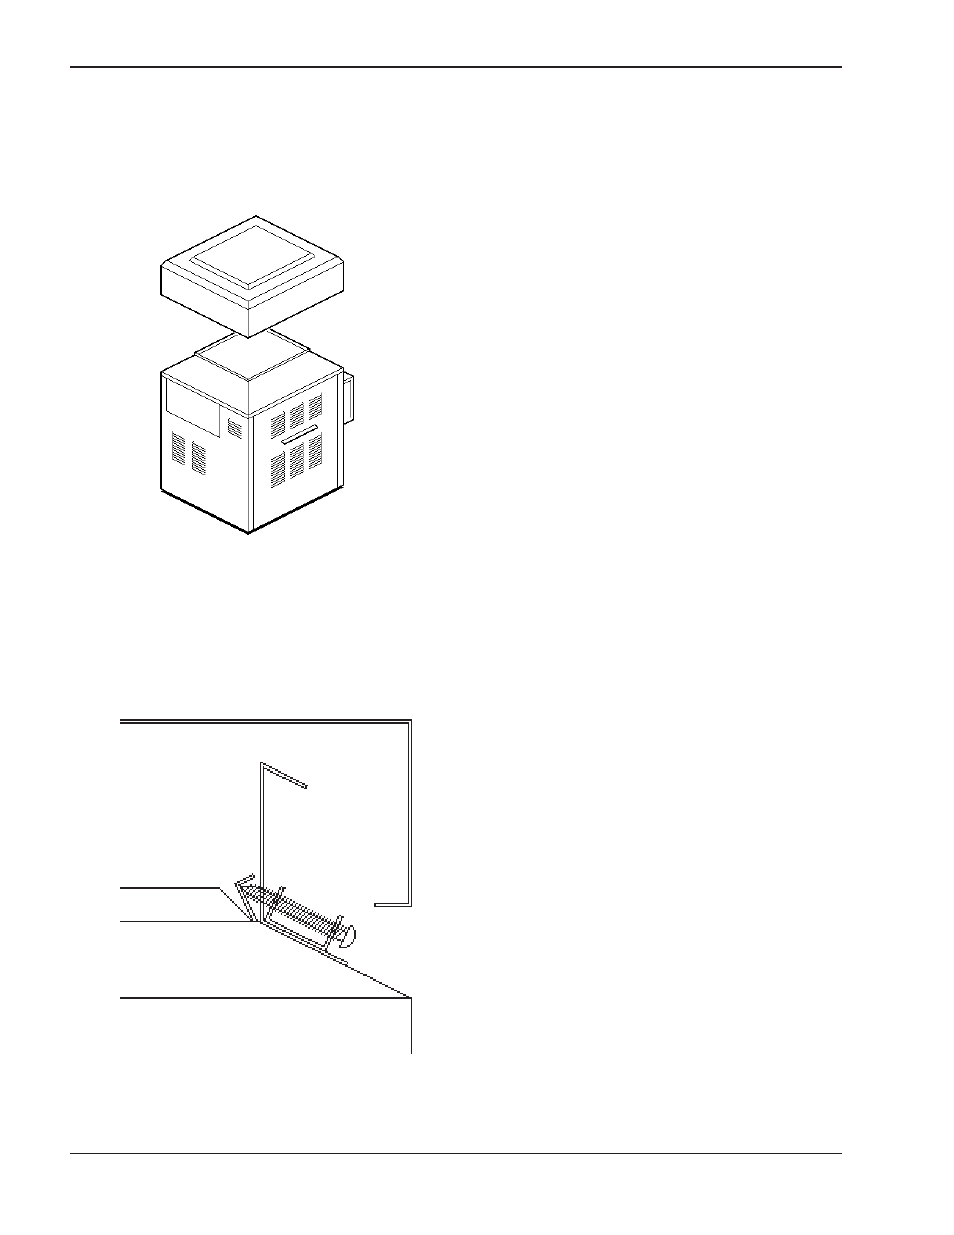
1. Lower outdoor "Stackless" top onto unit. Position
top so it is centered on unit from side-to-side and
front-to-rear.
2. Tighten the (4) screws (Shown below) until they
come in contact with the unit jacket top, then even-
ly tighten all (4) screws to secure to unit.
Fig. 7: Outdoor Top Installation
Fig. 8: Outdoor Top Installation
Models 0926-1758
Heaters are shipped with outdoor vent terminal facto-
ry installed.
Models 2100-4001
These units are not certified for outdoor installation.
Indoor Installations
Model 0133
Refer to Fig. 9 on the following page.
1. Shut-off main electrical power switch to heater.
2. Turn heater manual ON/OFF switch, located in
upper control panel, to the "OFF" position.
3. Shut-off gas supply and water supply to the
heater.
4. Mount drafthood on heater and attach with the 8
sheet metal screws provided. Drafthood should be
positioned with the vent sensor located on the
front left side as shown.
5. Remove plastic plug from left side of heater jacket
and install the plastic grommet provided.
6. Route flue sensor wire harness through the grom-
met installed in Step 5.
7. Remove door and locate wire from roll out sensor
to High Limit with the male/female connector.
8. Disconnect male/female connector and attach to
the 2 wires from drafthood vent sensor harness.