E-41 – NEC HT1100 User Manual
Page 41
E-41
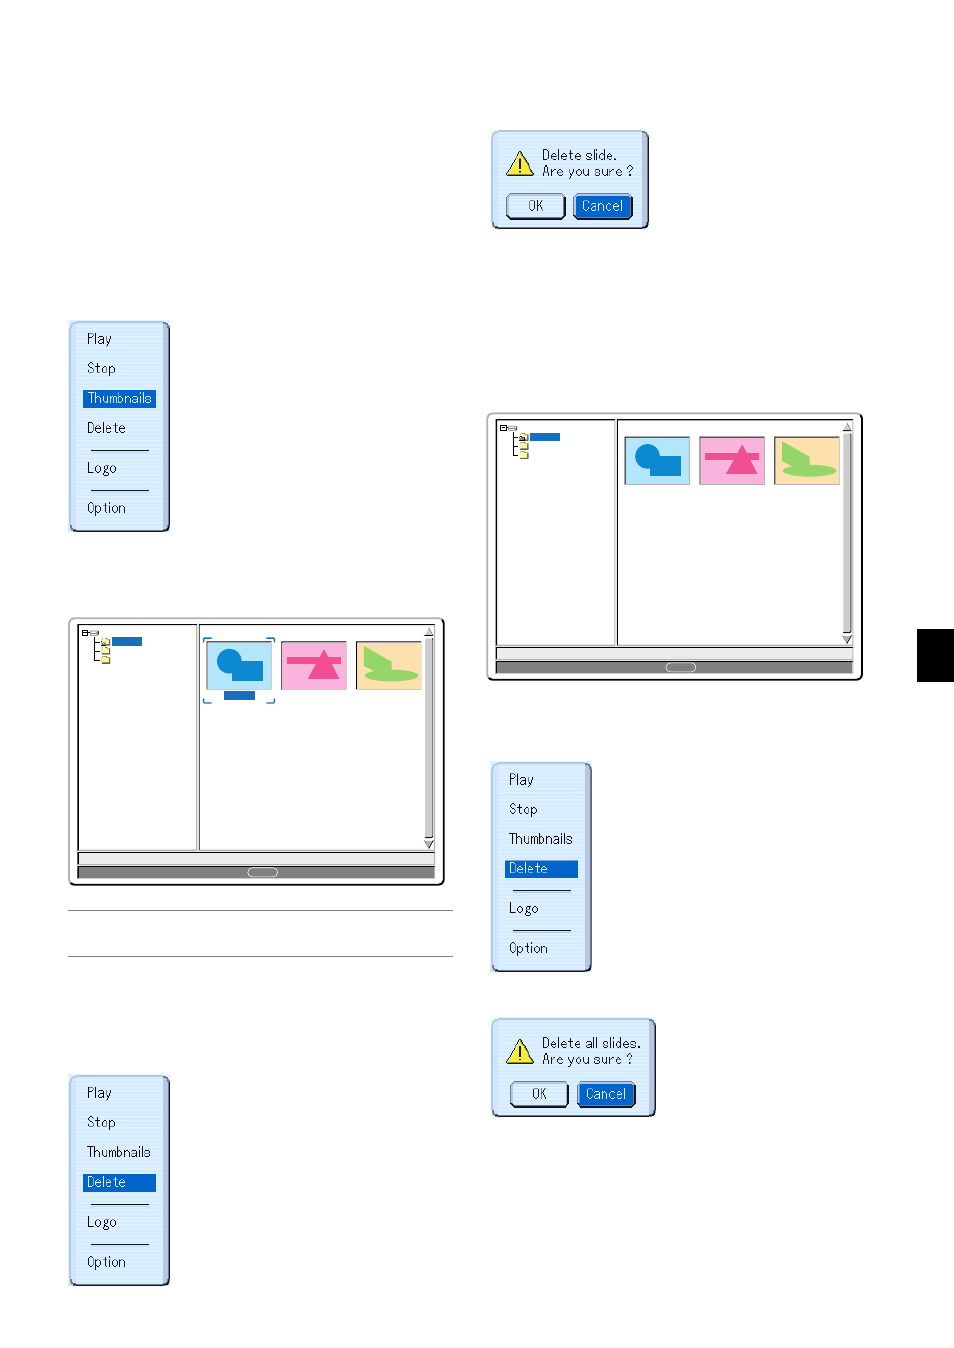
Deleting Captured Images
Using the Delete command on the Viewer menu allows you to delete
captured images.
To delete captured images:
Preparation: Make sure that the PC card is inserted into the PC card
slot of the projector.
1. Press the VIEWER button on the remote control to display an image.
2. Press the MENU button to display the Viewer menu.
3. Use the
̄
button to select “Thumbnails” and then press the ENTER
button.
The Thumbnail screen will be displayed.
0000.jpg
0001.jpg
0002.jpg
3 Files
Slot 1
_CAP_
_RESTORE
RECYCLED
1/3 0000.jpg
60KB
select : ENTER
NOTE: To change highlight from the Thumbnails screen (right window) to a
directory tree (left window) , press the CANCEL button. To return highlight to
the Thumbnails screen, press the ENTER button.
4. Use the
̆̄̇̈
buttons to select an image you wish to delete.
5. Press the MENU button to display the Viewer menu.
6. Use the
̄
button to select “Delete” and then press the ENTER but-
ton.
A confirmation message will be displayed.
7. Use the
̇
button to select “OK” and then press the ENTER button.
This completes deleting.
To delete all the captured images:
1. Repeat steps 1 to 3 in the above described procedure.
2. Press the CANCEL button to select the “_CAP_” folder in the direc-
tory (left window).
0000.jpg
0001.jpg
0002.jpg
3 Files
Slot 1
_CAP_
_RESTORE
RECYCLED
1/3 0000.jpg
60KB
select : ENTER
3. Press the MENU button to display the Viewer menu.
4. Use the
̄
button to select “Delete” and then press the ENTER but-
ton.
A confirmation message will be displayed.
5. Use the
̇
button to select “OK” and then press the ENTER button.
This completes deleting.