Project an image, For details, see position the image, Preparations – Panasonic TQBJ0323-1 User Manual
Page 24: Select the input signal, Position the image
Basic operations
24 ENGLISH
Project an image
Preparations
Confirm the connections of the peripheral devices
•
( page 18, 19) and power cord ( page 20).
Switch on the power
•
( page 22) to start projecting.
Select the input signal and adjust the image.
•
SELECT THE INPUT SIGNAL
1
Switch on the connected devices.
When playing a connected DVD player, if
SIGNAL
SEARCH (DISPLAY OPTION menu) is set to
ON, the input signal is detected and projected
automatically when the projector is switched on.
Set the
•
INPUT GUIDE (DISPLAY OPTION
ON-SCREEN DISPLAY menu) to DETAILED. If
the projector cannot detect any input signal, the
“Computer connection guide” will be displayed.
2
Select an input signal.
The image selected with any of the
[INPUT
SELECT] button is projected.
NOTE:
Change the settings in the
•
PICTURE menu according to the
connected device for example DVD, video tape, etc., to be
Confirm the aspect ratio of the screen and image.
•
Select the optimum aspect ratio. (
POSITION THE IMAGE
When setting up the projector for the first time or
setting up at a new place, you must perform the
following operations.
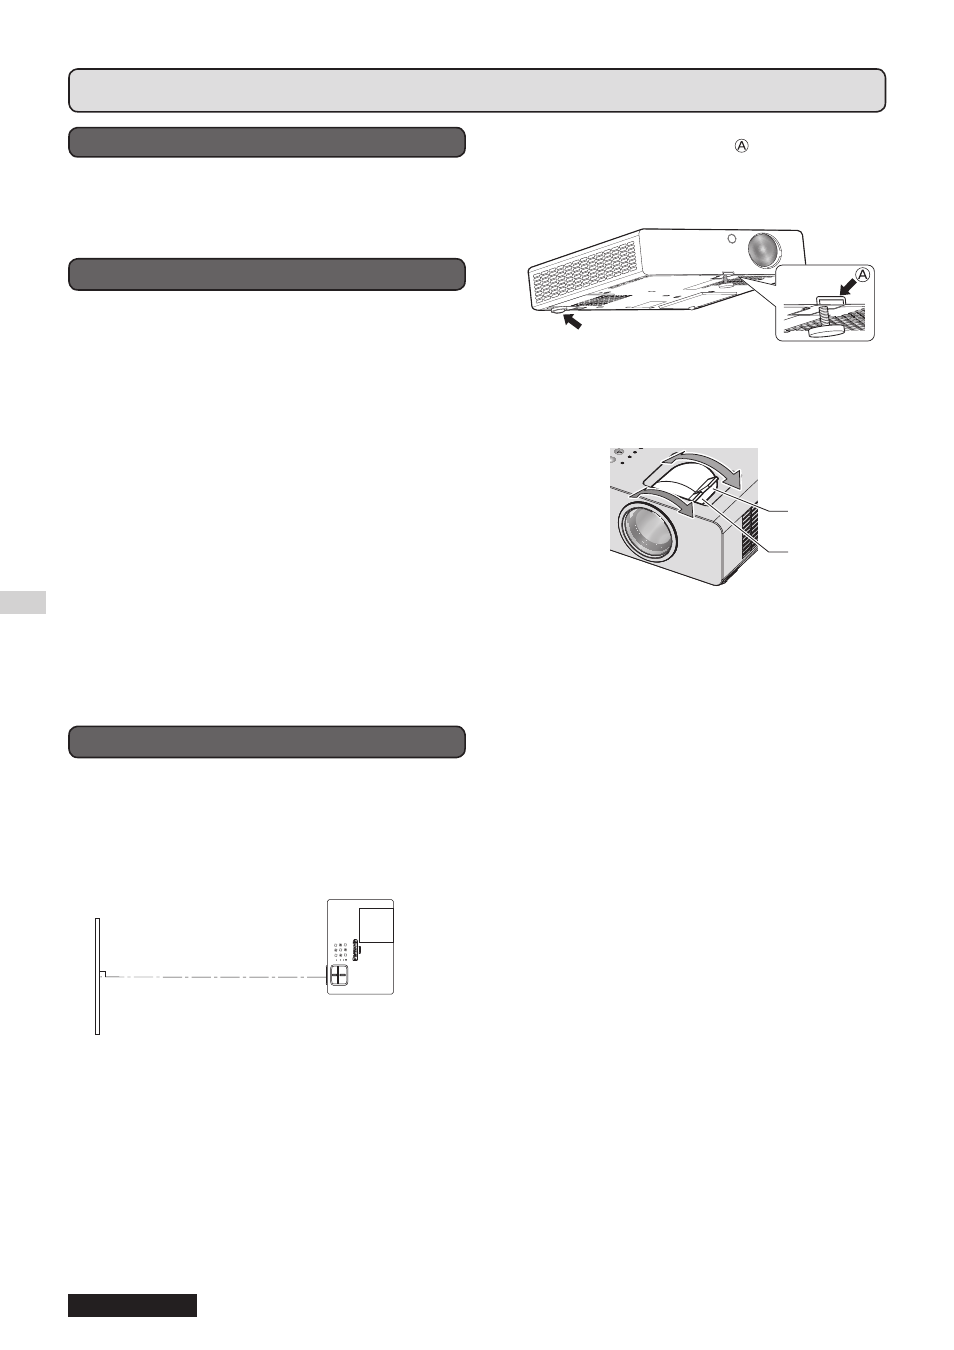
1
Adjust the vertical angle of the projector.
Place the projector at the right angle from the
•
screen.
Press the leg adjuster button
•
and adjust
the vertical projection angle. Then, adjust the
projected image to the center of the screen.
2
Adjust the projection size and focus.
Turn the zoom and focus rings to adjust the
•
projected image.
NOTE:
When you adjust the zoom after adjusting the focus, you
•
may need to adjust the focus of the image again.
If the projected image slants to the right or left, turn the rear
•
leg adjuster to adjust the angle of the projector.
If keystone distortion occurs, see KEYSTONE.
•
Zoom ring
(ZOOM)
Focus ring
(FOCUS)
Rear leg adjuster