Preparations – Philips FW-D596 User Manual
Page 19
19
English
Preparations
IMPORTANT!
– Make sure to complete the
preparation procedures before operating
the system.
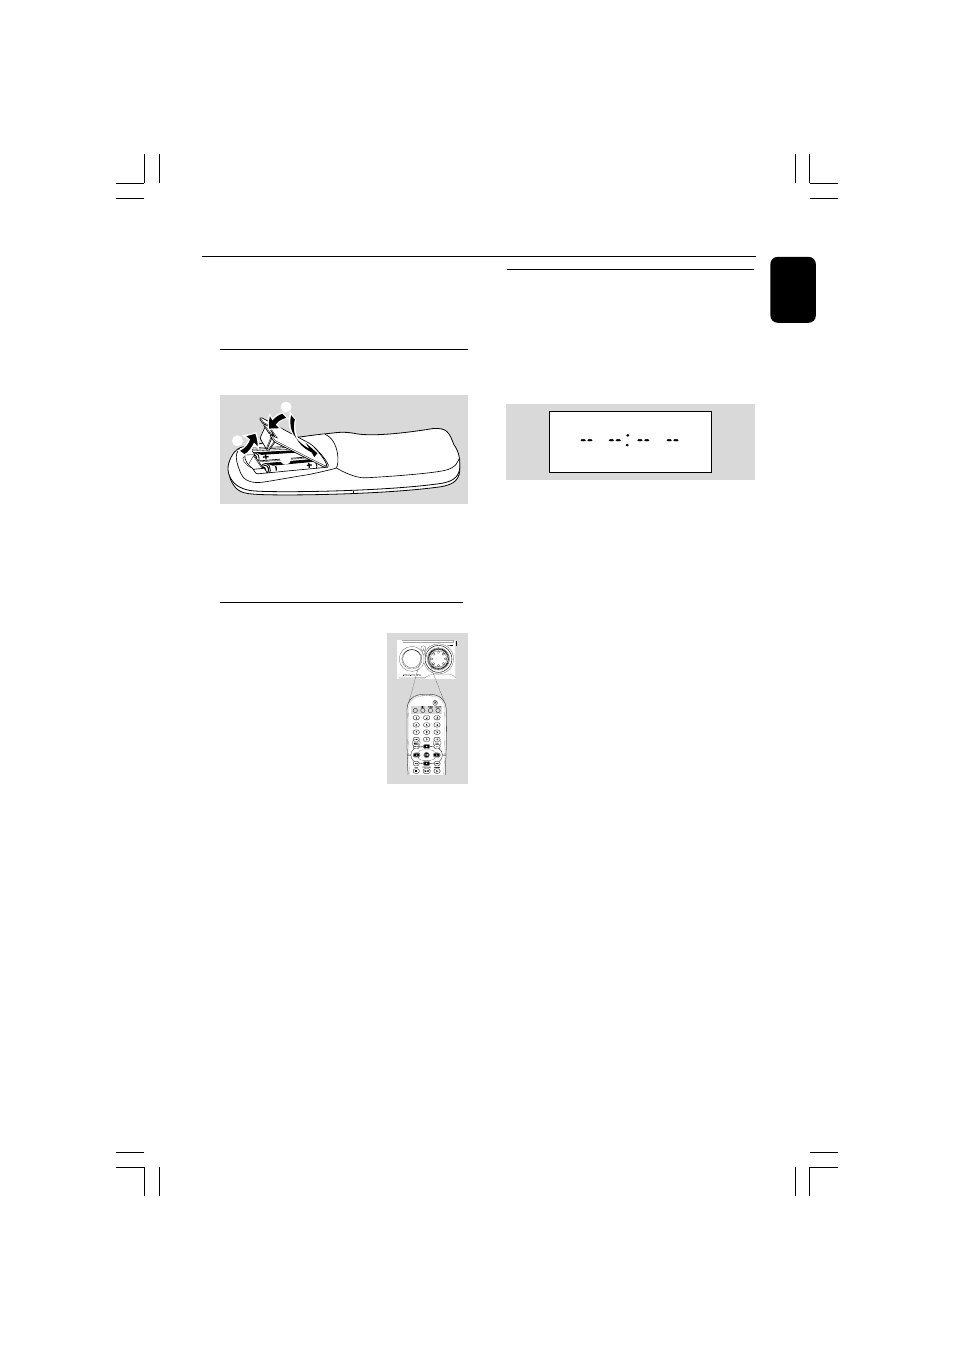
Step 1: Inserting batteries into
the remote control
3
2
1
1
Open the battery compartment.
2
Place two batteries (Type R06 or AA) in the
compartment with the correct polarity as
indicated by “+” and “–” symbols.
3
Close the cover.
Using the remote control to operate the
system
1
Point the remote control directly
at the remote sensor (iR) on the
front panel.
2
Select the source you wish to
control by pressing one of the
source select buttons on the
remote control (for example
TAPE, TUNER).
3
Then select the desired function (for example
2;
,
4, ¢).
CAUTION!
– Remove batteries if they are
exhausted or will not be used for a long
time.
– Do not use old and new or different
types of batteries in combination.
– Batteries contain chemical substances,
so they should be disposed of properly.
Step 2: Setting the clock
The clock can be set in either 12-hour or 24-
hour mode (“
PM 00:00” or “00:00” for
example).
1
Go into Standby mode.
➜ If you have not set the clock, “--:--” will blink
until you set the clock.
2
Press CLOCK and “
00:00” blinks on the
display.
➜ The current time is flashing on the display.
➜ If you have not set the clock, “--:--” will appear
on the display.
3
Press O or P on the system to set the hours.
4
Press 5 or 6 on the system to set the minutes.
5
Press CLOCK to confirm your setting, and then
go into standby mode. The system will store the
setting automatically.
➜ The time setting becomes effective.
To exit the setting without storing
● Press 9 on the system to exit.
➜ “CANCEL” will appear on the display.
● Press ECO POWER to exit setting mode and
go into ECO POWER mode.
● You can also press DISC, DISC1~3, DISC
CHANGE, OPEN/CLOSE to exit setting
mode and go into disc mode.
● The system will also exit setting mode and go to
tuner, AUX, tape mode wheh you press the
corresponding source button.
Viewing the clock
● In Standby mode, Press DISPLAY on the
system to toggle between 12-hour and 24-hour
modes.
➜ The time will be displayed.
Notes:
– The clock will be cancelled when the power cord
is disconnected or if a power failure occurs.
– During clock setting, if no button is pressed
within 30 seconds, the system will exit the setting
mode and go into standby mode.
TAPE 1/2