Y them to a card (p, And then set the pr – Panasonic DMC-F2 User Manual
Page 95
Advanced-Viewing
- -
b [COPY]
You can copy recorded picture data from the built-in memory to a card or vice versa.
1
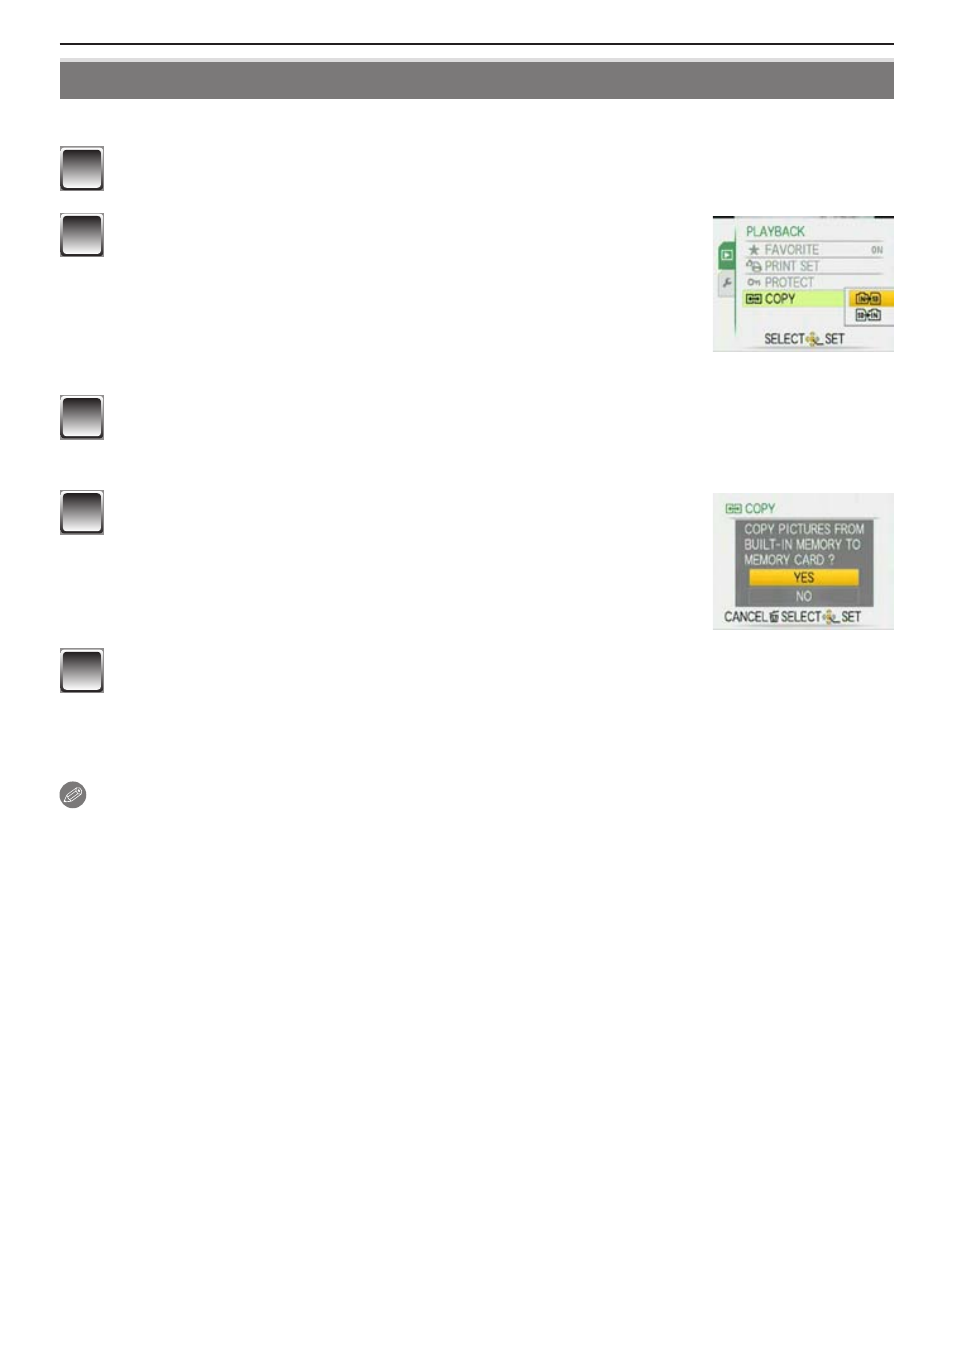
Select [COPY] on the [PLAYBACK] menu. (P
2
Press e/r to select the copy destination and then
press [MENU/SET].
N: All the picture data in the built-in memory are copied
onto the card at one time. " step 4.
M: One picture at a time is copied from the card to the
built-in memory. " step 3.
3
Press w/q to select the picture and then press
[MENU/SET].
4
Press e to select [YES] and then press [MENU/
SET].
• If you press [MENU/SET] while copying pictures from the
built-in memory to the card, the copying will stop halfway.
• Do not turn the camera off before copying is finished.
5
Press [4] to return the menu screen.
• Press [MENU/SET] to close the menu.
• If you copy from the built-in memory to a card, all the pictures are copied and then
the screen automatically returns to the playback screen.
Note
• If you copy picture data from the built-in memory to a card which does not have sufficient
free space, the picture data will only be copied halfway. We recommend using a card
which has more free space than the built-in memory (about 50 MB).
• In case of “N”, you can copy an image file even if there is already a file in the
destination that has the same name (same file and folder numbers) by making a new
folder. In case of “M”, if a picture exists with the same name as the picture to be
copied in the built-in memory, it is not copied. (P
)
• It may take time to copy the picture data.
• Only pictures recorded with a Panasonic digital camera (LUMIX) will be copied. (Even
if the pictures were recorded with a Panasonic digital camera, you may not be able to
copy them if they were edited on a PC.)
• [PRINT SET] on the original picture data will not be copied. Set the [PRINT SET] again
after copying is finished.