9 your fax number, Preparation 29 – Panasonic KX-FC241AL User Manual
Page 31
3. Preparation
29
1. Press {2} 3 times.
LOGO=
|
B
2. Press {4} 3 times.
LOGO=B
|
I
3. Press {*}.
LOGO=B
|
i
4. Press {5} 3 times.
LOGO=Bi
|
l
To correct a mistake
1. Press {<} or {>} to move the cursor to the
incorrect character.
2. Press {STOP}.
L
To erase all characters, press and hold
{
STOP}.
3. Enter the correct character.
To select characters using {A} or {B}
Instead of pressing the dial keys, you can select
characters using {A} or {B}.
1. Press {B} repeatedly to display the desired
character. Characters will be displayed in the
following order:
1 Uppercase letters
2 Number
3 Symbol
4 Lowercase letters
L
If you press {A}, the order will be
reversed.
2. Press {>} to insert the character.
3. Return to step 1 to enter the next character.
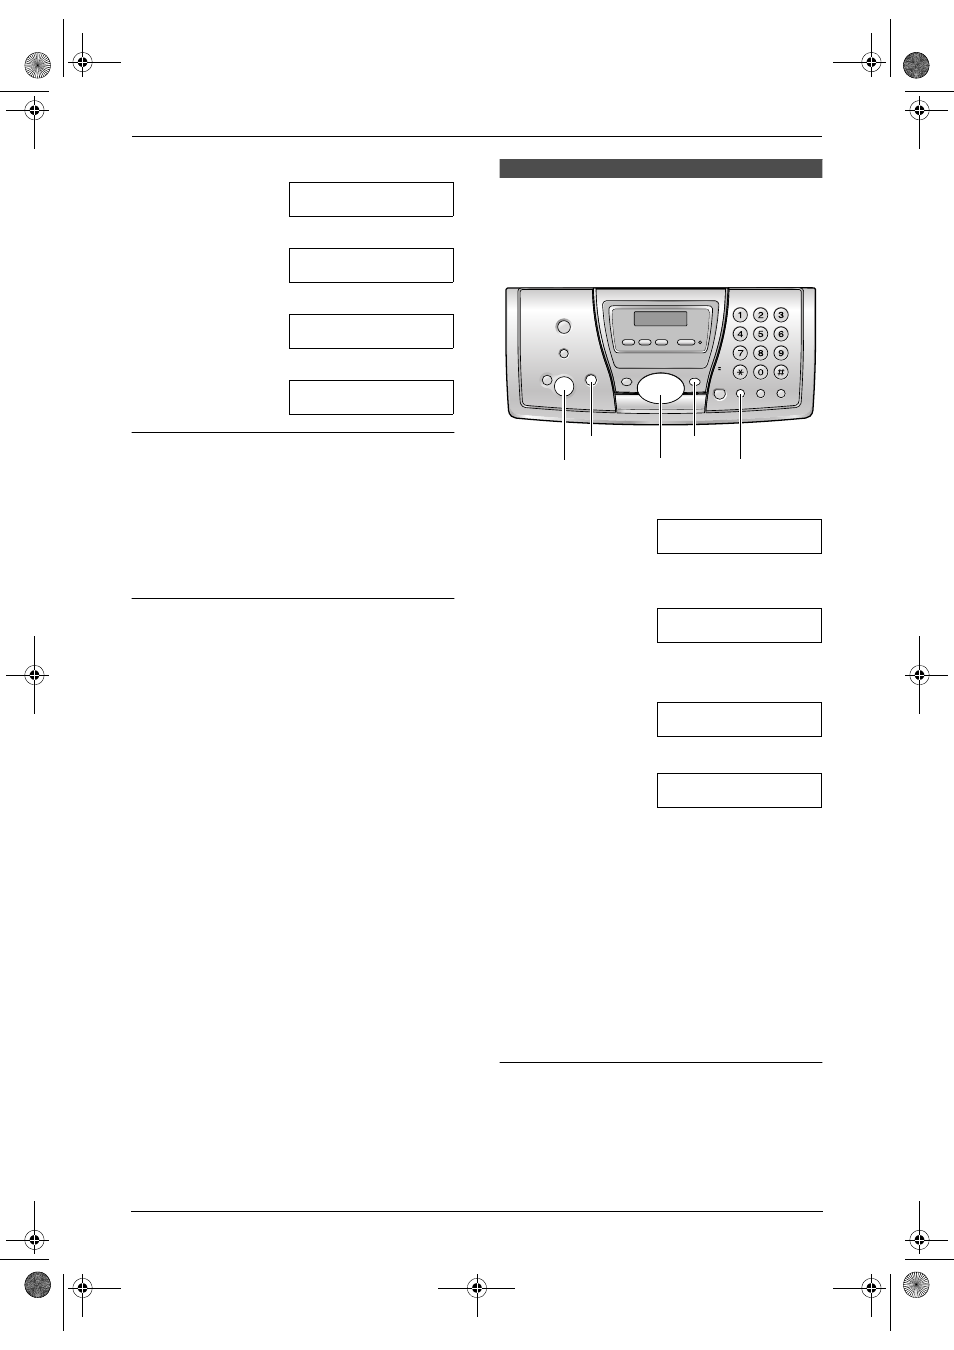
3.9 Your fax number
Your fax number will be printed on the top of
each page sent from your unit.
1
Press {MENU}.
SYSTEM SETUP
PRESS NAVI.[( )]
2
Press {<} or {>} repeatedly to display the
following.
YOUR FAX NO.
PRESS SET
3
Press {SET}.
L
The cursor (
|
) will appear on the display.
NO.=
|
4
Enter your fax number, up to 20 digits.
Example:
NO.=1234567
|
5
Press {SET}.
L
The next feature will be displayed.
6
Press {MENU}.
Note:
L
The {*} button enters a “
+” and the {#}
button enters a space.
Example: +64 9 1234567
Press {*}{6}{4}{#}{9}{#}{1}{2}{3}{4}
{
5}{6}{7}.
L
To enter a hyphen in a telephone number,
press {RECALL}.
To correct a mistake
1. Press {<} or {>} to move the cursor to the
incorrect number.
2. Press {STOP}.
L
To erase all numbers, press and hold
{
STOP}.
{
SET}
{
RECALL}
{
MENU}
{
STOP}
{<}{>}
FC243AL-PFQX2096ZA-en.book Page 29 Thursday, September 30, 2004 3:37 PM