Using the web toolbar – Lexmark 3400 Series User Manual
Page 25
5
Click File
Save as.
6
Enter a file name and file type, and then click Save.
From this section
You can
Quick Fixes
•
Remove the red-eye effect caused by light reflection.
•
Fix the photo with one click.
•
Colorize the image using antiquing or sepia tones.
•
Crop the image.
•
Rotate the image.
•
Flip the image.
Image Adjust
•
Adjust the color depth.
•
Adjust the color balance.
•
Colorize the image.
•
Adjust the Brightness/Contrast.
•
Adjust the blur.
•
Adjust the sharpness.
•
Despeckle (blur) the image to remove dust and scratches.
•
Adjust the exposure.
•
Balance color groupings.
Image Size
•
Change the units of measurement.
•
Resize the image.
•
Crop the image.
Drawing Tools
•
Select an area by dragging a box around it. Use this for text box placement
and cutting and copying areas.
•
Add text.
•
Fill pixels with color.
•
Draw with a pencil tool.
•
Draw with a line tool.
•
Erase areas.
•
Paint areas with a paintbrush tool.
•
Pick up a color using the eyedropper.
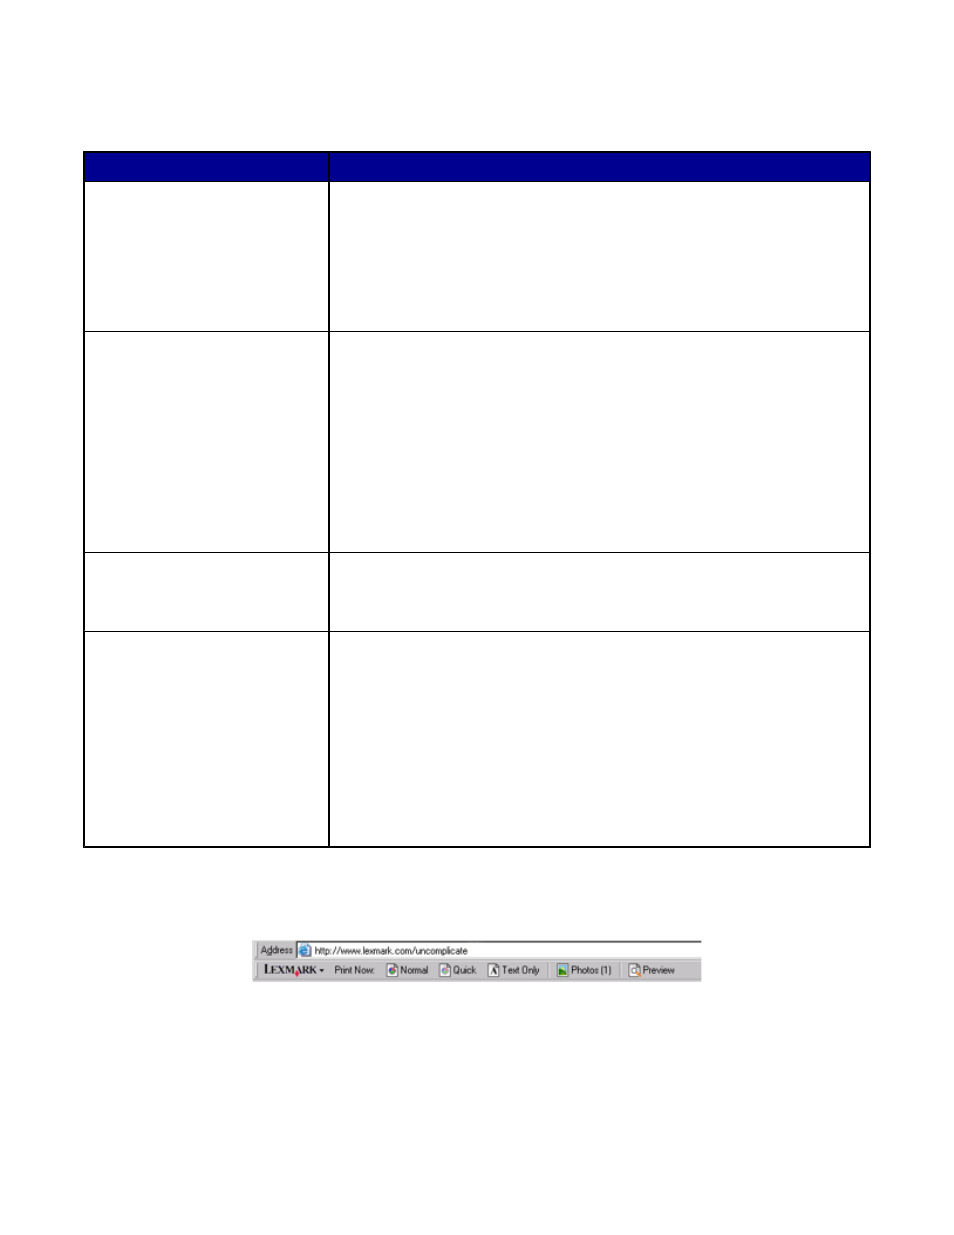
Using the Web Toolbar
The Lexmark Web Toolbar lets you create printer-friendly Web pages.
Note: The Lexmark Web Toolbar launches automatically when you browse the Web using Microsoft Windows
Internet Explorer version 5.5 or later.
25