Step 2: customize the print settings – Lexmark Z700 User Manual
Page 22
Printing on both sides of the paper
22
•
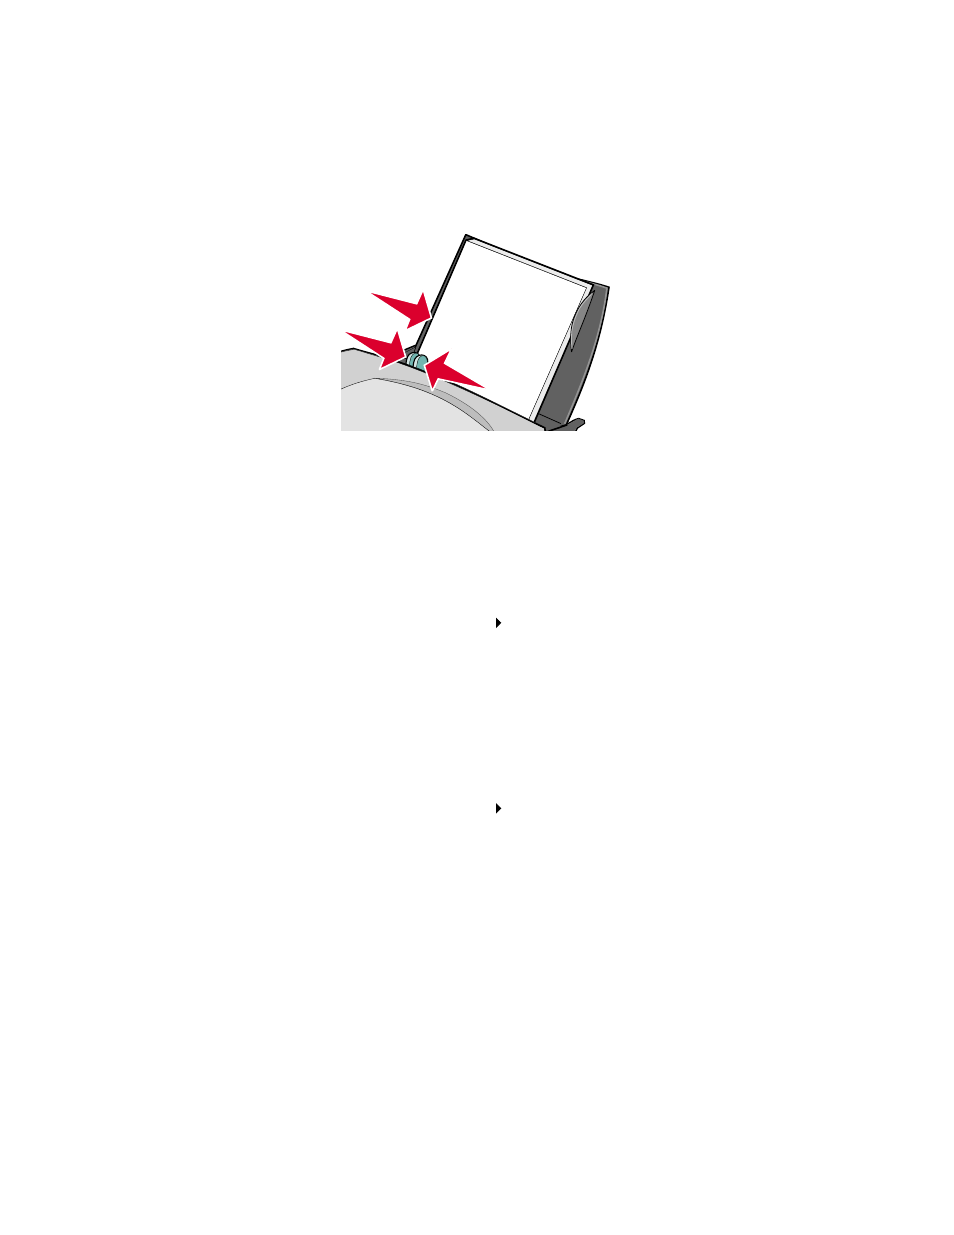
Make sure the print side is facing you.
•
Do not force the paper into the printer.
•
Squeeze and slide the paper guide to the left edge of the paper.
Note: If you are using Letter size paper, adjusting the paper guide may not be necessary.
Step 2: Customize the print settings
1
Choose a paper size and orientation:
a
From the software program, choose File
Page Setup.
b
From the Paper Size pop-up menu, choose a paper size. To set a custom paper size, see
“Printing on custom size paper” on page 48.
c
From Orientation, click the portrait or landscape icon.
d
Click OK.
2
Choose a paper type, print quality, and layout:
a
From the software program, choose File
Print.
b
From the pop-up menu in the upper left corner, choose Paper Type/Quality.
Note: If Automatic is not chosen in the Paper Type pop-up menu, choose Plain as the
paper type. For more information, see “Using the paper type sensor” on page 14.
c
From Print Quality, select your preferred print quality. Normal is the default.
Note: Higher print quality settings result in better quality documents, but may take longer
to print.
d
From the pop-up menu in the upper left corner, choose Layout.
e
Click Print on Both Sides.