Lenovo THINKCENTRE 6019 User Manual
Page 102
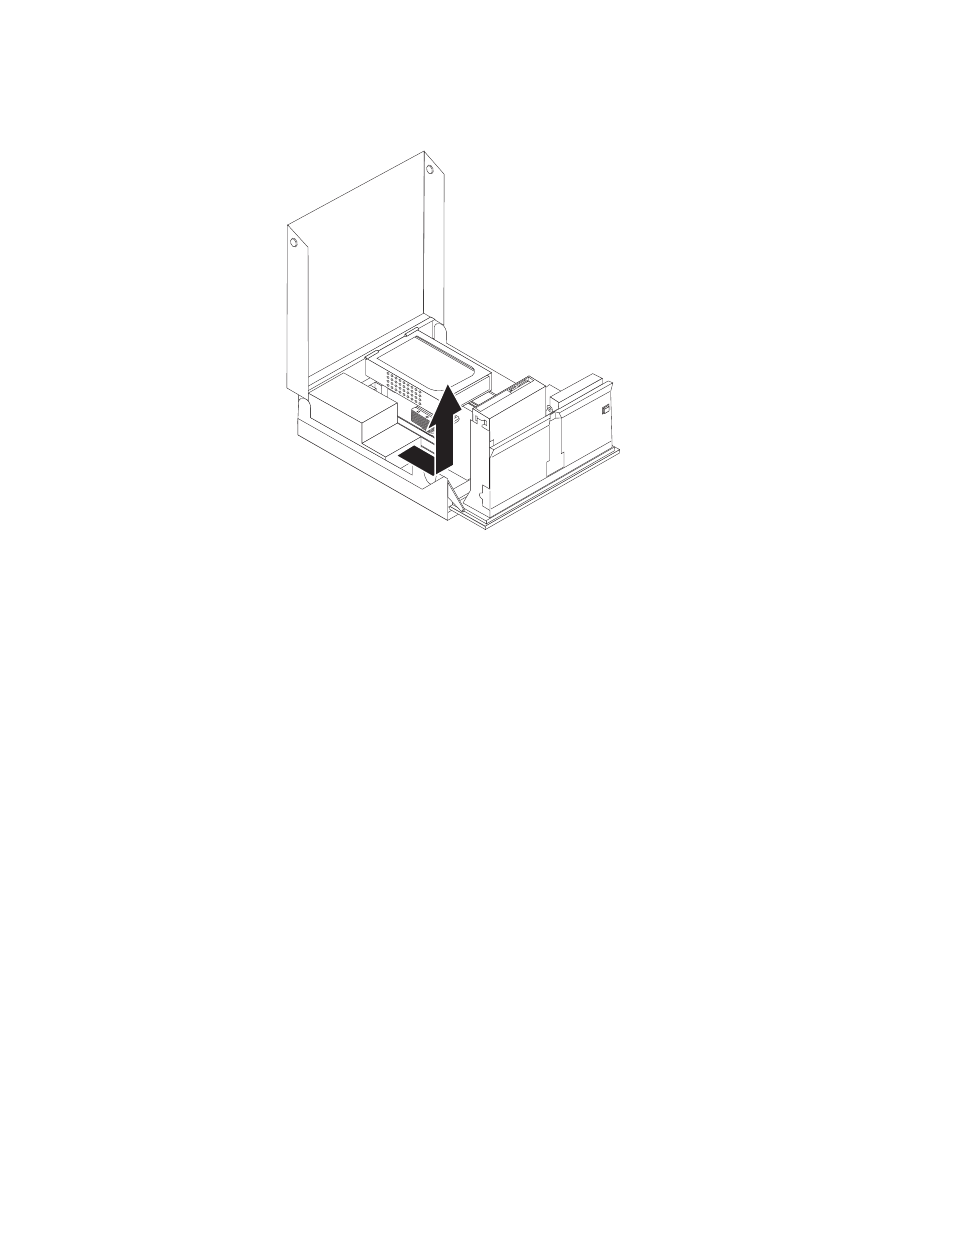
10.
Slide
the
power-supply
assembly
toward
the
front
of
the
chassis
and
remove
it
from
the
computer.
11.
Install
the
new
power-supply
assembly
into
the
chassis
so
that
the
screw
holes
in
the
power-supply
assembly
align
with
those
in
the
chassis.
Note:
Use
only
the
screws
provided
by
Lenovo.
12.
Install
and
tighten
the
four
screws
at
the
rear
of
the
chassis
to
secure
the
power-supply
assembly.
13.
Check
the
position
of
the
voltage-selection
switch
on
the
rear
of
the
computer.
Use
a
ballpoint
pen
to
slide
the
switch,
if
necessary.
Note:
Some
computers
do
not
have
a
voltage
switch.
These
computers
automatically
control
the
voltage.
v
If
the
voltage
supply
range
is
100–127
V
ac,
set
the
switch
to
115
V.
v
If
the
voltage
supply
range
is
200–240
V
ac,
set
the
switch
to
230
V.
14.
Reconnect
all
the
power
supply
cables
to
the
drives
and
the
system
board.
15.
Go
to
96
Hardware
Maintenance
Manual