Troubleshooting & repair – Lincoln Electric INVERTEC SVM129-B User Manual
Page 109
TROUBLESHOOTING & REPAIR
F-71
F-71
INVERTEC® STT® & STT® II
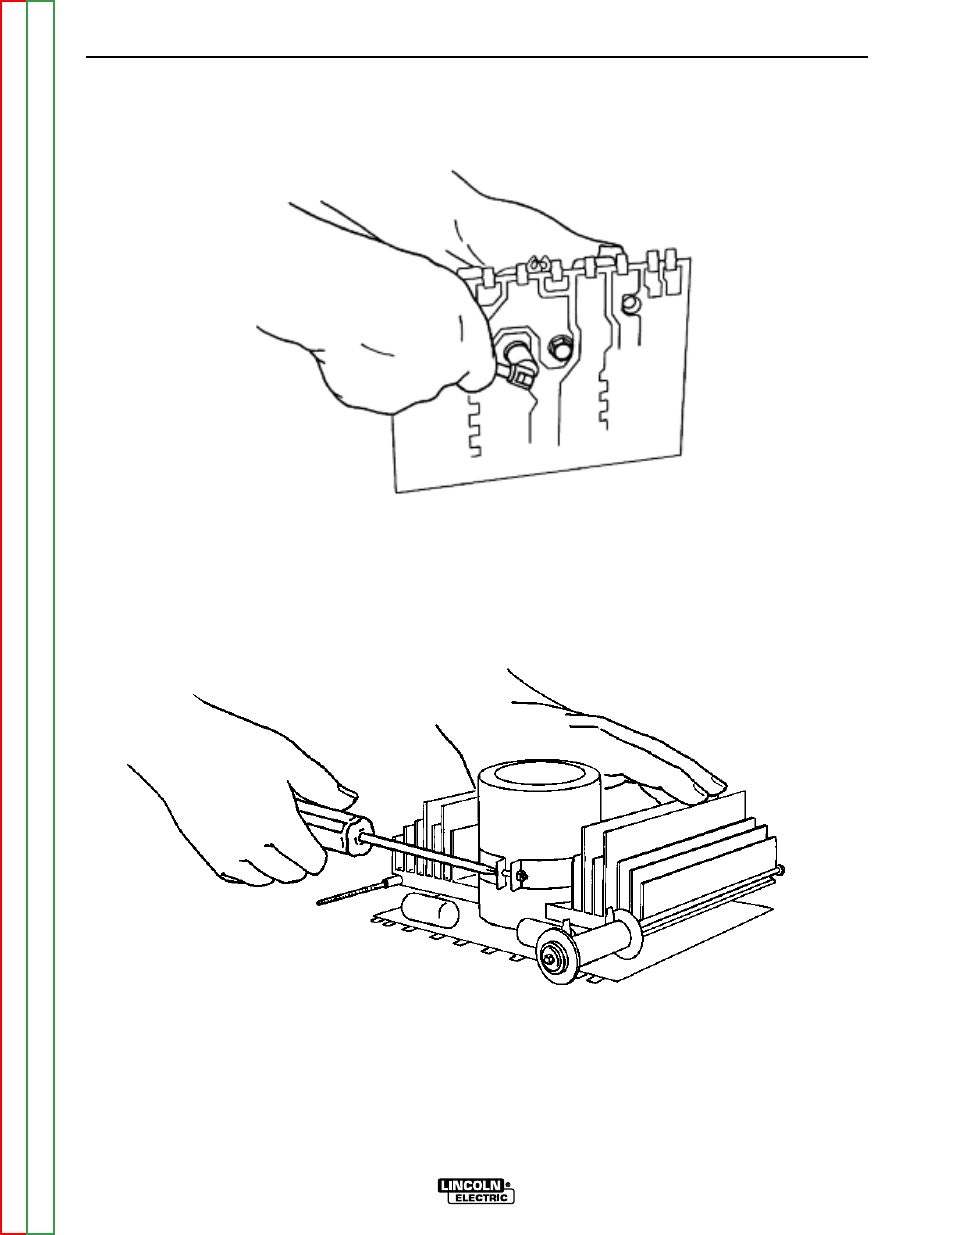
17. Remove the two 7/16” hex bolts that hold the
capacitor to the switch board. See Figure
F.36.
18. Loosen the set screw of the capacitor clamp
ring and remove the capacitor from the clamp
ring. See Figure F.37.
FIGURE F.36 – REMOVING CAPACITOR NUTS
CAPACITOR REMOVAL AND REPLACEMENT PROCEDURE (continued)
17. Remove the two 7/16” hex bolts that hold the
capacitor to the switch board. See Figure
F.36.
18. Loosen the set screw of the capacitor clamp
ring and remove the capacitor from the clamp
ring. See Figure F.37.
FIGURE F.37 – LOOSENING THE CLAMP RING SET SCREW