Screen control – Kenwood DNX7360BTM User Manual
Page 48
48
DNX series DNX7360BT/ DNX7360BTM
Screen Control
Screen Control
Screen Control
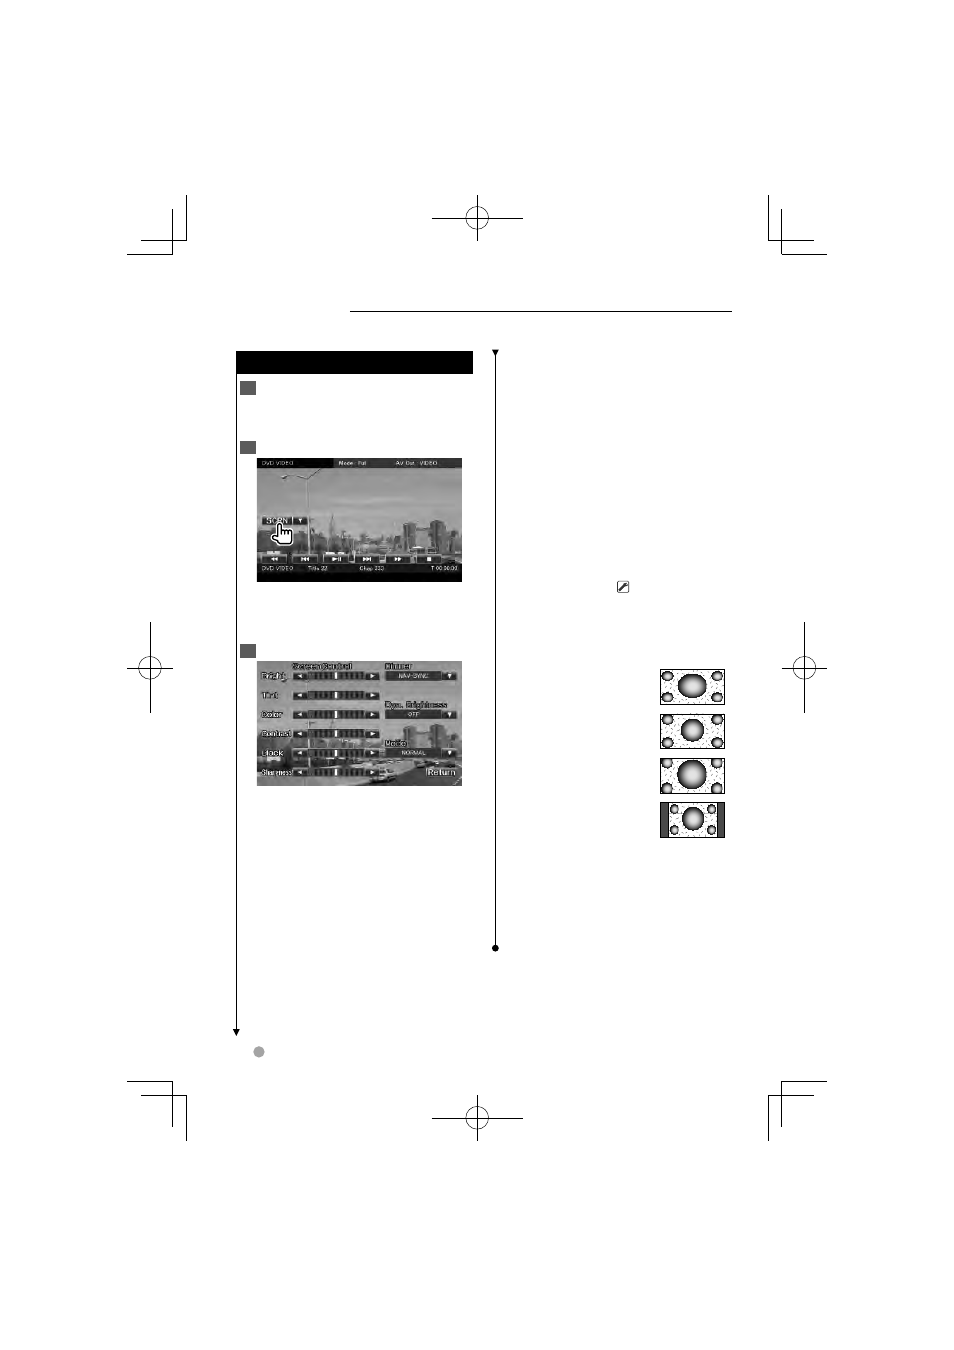
1
Display the Easy Control Screen
See
2
Display the Screen Control screen
When the navigation screen is displayed,
press the [TEL] button for 1 second or
more.
3
Adjust the picture quality
[Bright] Brightness Control
[Tint] Tint Control
Displayed for an NTSC system image on
Video, iPod, TV or Camera View.
[Color] Color Control
Displayed on Video, iPod, TV or Camera
View screen only.
[Contrast] Contrast Control
[Black] Black Level Adjustment
[Sharpness] Sharpness control
Displayed on Video, iPod, USB, TV or
Camera View screen only.
[Dimmer] Dimmer Mode Setup
"ON": The display dims.
"OFF": The display doesn’t dim.
"SYNC": Turning the Dimmer function
On or Off when the vehicle light
control switch is turned On or Off.
"NAV-SYNC": Turning the Dimmer
function On or Off according to the
Navigation Day/Night display setting.
(DNX series and DDX series with
navigation unit only)
[Dyn.Brightness] (Dynamic Brightness)
The function compensates for Over
Exposure and Under Exposure creating
a clearer picture. (
"OFF")
"OFF"/ "1"/ "2"
[Mode] Selects a screen mode.
You can select any of the following
screen mode.
"Full": Full picture mode
"Just": Justify picture
mode
"Zoom": Zoom picture
mode
"Normal": Normal
picture mode
⁄
• The Screen Control screen is displayed only when
you have applied the parking brake.
• The picture quality can be set for each source.
• You can set image quality of screens such as
menu from
Setting the monitor screen.