Recording menu interval – Konica Minolta DYNAX 7D User Manual
Page 40
7
78
8
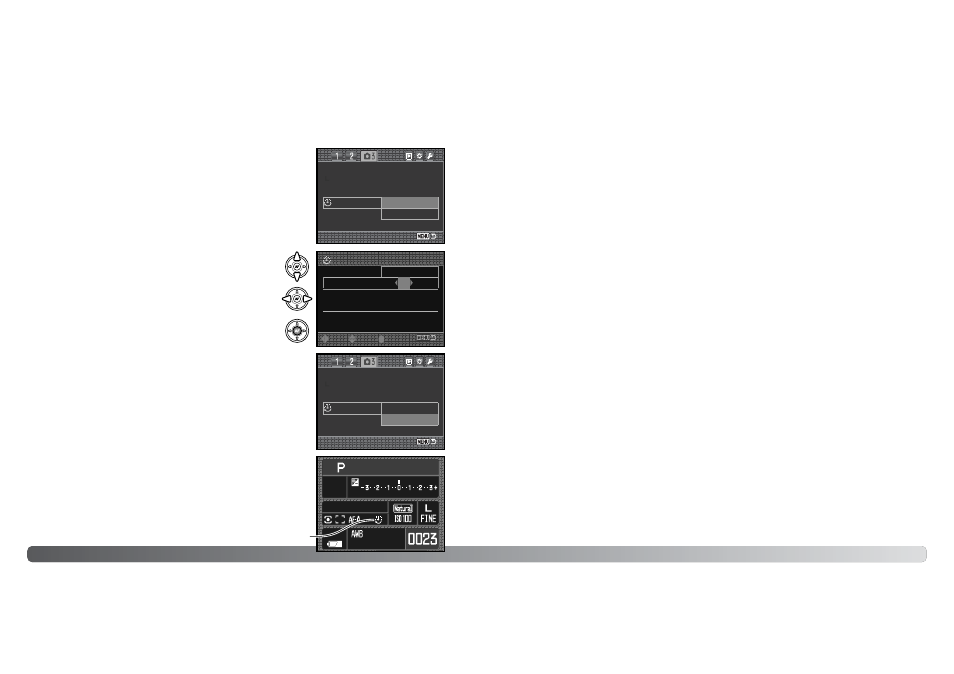
Recording menu
INTERVAL
The interval mode makes a series of still images over a period of
time, similar to time-lapse photography.
Set the drive-mode dial to the single-frame advance position (p.
56) before opening the menu. Highlight “setup” in the interval
option in section 3 on the recording menu and press the central
button of the controller to open the setup screen.
7
79
9
IIn
ns
stt..P
Plla
ay
yb
ba
ac
ck
k
S
Se
ettu
up
p
N
No
oiis
se
e rre
ed
du
uc
cttn
n
S
Se
ettu
up
p
S
Stta
arrtt
IIn
ntte
errv
va
all
IIn
ns
stt..P
Plla
ay
yb
ba
ac
ck
k
S
Se
ettu
up
p
N
No
oiis
se
e rre
ed
du
uc
cttn
n
S
Se
ettu
up
p
S
Stta
arrtt
IIn
ntte
errv
va
all
2
2
N
No
o.. o
off ffrra
am
me
es
s
S
Stta
arrtt ttiim
me
e
::m
mo
ov
ve
e
IIn
ntte
errv
va
all
IIn
ntte
errv
va
all
3
30
0s
s -- 6
60
0m
miin
n
m
miin
n
1
1
::s
se
ell..
::e
en
ntte
err
N
No
o d
de
ella
ay
y
Use the up/down keys or front control dial to select the
parameter to change.
Use the left/right keys or rear control dial to adjust the
parameter.
Press the central button of the controller to complete the
operation.
Confirm the recording menu settings, highlight the start option,
and press the central button of the controller to put the camera in
the interval recording mode.
The interval indicator appears on the monitor.
After mounting the camera on a tripod, compose the image so that
the subject area falls within the focus frames; the camera sets the
focus, exposure, and white balance, and charges the flash just
before each exposure.
Confirm the memory card has enough storage capacity for the series by comparing the number of
frames in the interval series with the number of recordable images displayed on the frame counter.
Image size and quality settings can be changed to increase the number of pictures that can be
saved on the memory card.
Continuous AF can be used. To override the automatic systems, use manual focus (p. 52), manual
exposure (p. 44), and preset or custom white balance (p. 60).
Press the shutter-release button to begin the series. During the interval series, the monitor is turned
off between exposures to conserve power. The access lamp glows when an image is being
recorded.
The camera stops recording and resets to the first frame when the series is complete or when the
memory card is full. The use of an AC adapter is recommended when recording with long intervals
or a large number of frames. To cancel the interval series, turn off the camera or press the shutter-
release button partway down.
Interval indicator