Vel (velocity) zone tab (velocity zone settings), 1 to create a combination such as shown above, fir, 2 in p2: edit-trk param, select the midi channel 2 – KORG Speaker System User Manual
Page 61: 3 in p4: edit-zone/ctrl vel zone tab, set the “top, Controller setup tab, P7: edit-arpeggiator arpeggiator settings, P8: edit-insert effect insert effect settings, P9: edit master effect master effect settings, P7: edit-arpeggiator, Arpeggiator settings
57
Basic functions
Vel (Velocity) Zone tab (Velocity zone settings)
For each timbre, you can specify a range of velocities
for which it will sound. The range of velocities for
which a timbre will sound is called the Velocity Zone.
By setting a velocity zone, you can set up a timbre
which will be sounded only by notes played at a cer-
tain strength, and not by stronger or weaker notes.
By combining timbres that have differing velocity zone
settings, you can create velocity switched combina-
tions.
The upper and lower limits of the velocity zone of each
timbre are determined by the “Top Velocity” and “Bot-
tom Velocity” respectively. The following diagram
shows an example of a velocity switched combination
in velocity will switch between timbres 1 and 2 to play
different programs. Such combinations are created by
setting the velocity zone.
1 To create a combination such as shown above, first
use P0: Play or P1: Edit-program/Mixer to select the
program that each timbre 1 and 2 will use.
Select a brass program for timbre 1.
Select a strings program for timbre 2.
2 In P2: Edit-Trk Param, select the MIDI Channel
tab. Set each timbre you are using to a “Status” of
INT, and a “MIDI Channel” of Gch or the global
MIDI channel. (“G” will be displayed after the
channel number.)
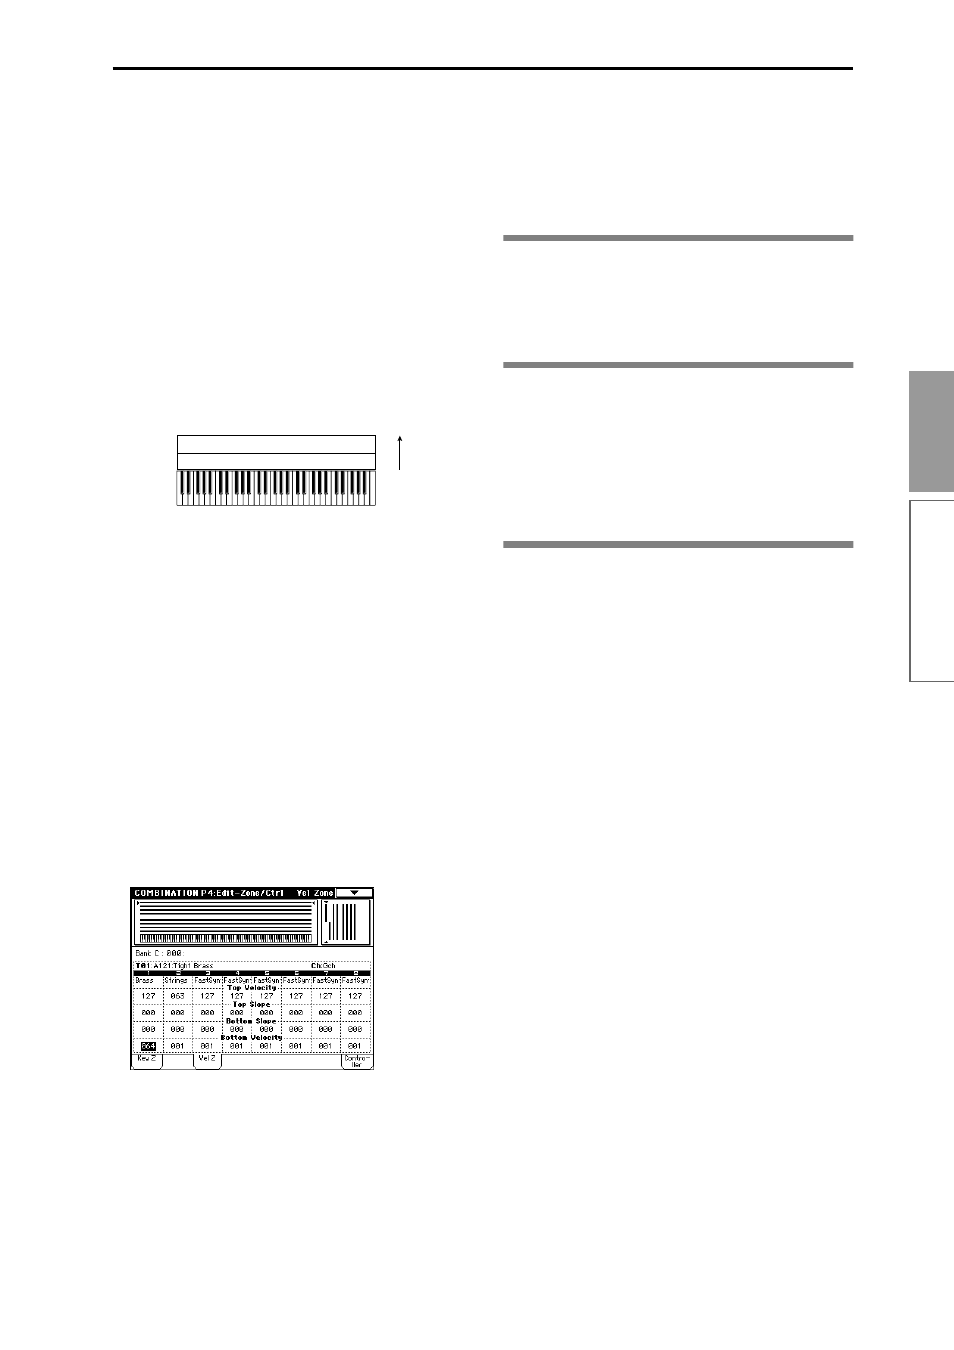
3 In P4: Edit-Zone/Ctrl Vel Zone tab, set the “Top
Velocity” and “Bottom Velocity.”
Set timbre 1 to a “Top Velocity” of 127 and a “Bot-
tom Velocity” of 64.
Set timbre 2 to a “Top Velocity” of 63 and a “Bottom
Velocity” of 1.
You can also input the value by holding down the
[ENTER] key and playing a note on the keyboard.
As an option, you could specify the range velocities,
so that a portion of the two timbres overlapped, and
set “Top Slope” and “Bottom Slope” so that the vol-
ume would change gradually within that area. This
would avoid an abrupt change in sound between
velocities 63 and 64.
Controller Setup tab
For each combination, you can specify the functions of
the [SW1] and [SW2] keys, and the B-mode functions
of REALTIME CONTROLS knobs [1]–[4] (
(
☞
p.38, 217, 218 in the Parameter Guide)
P7: Edit-Arpeggiator
Arpeggiator settings
Make settings for the arpeggiator (
P8: Edit-Insert Effect
Insert Effect settings
Select insert effects, and make settings for them. Here
you can also set the oscillator routing (send levels to
the insert effects, master effects, and individual out-
puts) (
P9: Edit Master Effect
Master Effect settings
Select master effects, and make settings for them. Here
you can also make master EQ settings (
Strings
Velocity switch
Timbre 1
Timbre 2
Brass
127
64
63
1