Setting image quality (file compression), Using the self-timer – Konica Minolta Konica Digital Revio KD-300Z User Manual
Page 16
27
26
1 Press the “MENU” button.
2 Press the “
@” button to select
[
].
Setting Image Quality (File Compression)
Use this function to change the amount of file compression and thus
image quality, and when shooting movies.
Quality
Image Dimensions (Pixels) File Size
[N] Normal
1024 × 768
About 280 KB
[F] Fine
2048 × 1536
About 1 MB
[S] Super Fine
2048 × 1536
About 2 MB
[T] TIFF-RGB (no compression)
2048 × 1536
About 9.1 MB
[
] Movie
320 × 240
(Maximum 15 seconds)
¶ When TIFF-RGB [T] is selected, color mode cannot be used to select B/W or
Sepia.
¶ Capacities are only given as general references. Actual file size will differ
depending on the color and other characteristics of the image photographed.
Using the Self-Timer
The self-timer is a convenient function when you wish to include
yourself in your pictures, or to avoid camera shake when shooting
closeups.
[
] : The shutter is released ten seconds after pressing the shutter
release button. Use this setting when you need time to enter
the picture composition yourself.
[
] : The shutter is released 2 seconds after pressing the shutter
release button. Use this setting with a tripod during macro
photography and during lengthy exposures to avoid camera
shake.
1 Press the “MENU” button.
2 Press the “
@” button to select
[
].
3 Press the “
”button and
select the desired self-timer
delay time [
] or [
].
4 Press the “MENU” button to
turn off the MENU display.
5 With camera on tripod,
compose your picture and
when ready, press the shutter
release button.
¶ Follow the same procedure to return
to normal shooting mode.
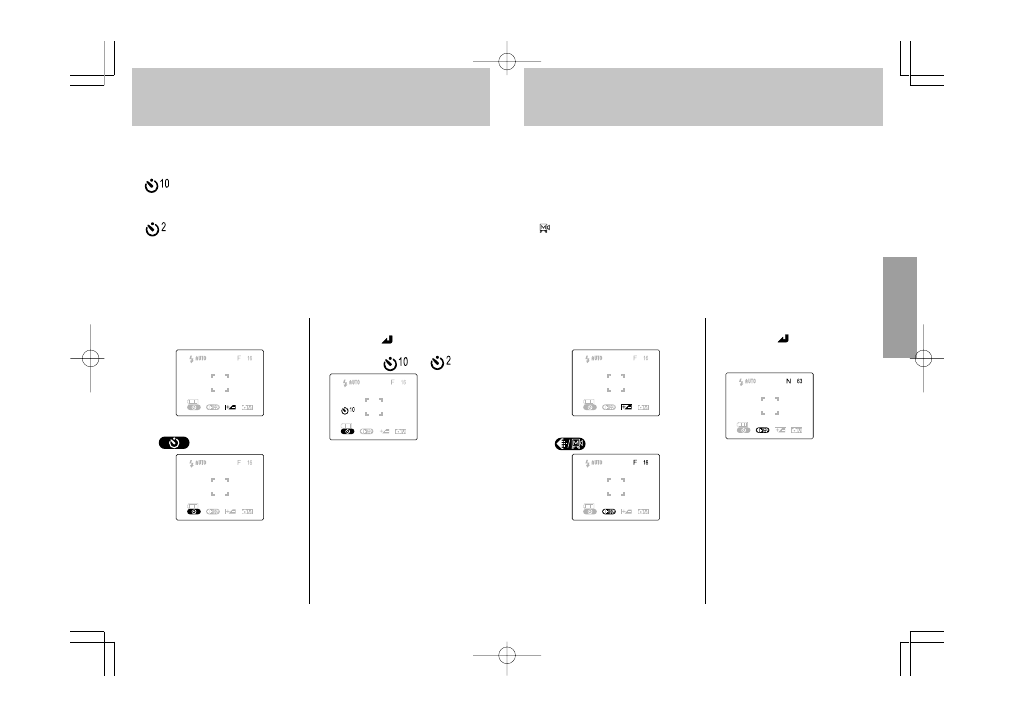
Display
appearance
when 10-
second
delay is
selected.
3 Press the “
” button to select
the desired image quality or
movie mode.
4 Press the “MENU” button to
turn off the menu display.
5 Press the shutter release
button to take the picture.
Display
appearance
when [N]
(Normal)
mode is
selected.
2001.7.6, 6:08 PM
Page 26-27