2 installing the projector, Installing the projector -2 – Samsung SP-M305 User Manual
Page 12
Installation and Connection
2-2
2-2
Installing the Projector
Install the projector so that the beam from the projector is perpendicular to the screen.
•
Place the projector so that the lens aims at the center of the screen. If the screen is not vertical, the picture on the
screen may not appear rectangular.
•
Do not install the screen in bright surroundings. If the surroundings are too bright, the picture on the screen will be
washed out and not display clearly.
•
When using the projector in bright surroundings, use curtains to block the light.
•
You can install the projector in the following locations relative to the screen :
To adjust the picture when you install the projector behind the screen
To adjust the picture when you install the projector in the front of the screen
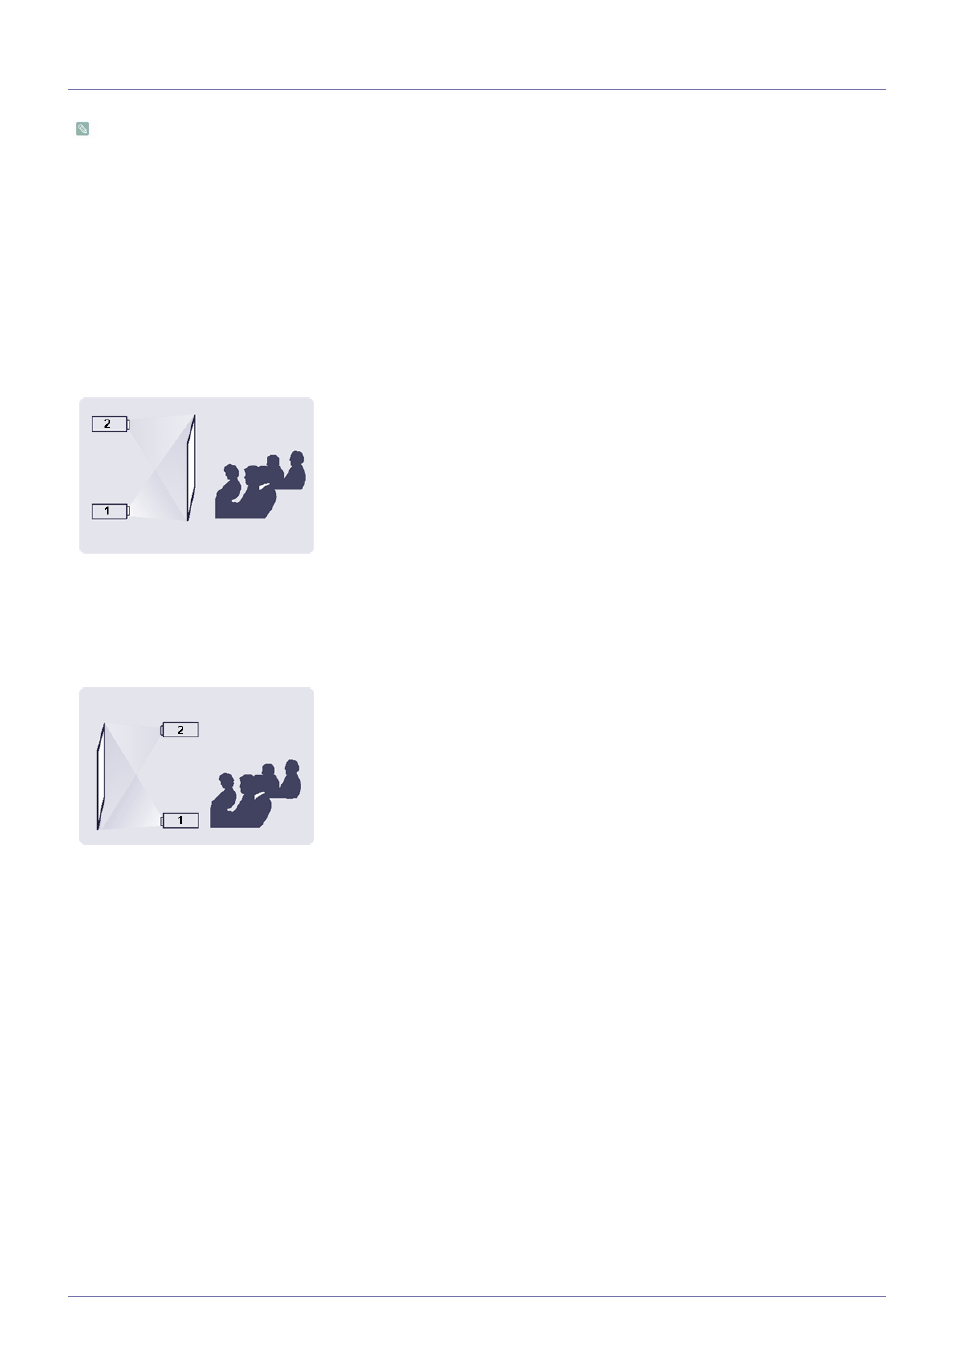
Installing behind a semi-transparent screen.
When you install the projector behind a semi-transparent screen,
you can use the menu to adjust the picture so that it displays cor-
rectly, depending on where you've located the projector, rear-
floor (or low) or rear-ceiling.
1.
For rear-floor, press :
Menu > Setup > Install > Rear-Floor
2.
For rear-ceiling, press :
Menu > Setup > Install > Rear-Ceiling
Installing the projector in front of the screen.
When you install the projector in front of a screen, you can use
the menu to adjust the picture so that it displays correctly,
depending on where you’ve located the projector, front-floor (or
low) or front-ceiling.
1.
For front-floor, press :
Menu > Setup > Install > Front-Floor
2.
For front-ceiling, press :
Menu > Setup > Install > Front-Ceiling