Set the following items on the isdn line, Enter the sub-addresses – Sony PCS-1/1P User Manual
Page 31
31
Setting Up the System for the First Time — Initial Setup Wizard
C
h
apt
er
1:
In
st
al
la
tio
n
an
d Pr
e
p
a
ra
tio
n
4
Use the
V, v, B or b button on the
Remote Commander to select “Next”,
then press the PUSH ENTER button.
The ISDN Setup Wizard appears when
the PCS-B768 ISDN Unit is connected.
When the ISDN Unit is not connected,
the LAN Setup Wizard is displayed.
Proceed to step 11.
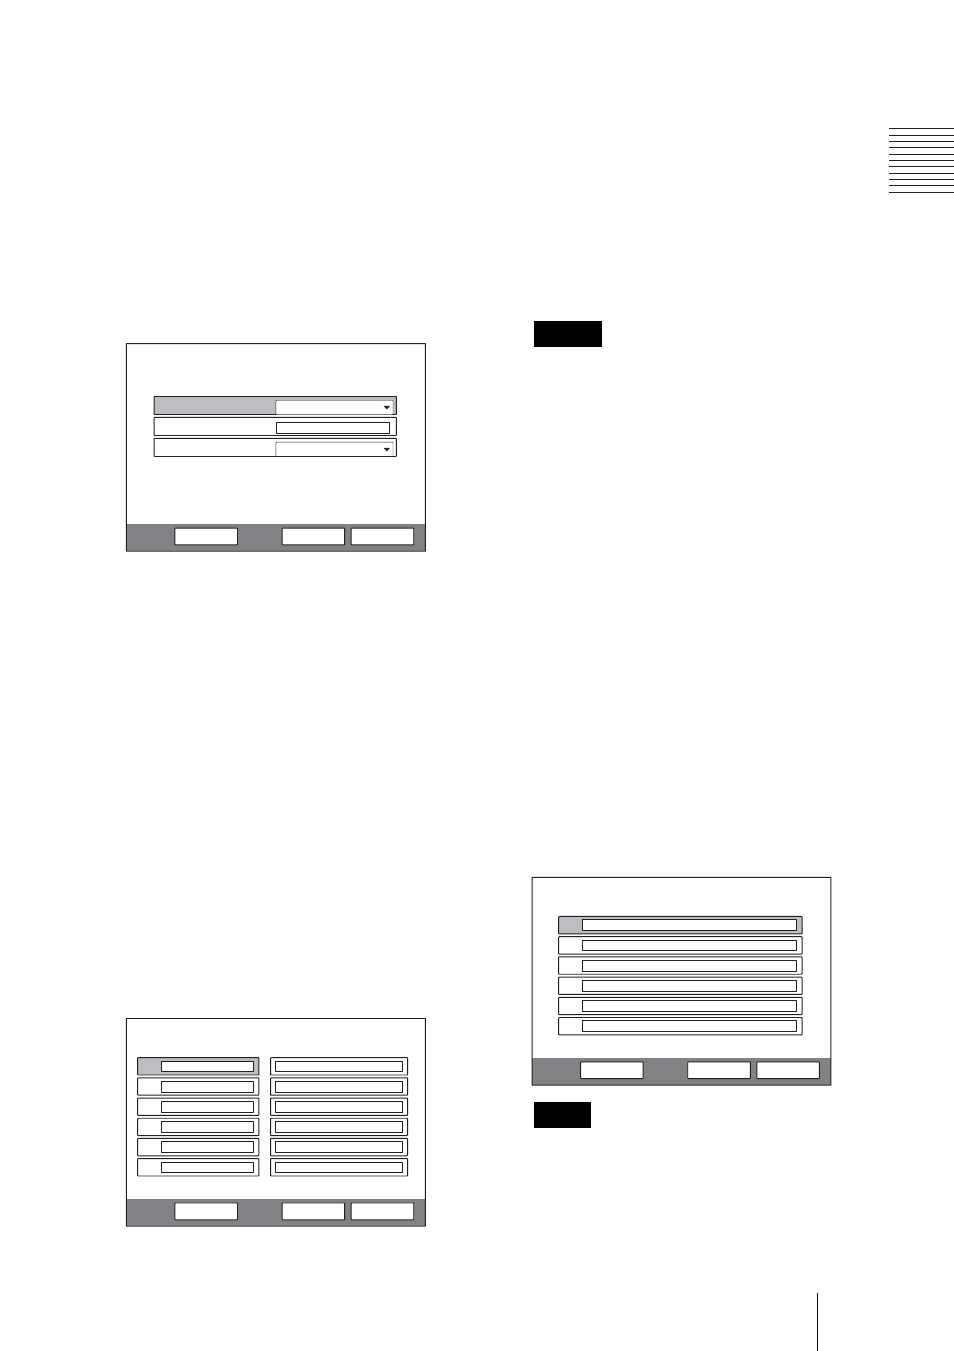
5
Set the following items on the ISDN
line.
Country/Region: Select your country
or region.
Country/Region Code: Enter your
country code or region code with the
number buttons on the Remote
Commander.
Protocol: Select the protocol of the
ISDN line you are using.
6
Use the
V, v, B or b button to select
“Next”, then press the PUSH ENTER
button.
7
Enter the telephone number of the
ISDN used by the system.
When you use one ISDN line, enter the
same number both in the A1 and A2 text
boxes (except for the USA and Canada).
Area Code: Enter the area code. Do not
enter the first “0” number.
Local Number: Enter the telephone
number.
When you select Auto SPID (only
for customers in the USA and
Canada)
You can automatically set up the Area
Code and Local Number on this page,
and SPID items in the SPID menu.
• When you select a blank text box and
press the PUSH ENTER button on the
Remote Commander, the content in the
text box immediately above will be
copied to the selected text box.
• When 2-6 ISDN lines are used, enter the
telephone numbers in the B1 to F2 text
boxes in addition to the A1 and A2
boxes. To open the menu with D1 to F2
text boxes, select “Next”, then press the
PUSH ENTER button.
8
Use the
V, v, B or b button to select
“Next”, then press the PUSH ENTER
button.
9
Enter the sub-addresses.
Only numerals are available for a sub-
address.
When you use one ISDN line, enter the
same number both in the A1 and A2 text
boxes (except for the USA and Canada).
When 2-6 ISDN lines are used, enter the
sub-addresses in the B1 to F2 text boxes in
addition to the A1 and A2 boxes. To open
the menu with these text boxes, select
“Next”, then press the PUSH ENTER
button.
ISDN Setup Wizard
Cancel
Next
Previous
USA
Country/Region
1
Country/Region Code
National ISDN
Protocol
Area Code
Local Number
Cancel
Next
Previous
A2
A1
B1
B2
C1
C2
Notes
Note
Sub Address
Cancel
Next
Previous
A2
A1
B1
B2
C1
C2