Installing truetype fonts – Star Micronics LC-8521 User Manual
Page 62
54 Using the printer with Windows 95
❏
Select how many copies of the document will be printed by entering the
appropriate number into the Number of copies field. If you want to print all
the pages in your document, make sure that the All radio button is checked.
If you do not want to print all the pages in your document, enter the first
and last pages to print into the from and to fields.
❏
If you want the output to be collated (each copy automatically sorted into
page order) or if you want to print to file (instead of a print-out, a graphic
file of the print-out is saved on disk), check the appropriate radio button.
❏
Click on the
OK
button.
Your document will now be printed out.
Installing TrueType fonts
To install the TrueType fonts that are on the floppy disk accompanying this
printer, follow the procedure below.
❏
Insert the disk in your computer’s floppy disk drive.
❏
Click on the
Start
button in the bottom lefthand corner of the screen.
❏
Select
Settings
.
❏
Release the mouse button on
Control Panel
.
❏
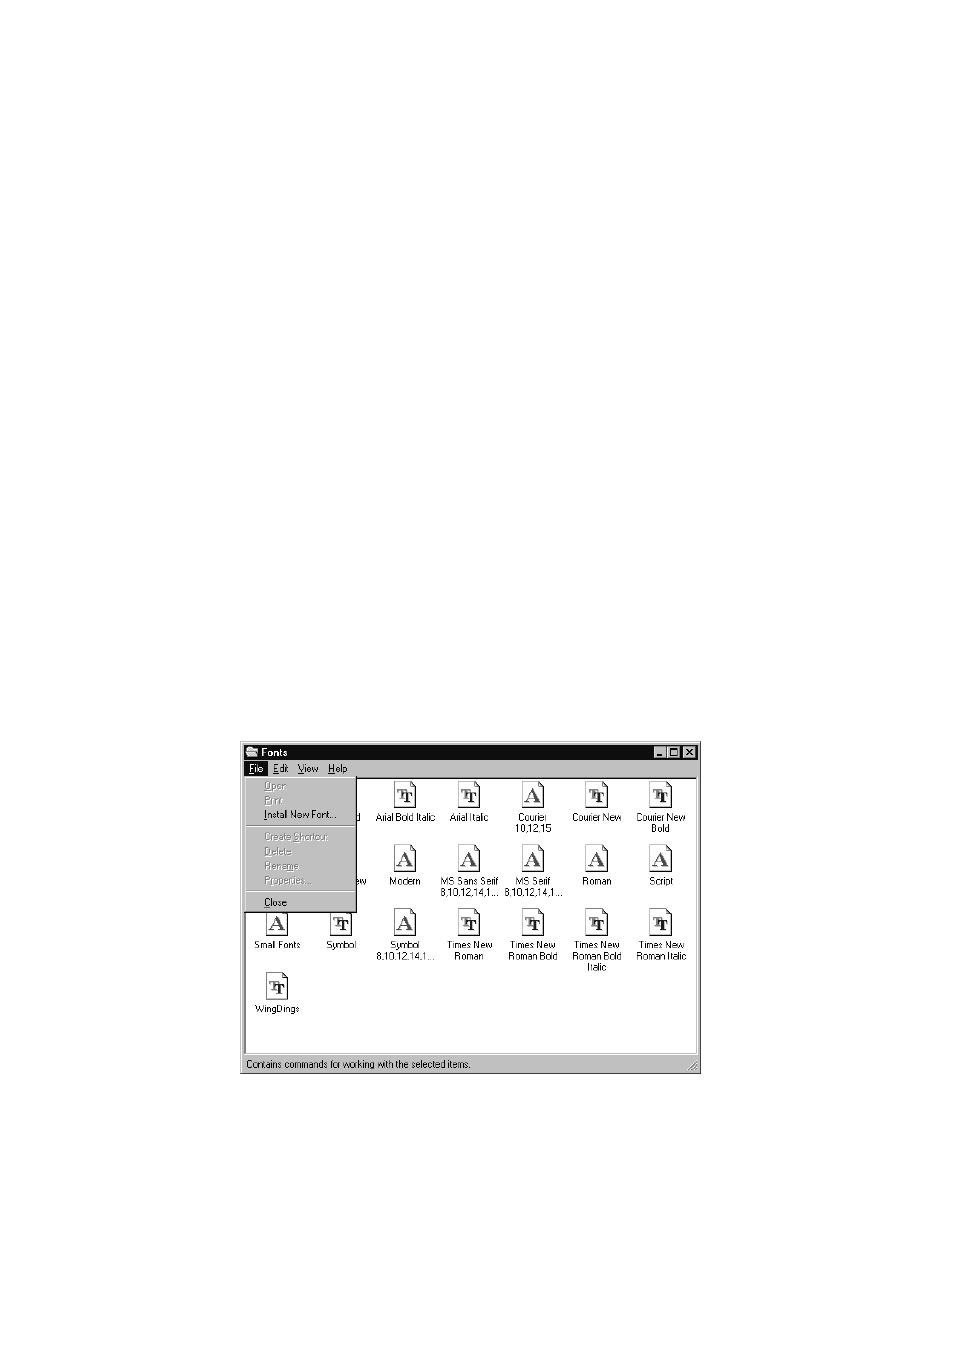
Double-click on the
Fonts
folder. The currently-installed font files are
displayed.
❏
Click on the
File
menu.
❏
Click on the
Install New Font...
command.
❏
Display the drive’s name (“A:” or “B:”) in the Drives field. To select a drive
name, click on the arrow by the side of the field and select the drive from
the list that appears. The names of the fonts stored on the disk are displayed
in the List of fonts window.