Sentry Industries 5000 User Manual
Page 45
SMC
sierra monitor corporation
Sentry Instruction Manual - Version 6
CONFIGURATION PROCEDURE
Page: 39
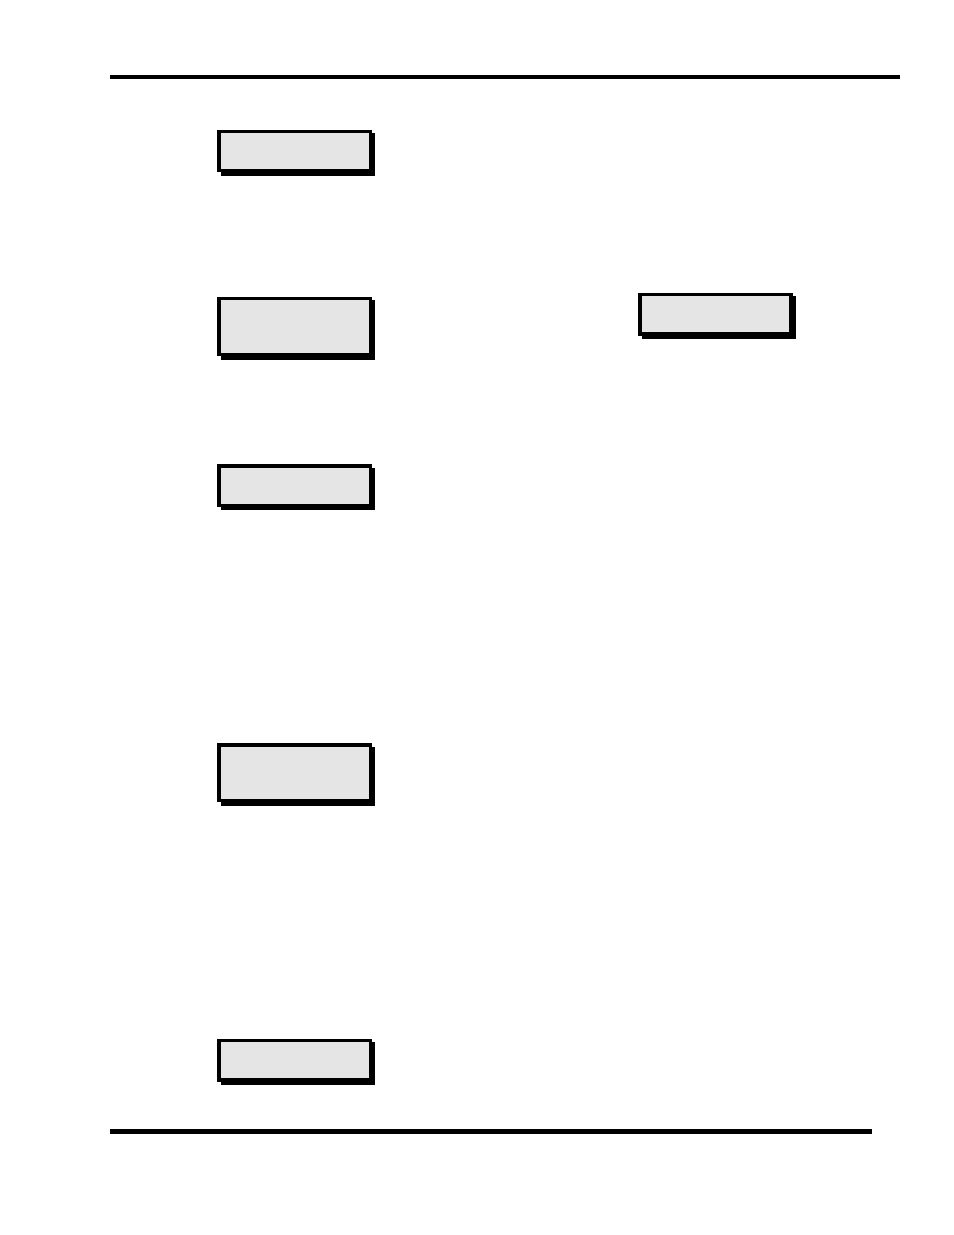
4.6 SET USER CODE
PRESS ENTER TO
SET USER CODE
To avoid unauthorized access to the configuration activity the
USER CODE should be set as soon as the Sentry has been put
on line. User codes are described in Section 8.3. Special
diagnostic routines, also accessible via the user code, are
describe in the same section.
4.6.1.1 CHANGE PRINTER / MODBUS
PRESS ENTER TO
CHANGE PRINTER
CHANGE MODBUS
The CHANGE PRINTER or CHANGE MODBUS sub menu
will appear if printer or MODBUS software is installed on the
Sentry. Printer and MODBUS software is described in Section
8.5.
4.6.1.2 CHANGE GAS TAG
PRESS ENTER TO
CHANGE GAS TAG
The system default GAS TAG list contains eight common toxic
gas names. (CO, H
2
S, CL
2
, SO
2
, NO
2
, HCL, H
2
, NH
3
). The gas
tag names, and their corresponding engineering units can be
changed. At the menu prompt press ENTER and the first gas
tag will appear. Press ENTER to begin edit, or press ARROW
to select a different gas tag.
Edit the tag by pressing the ARROW unit the correct character
is selected, then ENTER to advance to the next character. The
gas tag allows six characters, the engineering units allow four
characters.
4.6.1.3 CHANGE MODULE TAG
PRESS ENTER TO:
CHANGE MOD
TAG
The system default MODULE TAGS are blank for all modules
unless changes have been ordered through the enhancement
package. Module tags can be changed or edited.. At the menu
prompt press ENTER and the first module number will display.
Press ENTER to begin edit, or press ARROW to select a
different module number.
Edit the tag by pressing the ARROW unit the correct character
is selected, then ENTER to advance to the next character. The
module tag allows sixteen characters,. It is recommended that
shorter tags be centered by leaving leading blank.
4.6.1.4 OPERATE MODE
PRESS ENTER TO:
OPERATE MODE
When the OPERATE MODE is selected by pressing ENTER
the Change/Calibrate light turns off and Sentry returns to the
pre-selected scanning mode.
4.6.2 MODE KEY - OTHER
If the first MODE key activity CALIB/CHANGE is not
required the following menu selections can be accessed by
successive presses of the MODE key:
4.6.2.1 SELECT SCAN
PRESS ENTER TO
SELECT SCAN
Select the controller scan mode during normal operation. This
selection only affects the display and does not change the alarm
or relay activity. The scan mode can be selected by successive
presses of the ARROW key. and implemented by implemented
by pressing the ENTER key.
1. HIGHEST MODULE: Sentry will find the highest reading
module and will display only that module until another
module exceeds the first level. Under certain conditions the
display will cycle from one module to another in this mode,
those conditions are:
•
More than one module at the same level.
•
More than one module type in use (when two types
are in use the highest of each type will display
alternately.
•
All modules in alarm condition will display.
•
Any module which is uncalibrated, off, or in trouble.
2. CONTINUOUS: The display continuously cycles through
all modules. When two types of module are in use all "Type
1" (H
2
S) will be displayed, followed by all "Type 2" (CH
4
)
etc..
3. SAFE SCAN: When all modules are below their respective
alarm level Sentry will display a "- -" on the upper display
and CONDITION SAFE on the lower display. When any
module(s) exceeds it's alarm level that module's information
will display. Modules which are uncalibrated, off or in
trouble will also display.