Smart Technologies 4000i User Manual
Page 22
16
Finalizing the Installation
99-00582-20 REV A0
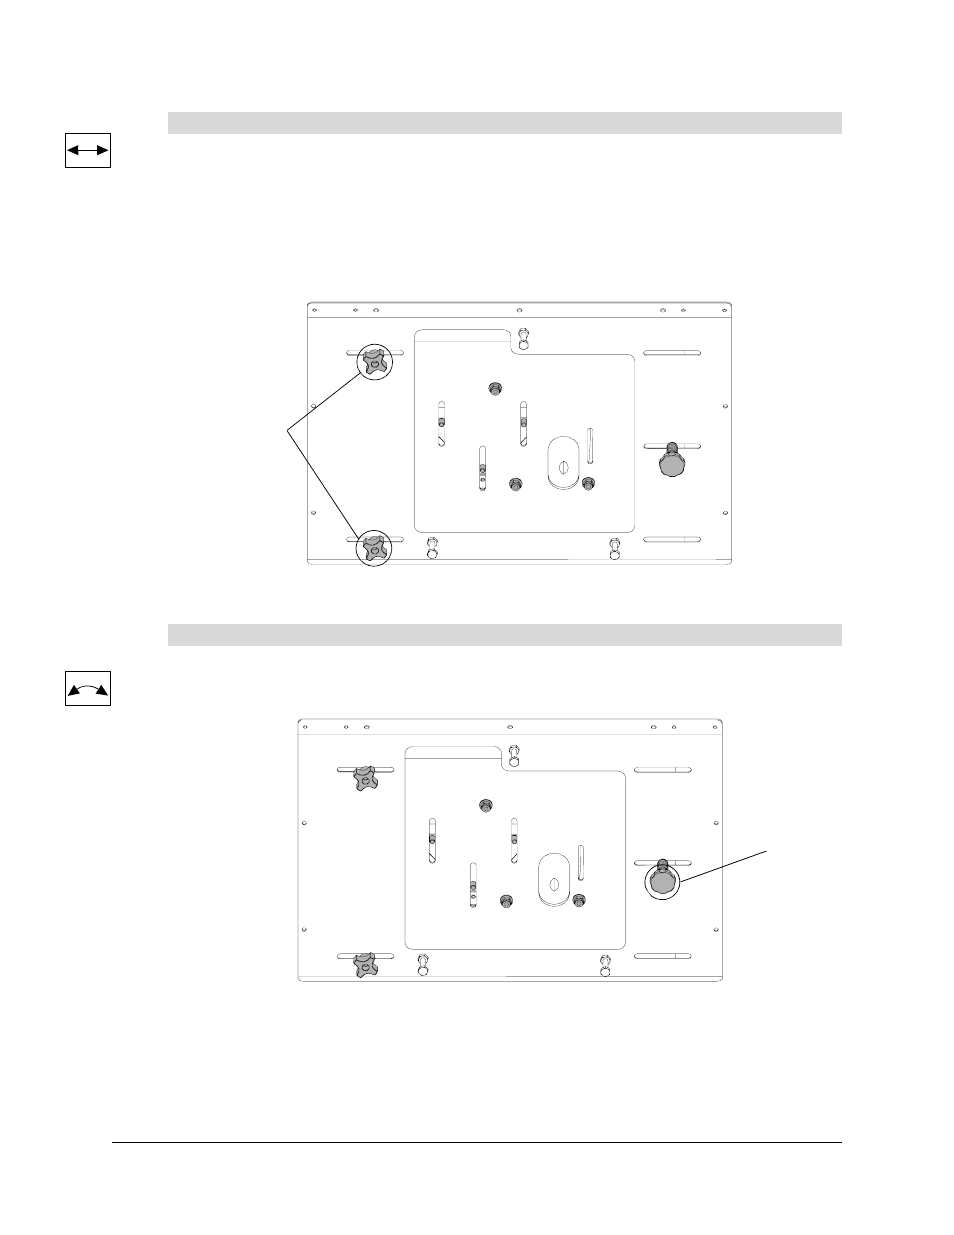
1.
Loosen the two
knobs on the bottom left side of the mounting plate and slide the projector to
the left or right.
If the projector won’t slide after you’ve loosened the two knobs, try slightly loosening the
spring-loaded knob on the right side of the projector plate. This right side knob also controls
the projector’s tilt (see To adjust roll on page 16), so be careful to only loosen this knob
enough to allow the plate to slide.
2.
After you’ve adjusted the image, tighten the two knobs to lock the projector in place.
1.
Tighten or loosen the knob on the right side of the projector’s mounting plate until the
projected image is level on the screen.
2.
If you can’t tighten the knob on the right side of the projector’s mounting plate any further,
adjust the roll by slightly loosening the two knobs on the left side of the projector’s mounting
plate.
To adjust the image laterally (side to side)
To adjust roll (the projector’s tilt)
Loosen these
two knobs.
Adjust this knob.