Backup, Save searched image – Speco Technologies DVR-PC8 Series User Manual
Page 37
37
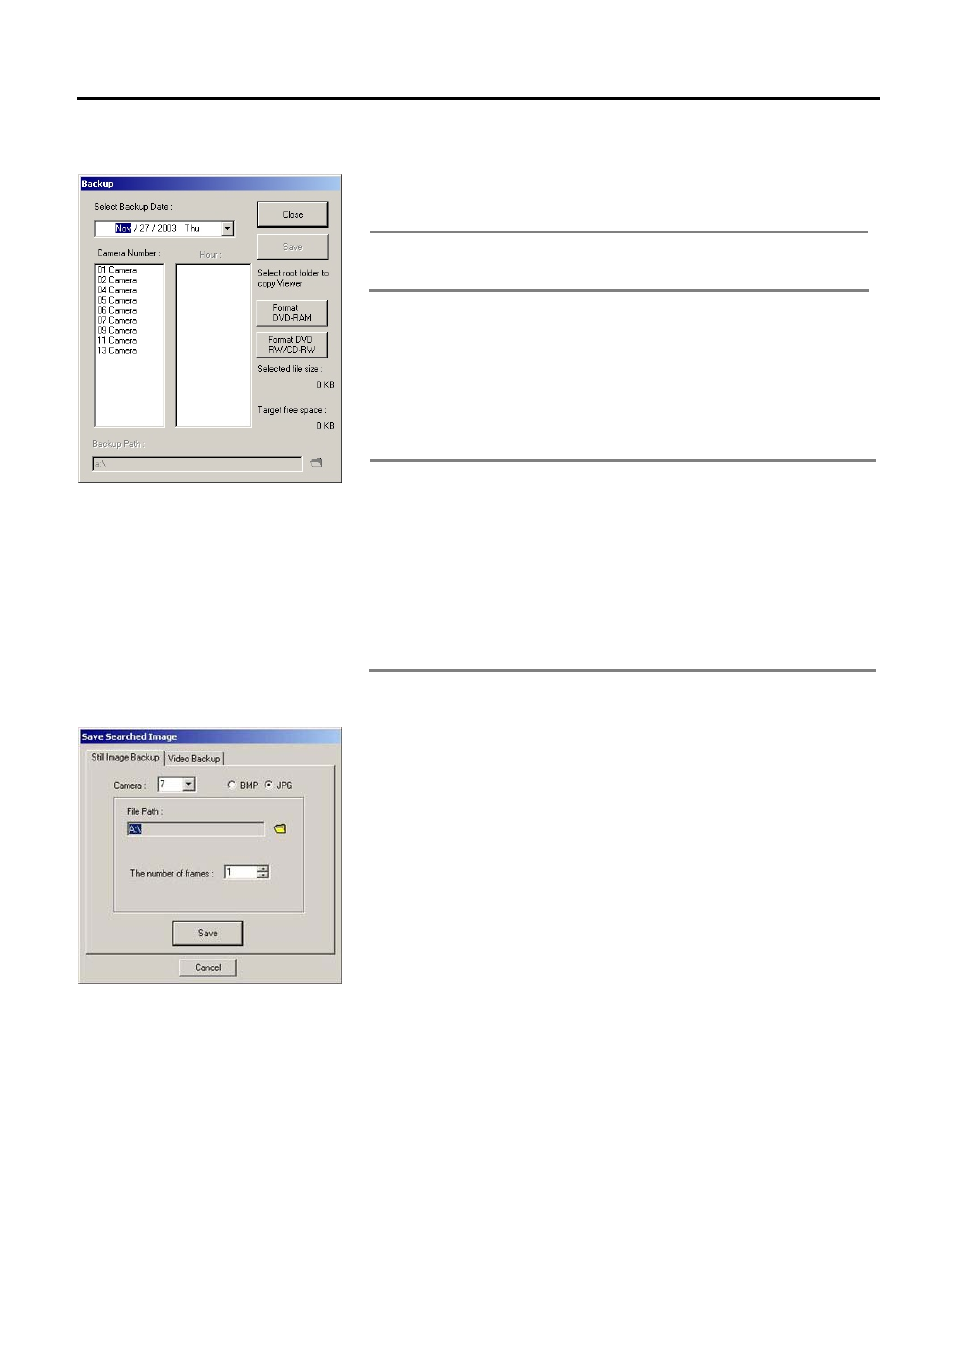
5.3.3. Backup
Select the time and save the image in the backup device. These files can be
called up in the normal PC (window based).
Note
Backup device supported by the viewer are CD-RW and
DVD-RW, and USB for the interface. To add additional backup
device, inquire from the buyer or dealer.
To backup the recorded file,
1. Click the ‘CD backup’ button in the main screen of the viewer. A box will
appear to set desired date, camera number, time and backup path.
2. Select the desired date, camera, and time in order.
3. Set the backup path by clicking the [Folder] button.
4. Save the recorded file by clicking [Save].
Note Select several cameras or time ranges at the same time and the
color of the background will change and they will be selected.
Press once more on the time ranges and the selection will be
disabled.
The saved images recorded by “Backup” can be recalled on
normal PC (Window series), with the corresponding media
installed.
If it is backup to a CD by DSF file, the Viewer to see the DSF file
will be exported also. Run the backup viewer in a PC and the
saved file can be viewed.
5.3.4. Save Searched Image
Still Image Backup
Save and store images continuously from the current search screen in JPEG/
BMP format on Dumbdrive
, CD-R or DVD. The BMP format has better picture
quality but has bigger capacity than JPG. The user can choose one of the two
formats to save.
To save the searched screen in images,
1. Search recording image.
2. Click [Pause] button to replay the saved screen.
3. Click [Still Image Backup].
4. Image box will appear to set Still Image Backup path.
5. Select camera number of the screen to save.
6. Select the saving method (BMP/JPG).
7. To indicate the save path, click the [Folder] button.
8. Click [Save] button to save the image.