Japan Tiger 7100e+ User Manual
Page 82
Fast Ethernet
7100e+
82
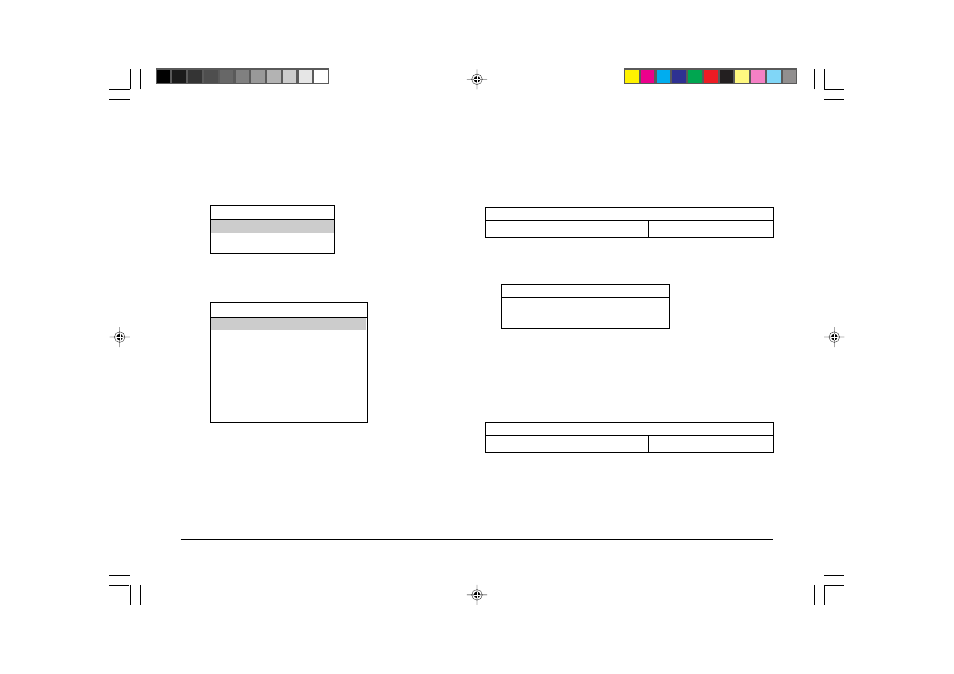
Creating a printer controlled by the Printer Server
1
Select the print server you generated (“8C-PSERVER”) and
press the Enter key.
Print Servers
8C-PSERVER
2
Select [Printers] and press the Enter key.
Print Server Information
Printers
Information and Status
User
Operator
Service Network Server
Description
Password
Monitor
3
Press the Ins key to input the printer name to be created
(“OP8C” in this example), then press the Enter key.
Printer Name: OP8C
“OP 8C” is created.
Allocating Print Queues to Printers
1
Select the printer you have created (“OP8C”)and press the
Enter key.
Pre-defined Printers
No.
Status
OP8C
0
[c]
2
Select [Banner Type], then press the Enter key.
3
Choose [Text] or [PostScript] and press the Enter key.
Available Banner Types
Text
PostScript
4
Select [Print Queues Assigned], then press the Enter key.
5
Press the Ins key, select the print queue you have created
(“Q-8C”) from [Available Print Queues], then press Enter.
6
Input a priority value of “1” for the print queue and press the
Enter key.
NetWare Server\Print Queue Priority Status
SOFT22-NW4Q-8C
1
[c]
The print queue is allocated.
7
Press the ESC key until [Save changes?] is displayed. Select
[Yes], then press the Enter key.
7100e+.p65
25/08/99, 20:51 PM
82