Operating the setting menu, Making basic settings, Press the setting button of the projector – JVC DLA-M5000SCU User Manual
Page 30
30
Operating the Setting Menu
Making Basic Settings
■
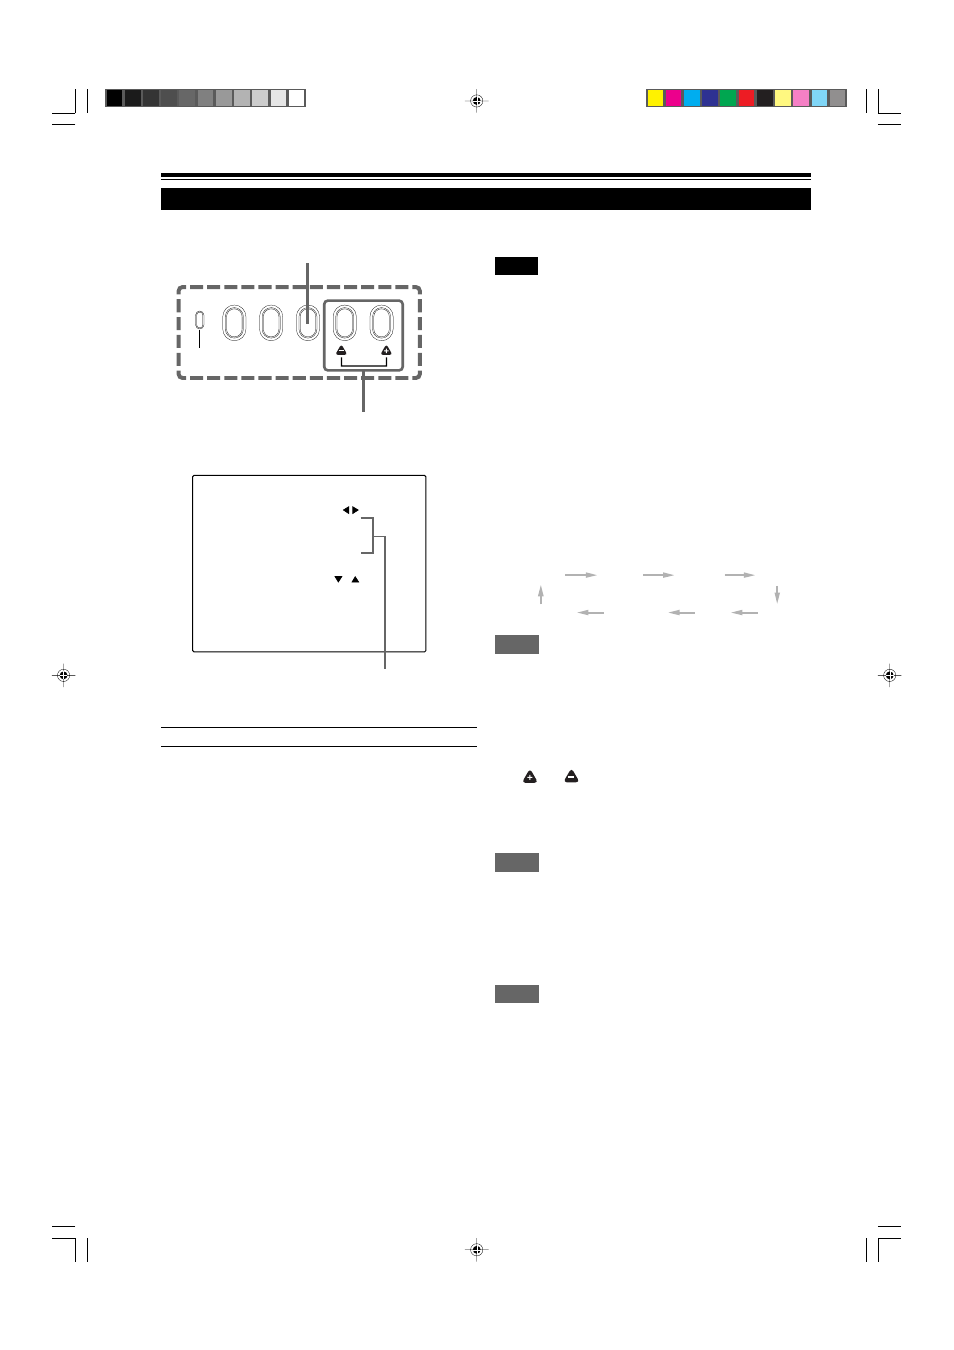
Projector’s buttons
SETTING button
■
Setting menu
Description of adjustment and setting items
TRACKING
: If wide vertical stripes appear on the screen,
adjust the lateral video size and display area
so that they disappear. (–255
↔
0
↔
+255)
PHASE
: If characters on the screen flicker or become
dim, adjust so they become clear.
(–127
↔
0
↔
+127)
H. POS.
: If the screen position is displaced to the right
or left, adjust the horizontal position of the
screen. (–255
↔
0
↔
+255)
V. POS.
: If the screen position is displaced upward or
downward, adjust the vertical position of the
screen. (–120
↔
0
↔
+120)
FOCUS
: Adjust the focus of video picture.
–: Focuses on near points.
+: Focuses on farther points.
ZOOM
: Adjust the screen size (angle of view).
T : Becomes smaller.
W : Becomes larger.
SIFT LENS
: Adjusts the projected screen position.
∞
: Moves it down.
5
: Moves it up.
In this section, we are making basic picture adjustments which
should be performed after installation (connection).
Notes
• The setting menu is displayed when you press the SETTING button
on the projector. After the menu is displayed, you can make settings
(adjustments).
• If the projector’s position or connections have been changed,
adjustments and settings should be performed again.
• After adjustments, if further picture adjustment is necessary
depending on the equipment connected, use the main menu (pages
33 to 58) to make detailed settings and adjustments.
• For computer-related inputs, use of the quick alignment function
allows automatic adjustment of TRACKING, PHASE, H. POS. and
V. POS. (See pages 30, 36 and 37).
1
Press the SETTING button of the
projector.
• The setting menu is displayed on the screen.
2
Press the SETTING button to
select the desired item.
• The selected item is shown in magenta color. Each time
you press the button, the selected item changes as
follows:
TRACKING
PHASE
H. POS.
V. POS.
Menu clearing
SIFT LENS
ZOOM
FOCUS
Memo
To select items using the remote control unit:
Items can be selected using the cursor buttons
5
(backward) or
∞
(forward) on the remote control unit. In this case, menu clearing in
the above order is not available. The selection changes from SIFT
LENS to TRACKING directly.
3
Adjust and set the selected item
using the QUICK ALIGN. buttons
or .
• To adjust and set multiple items, repeat steps 2 and 3.
• To reset the adjustment value of the selected item
(TRACKING, PHASE, H. POS. or V. POS.) to the
factory-set value, press the remote control’s PRESET
button. This button does not work for focus and zoom.
Memo
To adjust and set items using the remote control unit:
Items can be adjusted or set by pressing the MENU/ENTER button
toward the
2
or
3
mark on the remote control.
4
Clear the setting menu by
pressing the SETTING button
repeatedly.
Memo
To clear the setting menu using the remote control unit:
You can also clear the setting menu by pressing the PAGE BACK
button on the remote control unit.
S E T T I N G
T R A C K I N G
P H A S E
H . P O S .
V . P O S .
F O C U S –
Z O O M W
S I F T L E N S
0
0
0
+
T
1 0
Adjustment • setting level
MERGENCY
AV
RGB
SETTING
QUICK
ALIGN.
QUICK ALIGN. button
M5000LU/SCU p.25-32
01.3.5, 15:07
30