Initializing a memory card, Pg. 34), D.s.c. playback (cont.) – JVC 0503-FO-ID-VP User Manual
Page 34
34
EN
Master Page: Left
To Print By Selecting Still Images And Number
Of Prints
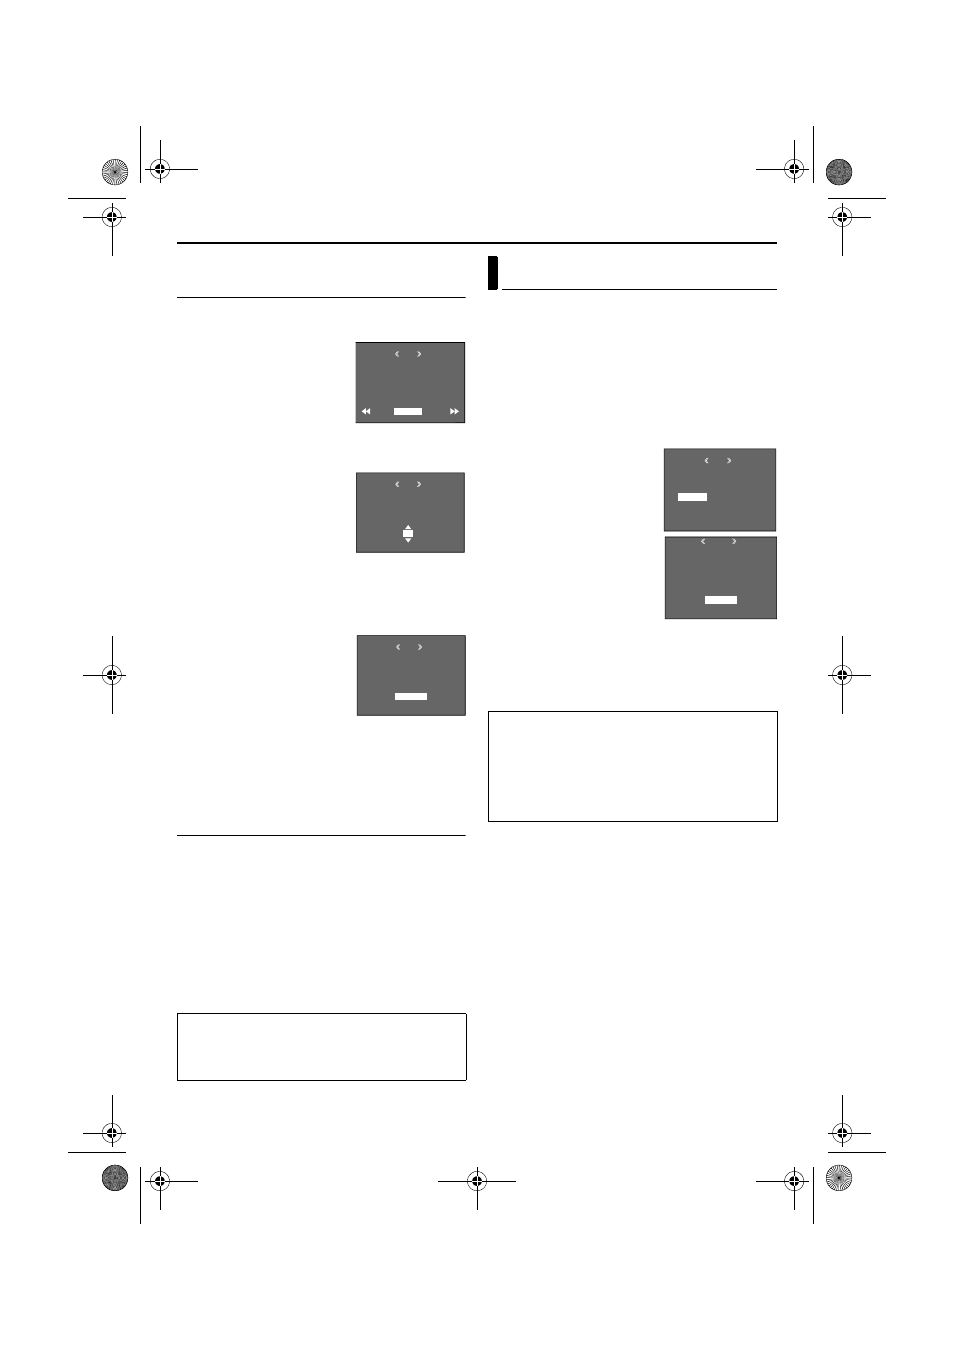
1
Perform steps 1 – 6 in “To Print All Still Images
(One Print For Each)” (
2
Rotate the MENU Wheel
to select “CURRENT”, and
press it. The DPOF screen
appears.
3
Press 3 or 5 to
select the desired file.
4
Rotate the MENU Wheel to select the number
indication (00), and press it.
5
Select the number of prints
by rotating the MENU
Wheel towards “R” to
increase number, or
towards “T” to decrease
the number, and press it.
● Repeat steps 3 through 5
for the desired number of prints.
● The number of prints can be set up to 15.
● To correct the number of prints, select the
image again and change the number.
6
Rotate the MENU Wheel
to select “RETURN”, and
press it. The “SAVE?”
appears.
● If you did not change
any settings in step 3
through 5, the Menu
Screen reappears.
7
Rotate the MENU Wheel to select “EXECUTE” to
save the setting you have just made, and press it.
● To cancel selection, select “CANCEL”.
To Reset The Number Of Prints
1
Perform steps 1 – 6 in “To Print All Still Images
(One Print For Each)” (
2
Rotate the MENU Wheel to select “RESET”, and
press it. The DPOF screen appears.
3
Rotate the MENU Wheel to select “EXECUTE”,
and press it. The normal playback screen
appears.
● To cancel selection, select “RETURN”.
● The number of prints is reset to 0 for all still
images.
You can initialize a memory card any time.
After initializing, all files and data stored in the
memory card, including those which have been
protected, are cleared.
1
Set the Playback Mode Switch to “MEMORY”.
2
Set the Power Switch to “P” while pressing
down the Lock Button located on the switch.
3
Open the LCD monitor fully, or pull out the
viewfinder fully.
4
Press the MENU Wheel in.
The Menu Screen appears.
5
Rotate the MENU Wheel
to select “FORMAT”, and
press it. The FORMAT
screen appears.
6
Rotate the MENU Wheel
to select “EXECUTE”, and
press it. The memory card
is initialized.
● When initialization is finished, “NO IMAGES
STORED” appears.
● To cancel initialization, select “RETURN”.
CAUTION:
While performing the above, never disconnect
power, as this may cause the memory card to be
corrupted.
RETURN
SHEETS
DPOF
0 0
SHEETS
DPOF
0 5
DPOF
EXECUTE
SAVE?
CANCEL
Initializing A Memory Card
CAUTION:
Do not perform any other operation (such as
turning off the camcorder) during initialization.
Also, be sure to use the provided AC Power
Adapter/Charger, as the memory card may be
corrupted if the battery becomes exhausted during
initialization.
MENU
D I SPLAY
BR I GHT
END
PROTECT
DELETE
DPOF
NO . RESET
FORMAT
ORMAT
F
EXECUTE
DATA?
EX I ST I NG
ERASE AL L
RETURN
GR-HD1US.book Page 34 Monday, April 14, 2003 5:21 PM