Installing the upper front fan tray, Attaching the t1600 agency label – Juniper Networks T1600 User Manual
Page 42
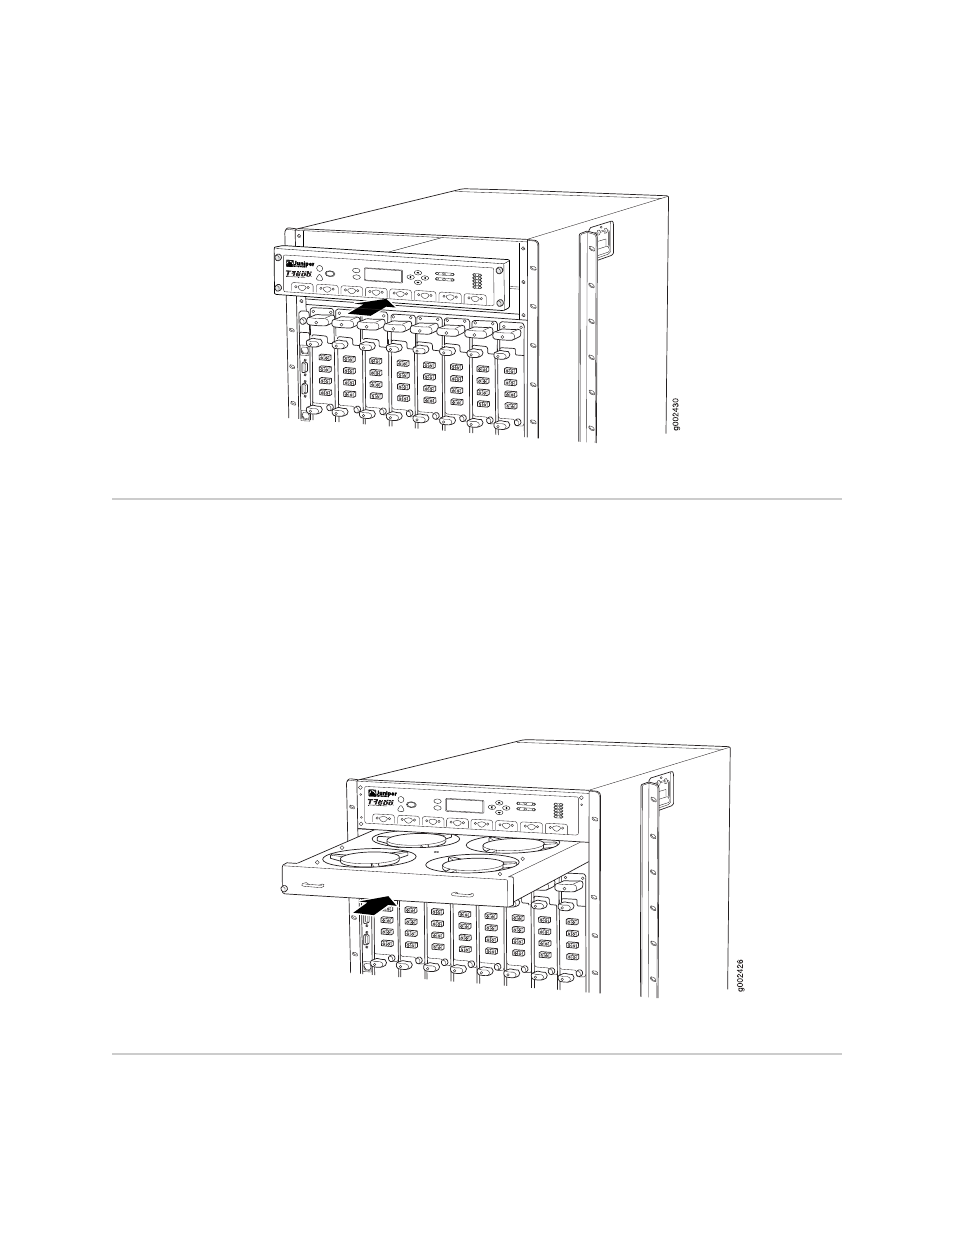
Figure 23: Installing a Replacement Craft Interface
Installing the Upper Front Fan Tray
To install the upper front fan tray, follow this procedure (see Figure 24 on page 42):
1.
Attach an electrostatic discharge (ESD) grounding strap to your bare wrist and
connect the strap to one of the ESD points on the chassis. See “Preventing
Electrostatic Discharge Damage” on page 47.
2.
Grasp the fan tray by its handles and insert it straight into the chassis.
3.
Tighten the captive screws on each side of the fan tray faceplate to secure it in
the chassis.
Figure 24: Installing a Front Fan Tray
Attaching the T1600 Agency Label
To attach the T1600 agency label, follow this procedure:
1.
Locate the T640 agency label on the side of the chassis.
42
■
Installing the Upper Front Fan Tray
T1600 Routing Node Upgrade Guide