Dpof print setting, Press menu, Select [dpof – JVC Everio GZ-HD40 User Manual
Page 41: Select [set print quantity, Select the desired file, Select the number of prints (max. 15 prints), Select [set all 1, Select [yes
1
EN
NOTE
When playing back the divided file, the
recording date of the division point is
displayed.
DPOF Print Setting
#
The number of prints to make of a still image
recorded on a microSD card can be set. This
feature is useful when taking the microSD card
to a photo lab for printing.
Preparation:
•
Select
#
mode.
•
Select the playback mode.
•
Set [REC MEDIA FOR IMAGE] to [SD].
(Z p. 57)
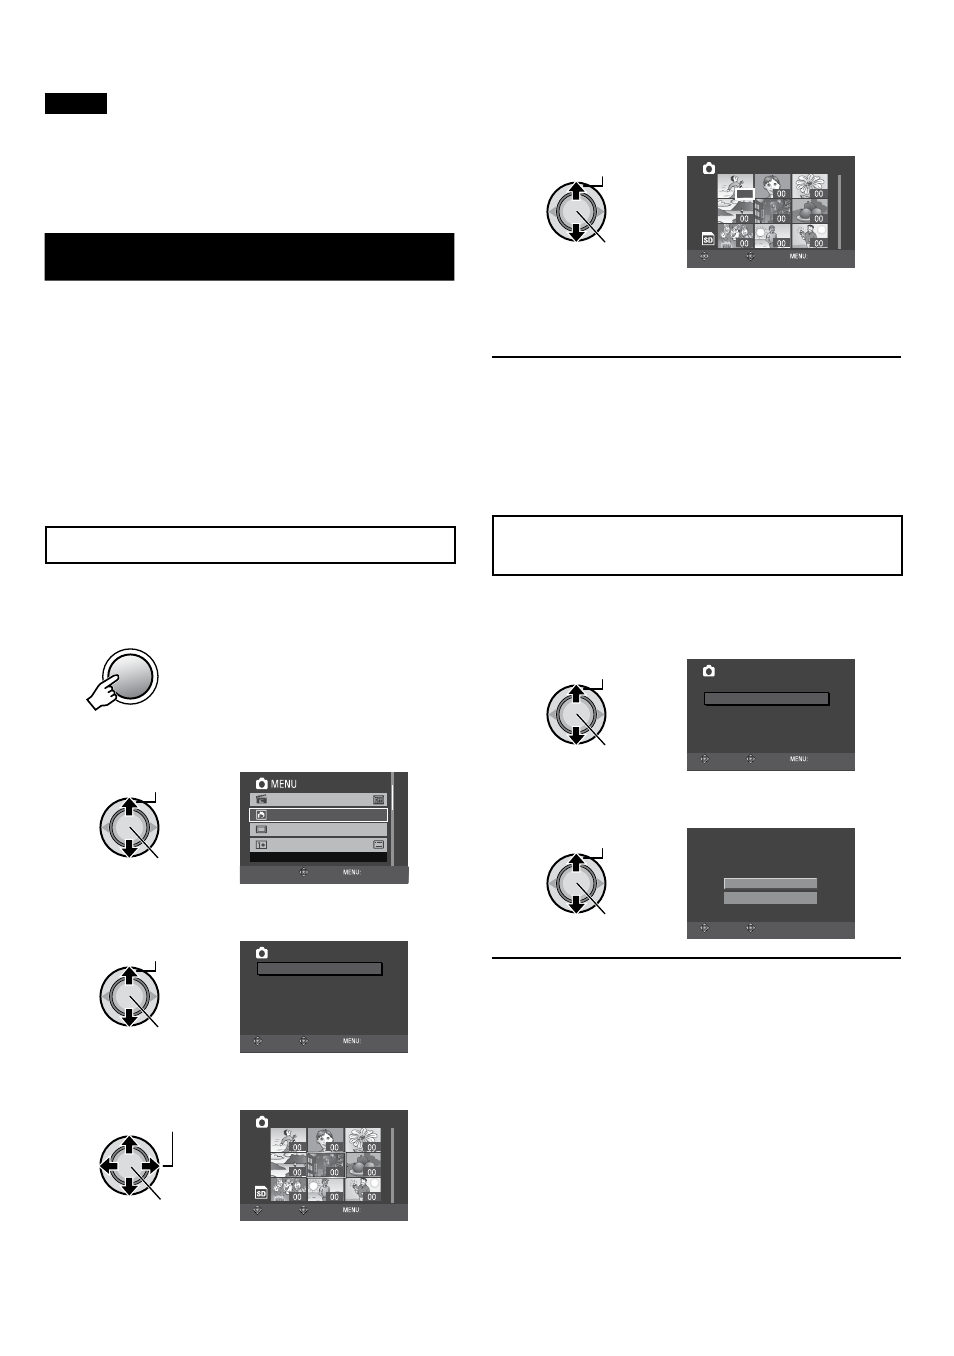
Setting Files Individually
1
Press MENU.
MENU
2
Select [DPOF].
Select
Set
DPOF
MONITOR OFF
SET STILL IMAGE PRINTING
ON-SCREEN DISPLAY
EFFECT
SET
QUIT
3
Select [SET PRINT QUANTITY].
Select
Set
DPOF
SET ALL 1
CHECK QUANTITY
RESET
SET PRINT QUANTITY
SELECT
SET
QUIT
SET PRINT QUANTITY
4
Select the desired file.
Select
Set
TOTAL
DPOF
0
1/1
SELECT
SET
QUIT
If you slide and hold the zoom lever
towards
T, the preview screen of the still
image is displayed.
5
Select the number of prints (max.
15 prints).
Select
Set
TOTAL
DPOF
15
15 1/1
SELECT
SET
QUIT
To set print information for other images,
repeat steps
4 and 5. (You can set up to
999 files.)
To quit the screen
Press
MENU.
To cancel the selection
Set the number of prints to “00” in step
5.
Setting All Files Together (One Print for
Each)
After performing steps
1-2 (Z left column)
3
Select [SET ALL 1].
Select
Set
DPOF
SET ALL 1
CHECK QUANTITY
RESET
SET PRINT QUANTITY
SELECT
SET
QUIT
SET ALL 1
4
Select [YES].
Select
Set
SET ALL TO 1?
NO
YES
SELECT
SET
To quit the screen
Press
MENU.
To confirm DPOF settings
In step
3, select [CHECK QUANTITY].
•
If necessary, change the number of prints
for the desired file by following steps
4
and
5.
To reset DPOF settings
1) In step
3, select [RESET].
2) When [RESET?] appears, select [YES].