JVC Everio GZ-HD40 User Manual
Page 29
EN
Menus
Settings: [ ] = Factory-preset
<
APERTURE PRIORITY
You can add a blurring effect to
the background by setting the
aperture value (F-number).
@ [AUTO]: The aperture value is adjusted automatically.
F1.8 to F4.0: The lower the F-number (larger aperture value),
the more blurred the background will become. The higher
the F-number (smaller aperture value), the clearer the
focus will be for both near and far objects. Move the set
lever to
¡ / ¢ to set the value.
NOTE
If the image is too bright, set to a larger F-number. If the image is
too dark, set to a smaller F-number.
=
WB
Adjusts the white balance to
achieve the optimum colors
for the amount of light in your
surroundings during recording.
@ [AUTO]: White balance is adjusted automatically.
B
MWB: Adjusts the white balance manually depending on
the light source.
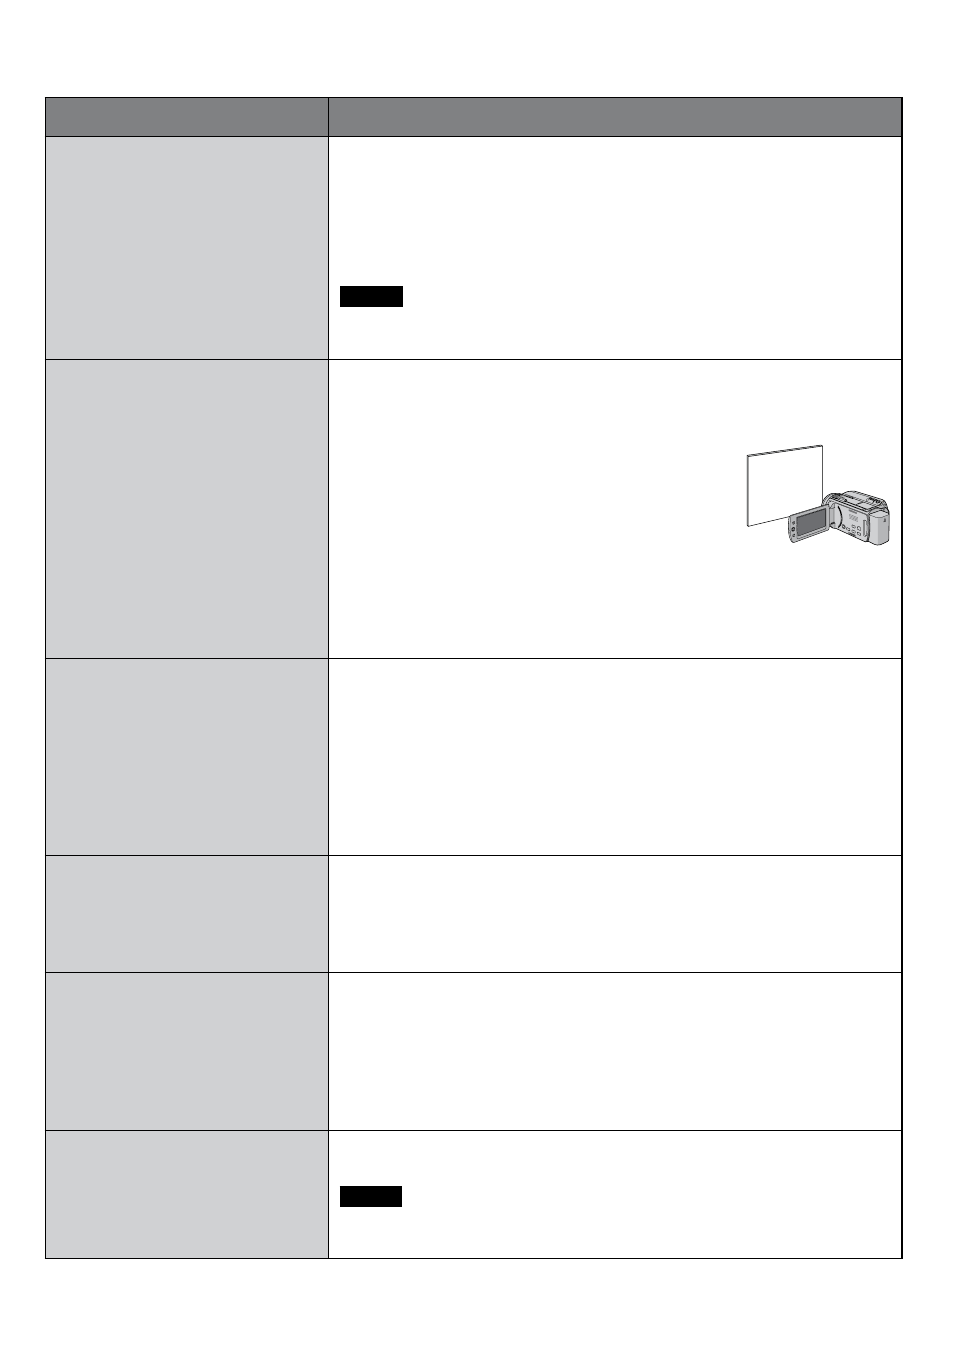
1) Hold a sheet of plain white paper in front of
the subject so that the white paper fills the
screen.
2) Press and hold the set lever until the
B
indicator starts blinking then stops blinking.
D FINE: When shooting outdoors on a sunny day.
E CLOUD: When shooting outdoors on a cloudy day.
F HALOGEN: When a video light or similar type of lighting is
used.
w
EFFECT
Enables you to record videos or
still images with special effects.
1
[OFF]: No effect is used.
J
SEPIA: The image has a brownish tint like old photos.
K
MONOTONE: The image becomes black and white like old
movies.
L
CLASSIC FILM*: This effect skips frames to give images of
an old movie atmosphere.
M
STROBE*: The image looks like a series of consecutive
snapshots.
t
TELE MACRO
Enables you to shoot a
subject as large as possible
at a distance of approx. 50 cm
(1.64 ft).
1 [OFF]: Deactivates the function.
0 ON: Activates the function.
>
ZEBRA*
The sections of the
photographic subject that
are reflected as white due to
light are displayed in a striped
pattern. Use this as a guide for
adjusting the brightness.
1
[OFF]: Deactivate this function.
70%: Sections that are close to being reflected as white (bright)
are displayed in a striped pattern.
100%: Sections that are completely reflected as white (too
bright) are displayed in a striped pattern.
^
SHARPNESS*
Adjusts the enhancement level
of the outline of the recorded
image.
Adjust the sharpness moving the set lever to
£ / ¤ , then press
down.
NOTE
Enhancing the sharpness causes the recorded image to appear
grainy.
*
! mode only