Installing an adapter, Installing, Adapter – IBM 4190 User Manual
Page 37
2.
Turn
off
the
server
and
all
attached
devices
(see
3.
Disconnect
all
external
cables
and
power
cords.
4.
Remove
the
server
from
the
rack
and
place
it
on
a
flat,
static-protective
surface.
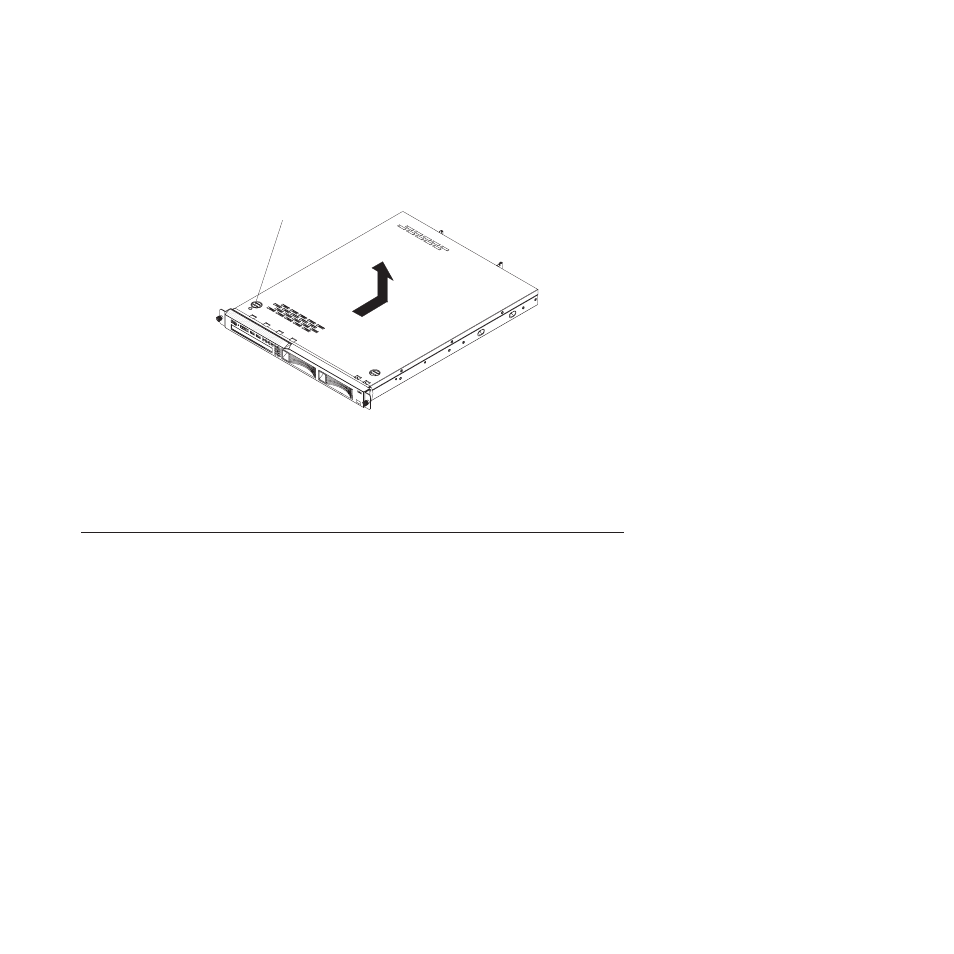
Cover-release
button
5.
Press
the
cover-release
button.
6.
Slide
the
cover
back
approximately
1.27
cm
(0.5
inches);
then,
lift
it
off
the
server.
Attention:
For
proper
cooling
and
airflow,
replace
the
cover
before
you
turn
on
the
server.
Operating
the
server
for
extended
periods
of
time
(more
than
30
minutes)
with
the
cover
removed
might
damage
server
components.
Installing
an
adapter
The
following
notes
describe
the
types
of
adapters
that
the
server
supports
and
other
information
that
you
must
consider
when
you
install
an
adapter:
v
Locate
the
documentation
that
comes
with
the
adapter
and
follow
those
instructions
in
addition
to
the
instructions
in
this
section.
If
you
have
to
change
switch
settings
or
jumper
settings
on
the
adapter,
follow
the
instructions
that
come
with
the
adapter.
v
The
adapter
slots
are
on
the
riser-card
assembly.
You
must
first
remove
the
riser-card
assembly
to
access
the
adapter
slots.
v
The
two
PCI
Express
slots
on
the
riser-card
assembly
support
PCI
Express
x8
1.0a
adapters.
v
You
can
install
one
full-height
three-quarter-length
adapter
in
expansion
slot
1
and
one
low-profile
half-length
adapter
in
expansion
slot
2.
Note:
When
the
optional
Remote
Supervisor
Adapter
II
SlimLine
is
installed
in
the
server,
you
can
install
only
a
half-length
adapter
in
expansion
slot
1.
v
If
you
have
installed
an
optional
PCI-X
riser-card
assembly
in
the
server,
you
can
install
a
full-height,
three-quarter-length
PCI-X
64/133
MHz
adapter
in
the
PCI-X
slot
on
the
riser-card
assembly.
Note:
When
the
optional
Remote
Supervisor
Adapter
II
SlimLine
is
installed
in
the
server,
you
can
install
only
a
half-length
adapter
in
the
PCI-X
slot.
v
An
optional
Remote
Supervisor
Adapter
II
SlimLine
can
be
installed
only
in
the
dedicated
connector
on
the
system
board
(see
Chapter
2.
Installing
optional
devices
23