McIntosh MVP851 User Manual
Page 44
44
How to Operate the MVP851, con’t
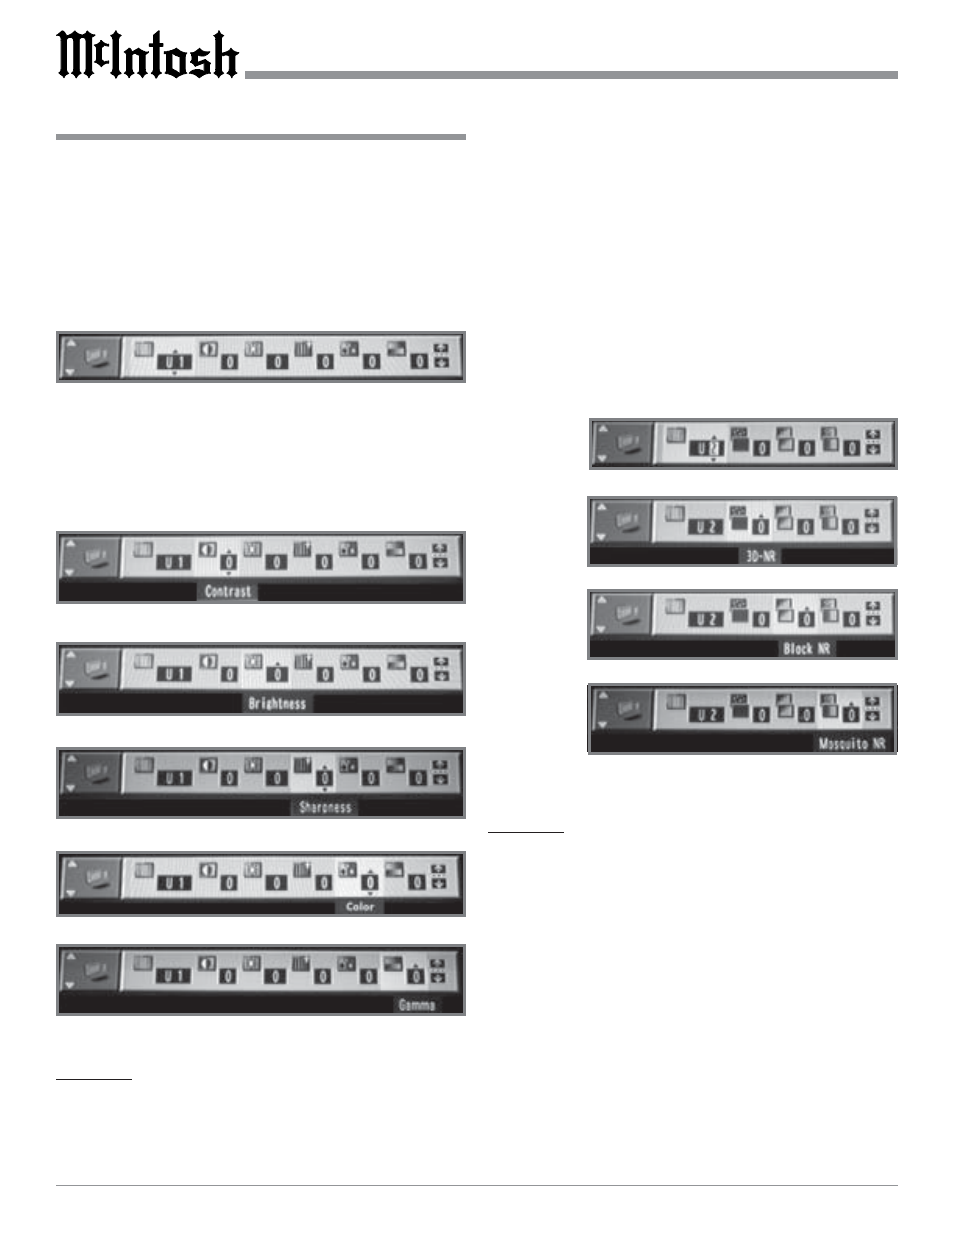
Figure 89
1. Press the DISPLAY Push-button twice to access the
second On Screen Icon.
2. Press the Up
directional Push-button to select the
Digital Picture Mode.
3. Press the Right directional Push-button to highlight
the Icon to the right (Monitor) and up/down arrows
will appear on the icon.
4. Press the Up
or Down
directional Push-buttons to
select U1. Refer to figure 89.
5. Use the Right directional Push-button to highlight
the Icon of the desired video adjustment. Refer to fig-
ures 90, 91, 92, 93 and 94.
Note: Some of the adjustments allow increases/decreases
in the setting and others only allow increases from
the default setting.
U2 MENU
The U2 Video Menu permits the adjustment of the video
noise in a picture, 3D-NR (overall noise), Block NR
(smoothes block noise) and Mosquito NR (reduces smudg-
ing that appears around contrasting sections of the picture).
1. Press the DISPLAY Push-button twice to access the
second On Screen Icon.
2. Press the Up
directional Push-button to select the
Digital Picture Mode.
3. Press the Right directional Push-button to highlight
the Icon to the right (Monitor) and up/down arrows
will appear on the icon.
4. Press the Up
or Down
directional Push-buttons to
select U1 and then press the Right directional Push-
button to highlight the Number in the “U” Icon and up/
down arrows will appear on the icon. Press the Up
or
Down
directional Push-buttons to select U2. Refer to
figure 95.
5. Use the
Right
direc-
tional
Push-
button to
highlight
the Icon
of the
desired
video
adjust-
ment.
Refer to
figures
96, 97
and 98.
Note:
The adjustments allow increasing the setting from
the default setting.
U3 MENU
The U3 Video Menu permits the adjustment of the video
sharpness and in a picture. High Sharpness (the horizontal
picture detail), V Sharpness (the vertical picture detail),
Edge Enhancements (the outlines of objects detail) and Tint
(correct for proper facial tones in the picture).
1. Press the DISPLAY Push-button twice to access the
second On Screen Icon.
2. Press the Up
directional Push-button to select the
Digital Picture Mode.
3. Press the Right directional Push-button to highlight
the Icon to the right (Monitor) and up/down arrows
will appear on the icon.
4. Press the Up
or Down
directional Push-buttons to
select U1 and then press the Right directional Push-
button to highlight the Number in the “U” Icon and up/
down arrows will appear on the icon. Press the Up
or
Figure 95
Figure 97
Figure 96
Figure 98
Figure 93
Figure 94
Figure 92
Figure 91
Figure 90