McIntosh MVP851 User Manual
Page 37
37
How to Operate the MVP851, con’t
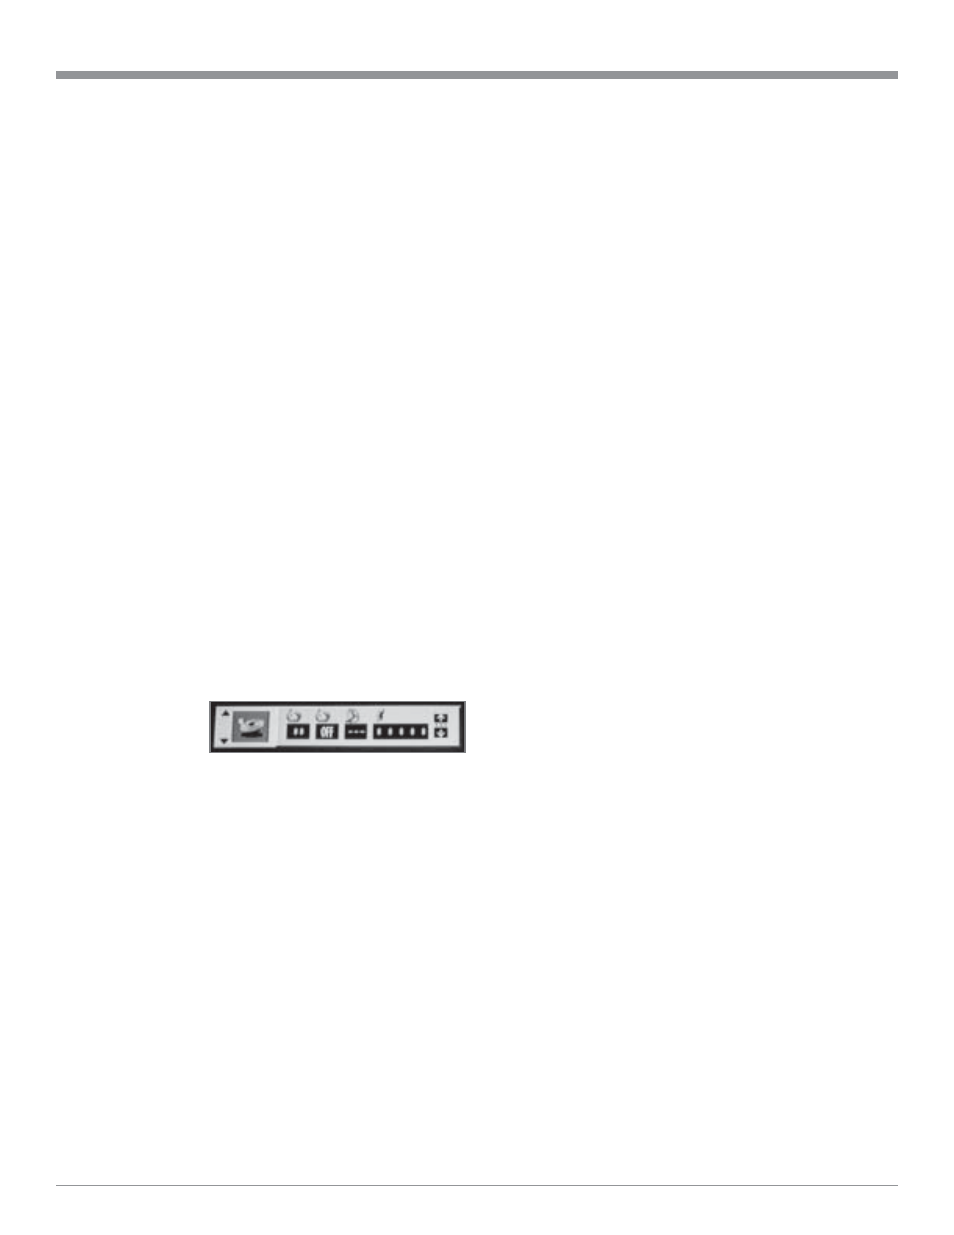
Figure 69
Note: Press the Right directional Push-button to
highlight the Second Icon from the left, indicating
the Elapsed Track Time. Use the Up
or Down
directional Push-buttons to select the remaining
track or disc time.
Access a Specific Time location on a DVD
The MVP851 Front Panel and the On-Screen Displays in-
dicate the Elapsed Time of the disc. A specific time on the
disc may be accessed at any time by performing the fol-
lowing steps. Refer to figures 65 and 68.
1. Press the DISPLAY Push-button to access the DVD-
Video or DVD-Audio On Screen Icons.
2. Press the Right directional Push-button to highlight
the Third Icon from the left (Clock), which indicates
the elapsed time.
3. Using the Numbered Push-buttons enter the desired
time, then press the SELECT Push-button.
Note: The MVP851 Front Panel and On-Screen Icon will
display first the entered desired time and then the
elapsed time from the beginning of the track with a
DVD-Audio Disc.
How to Set and Activate Markers
This feature allows establishing up to five different starting
places on a disc where playback can start, other than at the
beginning of the disc. Refer to figures 68 and 69.
1. Press the DISPLAY Push-button twice to select the
second On-
Screen Icon.
2. Press the Right
directional Push-
button to high-
light the Fifth Icon from the left (Tack), which indi-
cates the selected markers.
3. While a disc is playing, press the MARKER Push-but-
ton at the time on the disc where you wish play to start,
other than at the beginning of the disc. The first aster-
isk on the left of the On-Screen Icon will change to the
number 1.
4. Press the SELECT push-button to place Marker No. 1
in memory.
5. Repeat steps 3 and 4 to enter any additional Markers.
Up to five Markers can be stored in memory.
Note: If you wish to erase a MARKER, use the Left or
Right directional Push-buttons to select the
desired Active Marker and press the CLEAR push-
button.
To start playback from a desired Marker Location perform
the following steps:
1. Press the DISPLAY Push-button twice to select the
second On-Screen Icon, if not already displayed On-
Screen.
2. Press the Right directional Push-button to highlight
the Fifth Icon from the left (Tack), which indicates the
selected markers.
3. Using the Left or Right directional Push-buttons
to select the desired Active Marker Location, then
press the SELECT Push-button.
4. Press the DISPLAY Push-button twice to exit the On-
Screen Icon.
DVD-Video Repeat
This allows repeating a DVD Chapter or the entire movie
on a continuous basis. Refer to figures 68 and 69.
1. Press the DISPLAY Push-button twice to access the
second On Screen Icon.
2. Press the Right directional Push-button to highlight
the Third Icon from the left (Loop).
3. Press the Up
or Down
directional Push-buttons to
select the desired Repeat Mode C (Chapter Repeat) or
T (Title Repeat).
Note: A scrolling text message of the repeat mode status
will appear on the Front Panel Alphanumeric
Display.
4. Press the DISPLAY Push-button twice to exit the On-
Screen Icon.
Note: An optional method to activate the Repeat Mode is
to press the REPEAT MODE Push-button on the
Remote Control.
DVD-Audio Repeat
This allows repeating a DVD Track or Tracks on a continu-
ous basis. Refer to figures 68 and 69.
1. Press the DISPLAY Push-button twice to access the
second On Screen Icon.
2. Press the Right directional Push-button to highlight
the Third Icon from the left (Loop).
3. Press the Up
or Down
directional Push-buttons to
select the desired Repeat Mode G (Group Repeat) or T
(Title Repeat).
Note: A scrolling text message of the repeat mode status
will appear on the Front Panel Alphanumeric
Display.
4. Press the DISPLAY Push-button twice to exit the On-
Screen Icon.
Note: An optional method to activate the Repeat Mode is
to press the REPEAT MODE Push-button on the
Remote Control.
CD Repeat
This feature allows the repeating of a specfic CD Track or