McIntosh MVP851 User Manual
Page 30
30
4. Use the Up
or Down
directional Push-buttons and
choose the PCM Button Icon followed by the SELECT
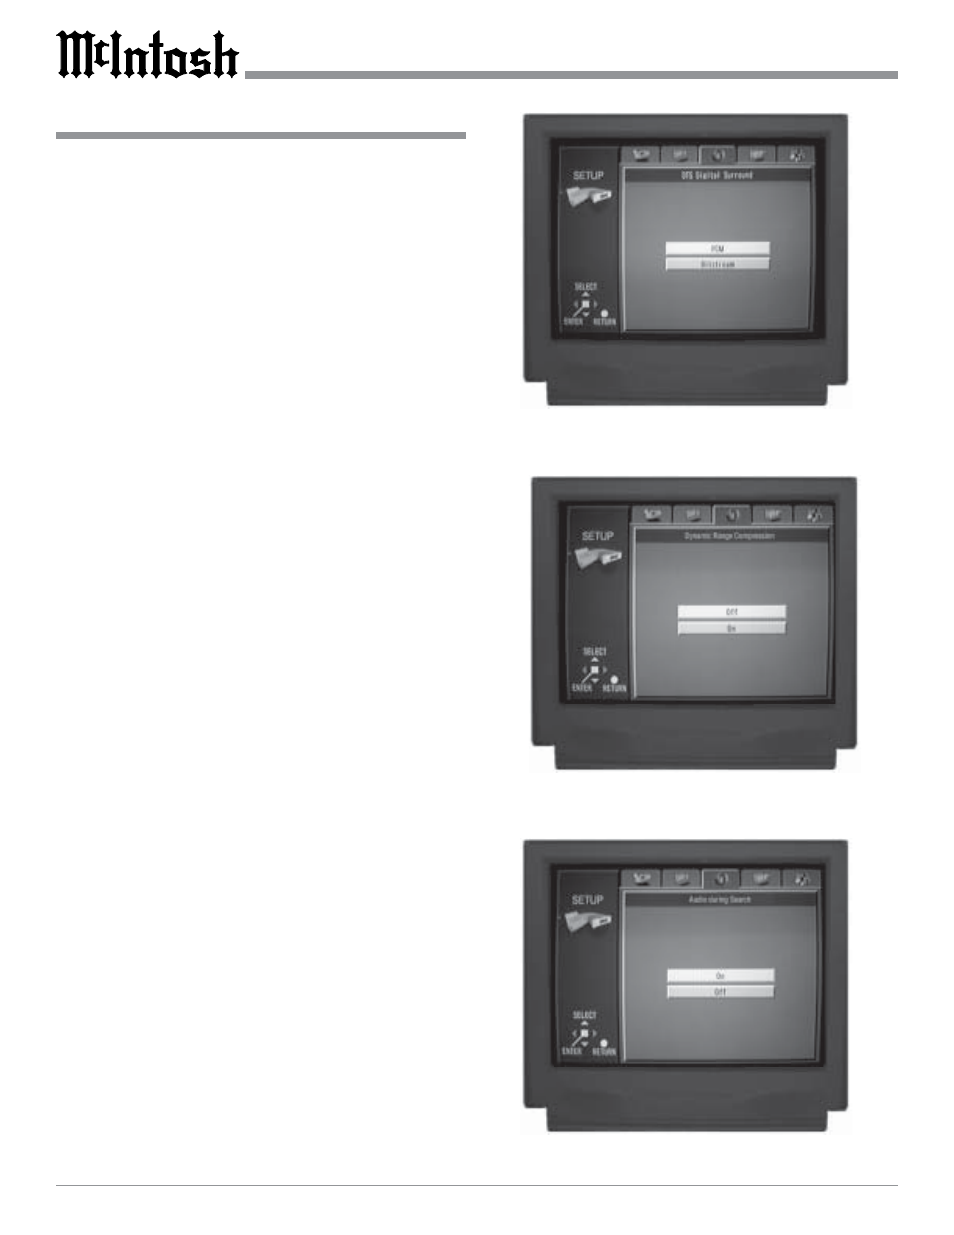
Push-button. Refer to figure 38.
5. Continue next to D. Range Compression or exit the
Setup Mode by pressing the RETURN Push-button and
the MVP851 will return to normal operation.
D. Range Compression
The D. (Dynamic) Range Compression feature of the
MVP851 allows for reducing the dynamic range of the au-
dio signals of DVDs with the Dolby Digital Sound Tracks,
that have a special encoded signal. The loudest passages
are reduced in volume, while the softer passages are in-
creased so they are still audible. This feature is useful for
late night listening so others aren’t disturbed. To activate
this feature perform the following steps.
1. Press the SETUP Push-button on the Remote Control
to access the Setup Disc Menu. Refer to figure 4 on
page 18 and figure 8 on page 19.
2. Use the Right or Left directional Push-buttons to
select the Audio Menu Icon Tab.
3. Select the D. Range Compression Button Icon by using
the Up
or Down
directional Push-buttons followed
by the SELECT Push-button. Refer to figure 22 on
page 24.
4. Use the Up
or Down
directional Push-buttons and
choose the On Button Icon followed by the SELECT
Push-button. Refer to figure 39.
5. Continue next to Audio during Search or exit the Setup
Mode by pressing the RETURN Push-button and the
MVP851 will return to normal operation.
Audio during Search
This allows hearing audio during Fast Forward operation
while playing a DVD; it allows hearing audio during Fast
Forward and Reverse operation while playing a CD. To
deactivate this feature perform the following steps.
1. Press the SETUP Push-button on the Remote Control
to access the Setup Disc Menu. Refer to figure 4 on
page 18 and figure 8 on page 19.
2. Use the Right or Left directional Push-buttons to
select the Audio Menu Icon Tab.
3. Select the Audio during Search Button Icon by using
the Up
or Down
directional Push-buttons followed
by the SELECT Push-button. Refer to figure 22 on
page 24.
4. Use the Up
or Down
directional Push-buttons and
choose the Off Button Icon followed by the SELECT
Push-button. Refer to figure 40.
How to Set Audio Parameters, con’t
Figure 38
Figure 39
Figure 40