Setting the clock, Auto clock setting, Manual clock setting – FUNAI DRV-B2734 User Manual
Page 20
20
Get
tin
g S
tar
ted
EN
Setting the clock
Auto Clock Setting
Channel Tuning must be set before setting Auto
Clock.
1
In stop mode, press [SETUP].
2
Select “Advanced Setting Menu”
using [Cursor
U / D], then press
[ENTER].
If it has already appeared, proceed to step 3.
3
Select “Clock” using [Cursor
U / D],
then press [ENTER].
4
Select “Auto Clock Setting” using
[Cursor
U / D], then press [ENTER].
5
Select “ON” using [Cursor
U / D],
then press [ENTER].
The current time will be set automatically.
6
Press [SETUP] to exit.
7
Press [STANDBY-ON] to turn off.
The Auto clock function is activated.
This unit will search for the time only when the
power is off. Leave the unit off for several minutes
to give it time to set the clock.
Hint
• If you want to cancel “Auto Clock Setting,” select
“OFF” using [Cursor
U / D], and then press
[ENTER] at step 5.
Note
• The default setting of “Auto Clock Setting” is “OFF.”
• The clock may set itself automatically after you
connect the antenna cable to the unit and plug in the
mains cable. In this case, the current time will
appear on the front panel display.
• To set the clock automatically, the channel assigned
to position 01 must receive the PDC signal.
• The clock cannot be set automatically if you are not
receiving a channel in your area that carries a time
signal. In this case, set the clock manually.
• Once the auto clock setting is performed, the unit
will correct the current time by receiving PDC
broadcasts whenever you turn off the unit.
• The unit will correct the current time automatically at
8:00, if the unit power is turned off.
• Between 23:00 and 1:00, the AUTO CLOCK
function will not operate even if the unit power is
turned off.
Manual Clock Setting
1
In stop mode, press [SETUP].
“Easy Setting Menu” or “Advanced Setting Menu”
will appear.
2
Select “Clock” using [Cursor
U / D],
then press [ENTER].
3
If you select “Advanced Setting
Menu,” proceed to step 4.
If you select “Easy Setting Menu,”
proceed to step 5.
4
Select “Clock Setting” using
[Cursor
U / D], then press [ENTER].
5
Press [ENTER] again.
The default date will appear.
6
Enter the date (day / month / year)
using [Cursor
U / D], then press
[Cursor
P].
Press [Cursor
P] to move the cursor to the next
field. If you wish to go back to the previous field,
press [Cursor
L].
7
Enter the time (hours / minutes)
using [Cursor
U / D], then press
[ENTER].
The clock will start.
• Although seconds are not displayed, they will be
counted from zero.
8
Press [SETUP] to exit.
Note
• Your clock setting will be lost if either there is a
power failure or the unit is unplugged for more than
30 seconds when the “Auto Clock Setting” is “OFF.”
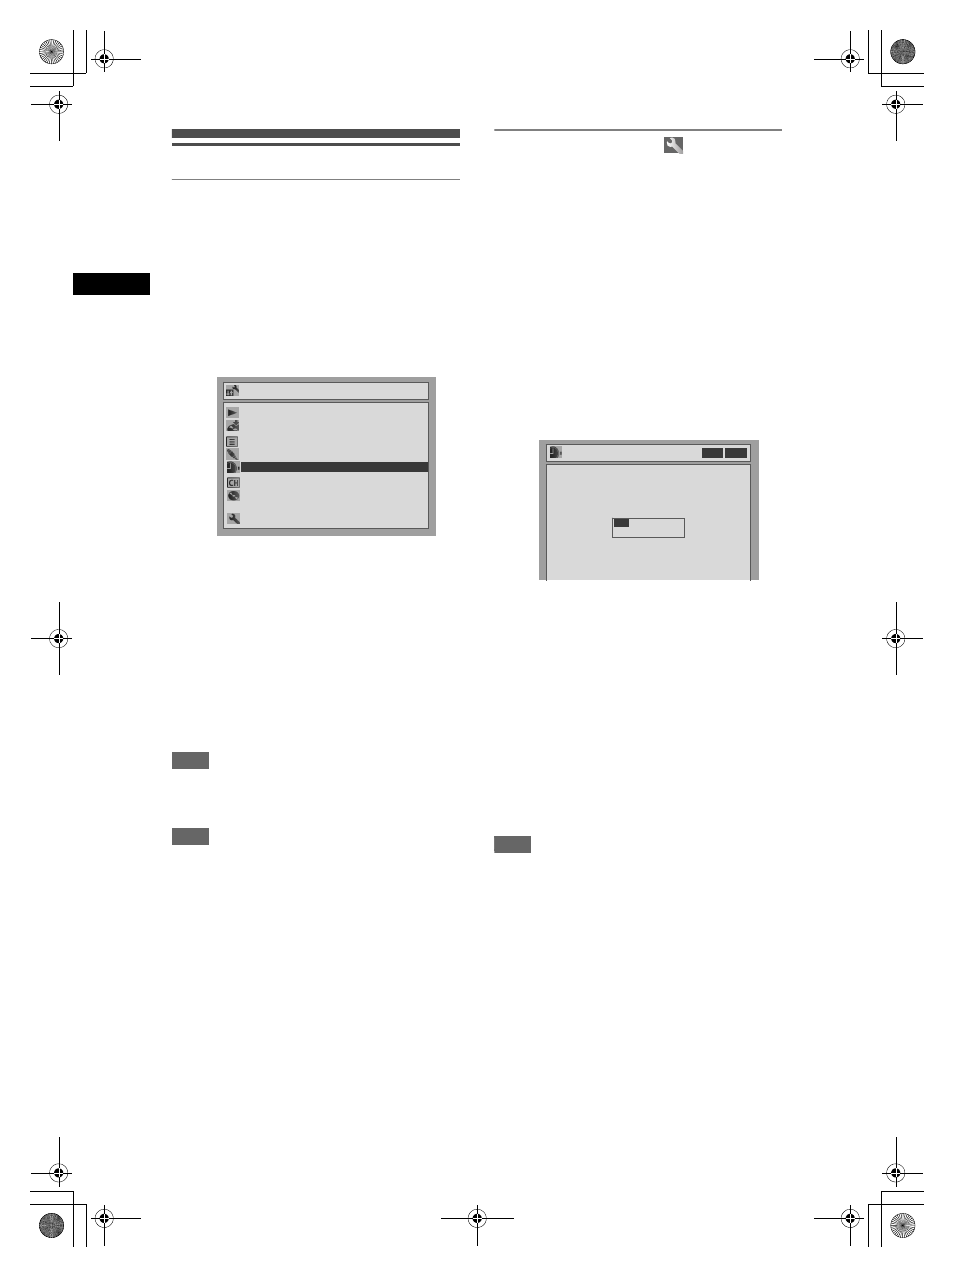
Advanced Setting Menu
Playback
Recording
Display
Select Video
Clock
Channel
Disc
Easy Setting Menu
Clock
Advanced Setting Menu
Playback
Recording
Display
Select Video
Clock
Channel
Disc
Easy Setting Menu
Clock
Clock Setting
Clock Setting
VCR DVD
/ 01/ 2005(SAT)
0: 00
01
DRV_B2737_B2734.book Page 20 Thursday, March 31, 2005 10:04 PM