FUJITSU ScanSnap Upgrade P2WW-1860-01EN Scanner User Manual
Page 42
38
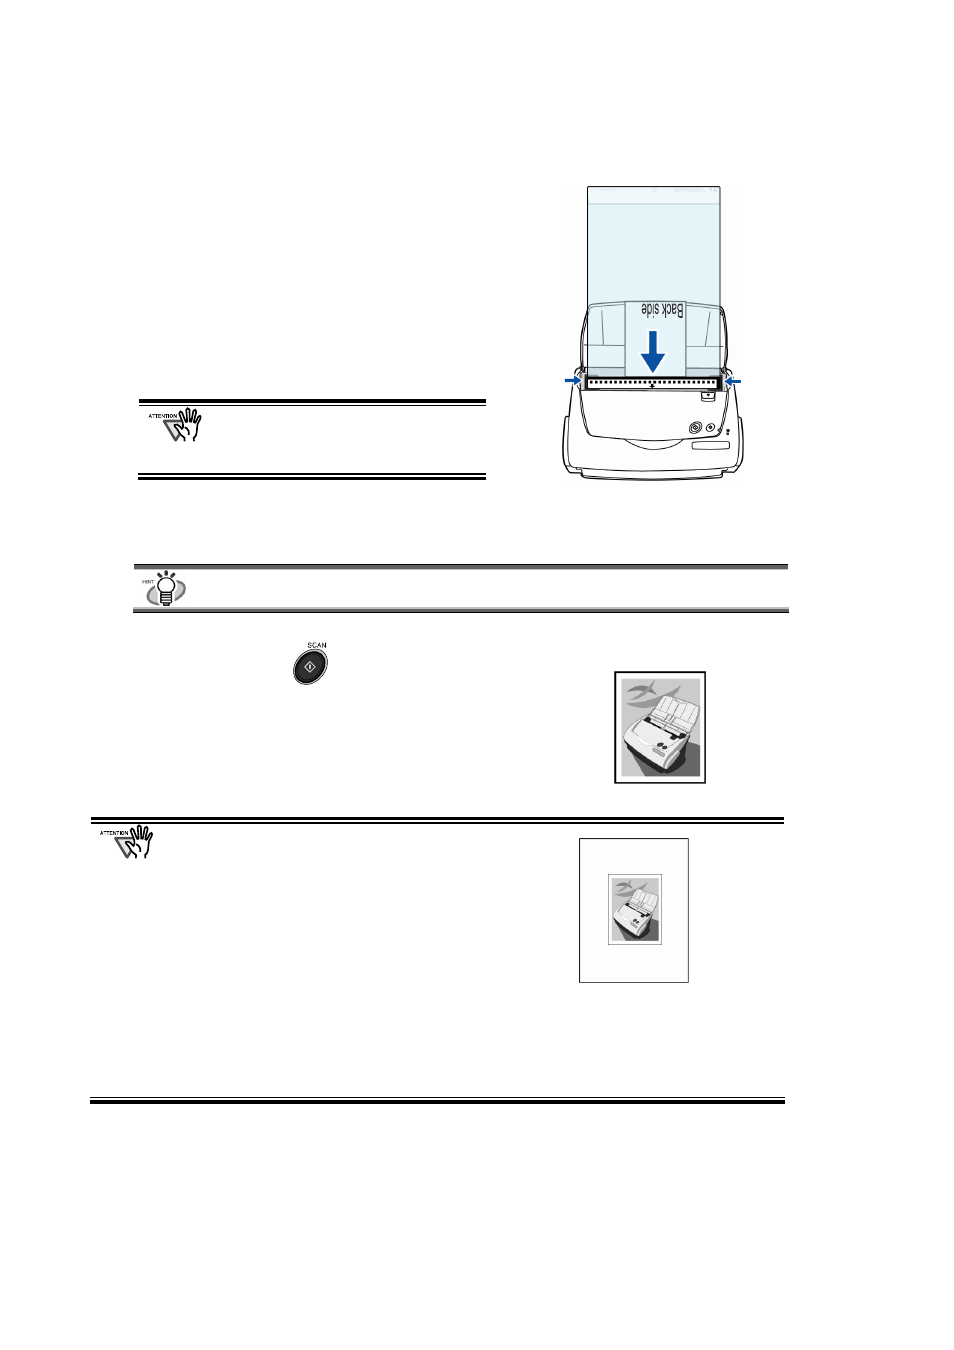
4. Load the Carrier Sheet onto the
scanner.
● Place the top of the sheet with the black & white
printed pattern downwards, and load the
document in the direction of the arrow.
● Load the document so that the back side faces
up.
● When you load the Carrier Sheet, adjust the side
guides so that the document inside will not
skew.
If you are using the Carrier Sheet for
scanning, it is not possible to scan
multiple sheets continuously. Load the
sheets one by one and scan.
5. Select “Automatic detection” on the [Paper size] tab and in “ScanSnap
Manager.”
For details of setting ScanSnap Manager, refer to the “ScanSnap Operator’s Guide” in
the Setup CD-ROM comes with the ScanSnap product.
6. Press the [SCAN]
button.
B Scanning starts and the image data is generated
in the specified size.
● The output image is generated with the scanned
document image placed in the center of the specified
size of the output image.
In the “Carrier Sheet Settings” window, when “Automatic
Detection” in “Output image size” is selected, an
appropriate size among the standard sizes is selected
automatically (See page 42).
● In the “Carrier Sheet Settings” window, when “Automatic Detection” is selected in “Output
image size”, the generated image size may be smaller than the document.
Example: If A5 size image is printed in the center of an A4 document
=>it is generated in A5.
To output an image that is the same size as the original document size, specify the size in
“Output image size”.