Section 5 adjustments – Gradall 534C-10 (2460-4129) Service Manual User Manual
Page 135

47
Section 5
Adjustments
Check Ring Gear Runout
Specification: 0.008 inch
(0.20 mm)
WARNING
To prevent serious eye injury, always wear safe
eye protection when you perform vehicle
maintenance or service.
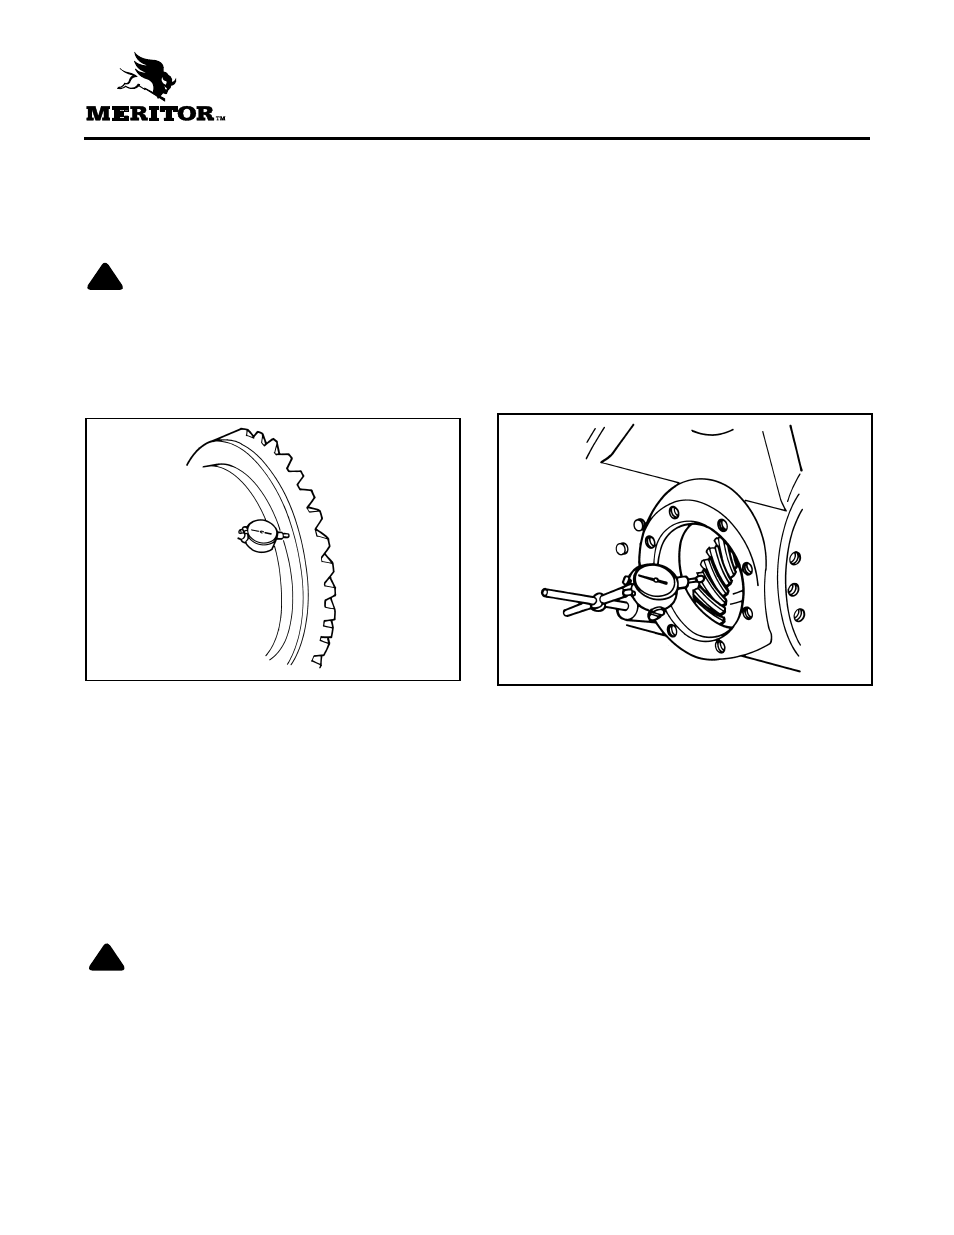
1. Attach magnetic base dial indicator to mounting
flange of main housing. Figure 5.1.
2. Set dial indicator so plunger or pointer is against
back surface or ring gear. Figure 5.1.
3. Set dial indicator to ZERO.
4. Rotate differential and ring gear assembly while
you read dial indicator. Ring gear runout must not
exceed 0.008 inch (0.20 mm). If runout exceeds
specifications, remove differential and ring gear
assembly from main housing.
5. Check differential parts including carrier for
problem that caused ring gear runout to exceed
specifications. Repair or replace parts if necessary.
CAUTION
Shock load failure will distort the differential case
flange and transfer damage to ring gear. In this
case, differential carrier must be discarded.
6. After parts are repaired or replaced, install main
differential case and ring gear assembly into
carrier. Repeat steps 1 to 5.
!
!
Adjust Pinion and Ring Gear
Backlash Specification:
0.005-0.015 inch
(0.13-0.38 mm)
1. Attach dial indicator on mounting flange of
carrier.
2. Set dial indicator so plunger is against a tooth
surface. Figure 5.2.
3. Set dial indicator to ZERO.
NOTE
•
When you adjust backlash, only move ring
gear. Do not move drive pinion.
•
If you are using old ring gear and pinion, it is
recommended that you maintain original
backlash.
4. Hold drive pinion in position.
5. While you read dial indicator, rotate differential
and ring gear a small amount in both directions
against teeth of the drive pinion. If backlash
reading is within specified range of
0.005-0.015 inch (0.13-0.38 mm), continue by
checking tooth contact patterns. If backlash
reading is not within specifications, adjust
backlash as needed.
Figure 5.1
Figure 5.2
