3 wall mounting, Figure 3-11: wall-mounting bracket – IEI Integration UPC-V315-QM77 User Manual
Page 39
UP C-V315-QM77 P a n e l P C
P a g e 28
S te p 1:
Locate the screw holes on the rear of the UPC-V315-QM77. This is where the
stand bracket will be attached. The stand mount retention screw holes are
shown in Figure 3-7.
S te p 2:
Align the bracket with the screw holes.
S te p 3:
Insert the retention screws into the screw holes to secure the bracket to the
UPC-V315-QM77.
S te p 0:
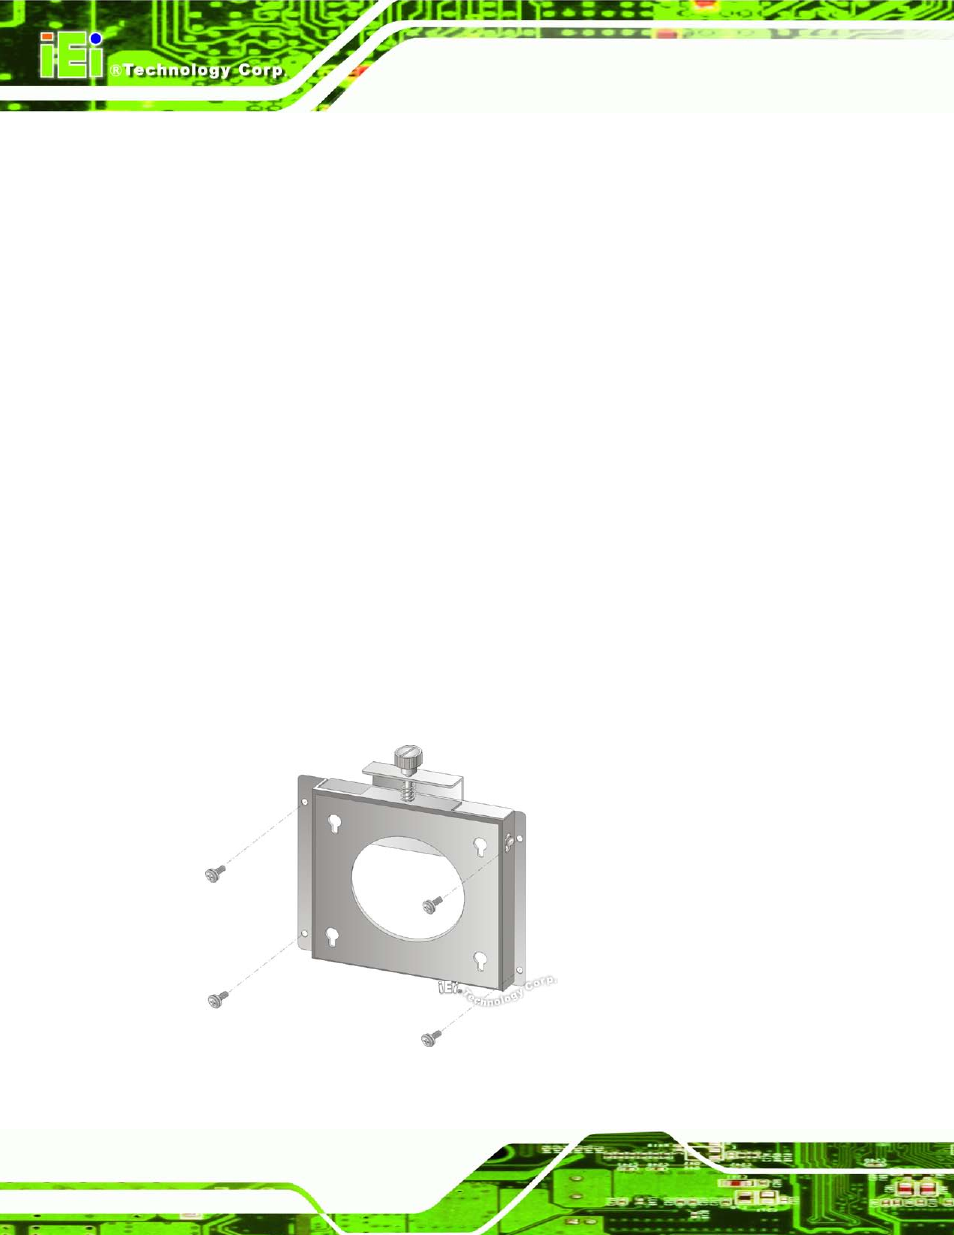
3.6.3 Wa ll Mo u n tin g
To mount the panel PC onto the wall, please follow the steps below.
S te p 1:
Select the location on the wall for the wall-mounting bracket.
S te p 2:
Carefully mark the locations of the four brackets screw holes on the wall.
S te p 3:
Drill four pilot holes at the marked locations on the wall for the bracket retention
screws.
S te p 4:
Align the wall-mounting bracket screw holes with the pilot holes.
S te p 5:
Secure the mounting-bracket to the wall by inserting the retention screws into
the four pilot holes and tightening them (Figure 3-11).
Figure 3-11: Wall-mounting Bracket