Lens cap, Getting started, Charging the battery – Hitachi VM-E220A User Manual
Page 9: Lens cap using the lens cap string, Removing the lens cap
Getting Started
- 9 -
Card, and American Express credit cards are accepted. The RF adapter can also be purchased by mail by
sending either money order or your credit card information to the following address:
HiTRON,
Inc.
675, Old Peachtree RD.
Suwanee, GA 30174
Tel:
1-800-995-4500
For more information concerning the purchase of camcorder accessories, please see the optional accessory
listing on page 61.
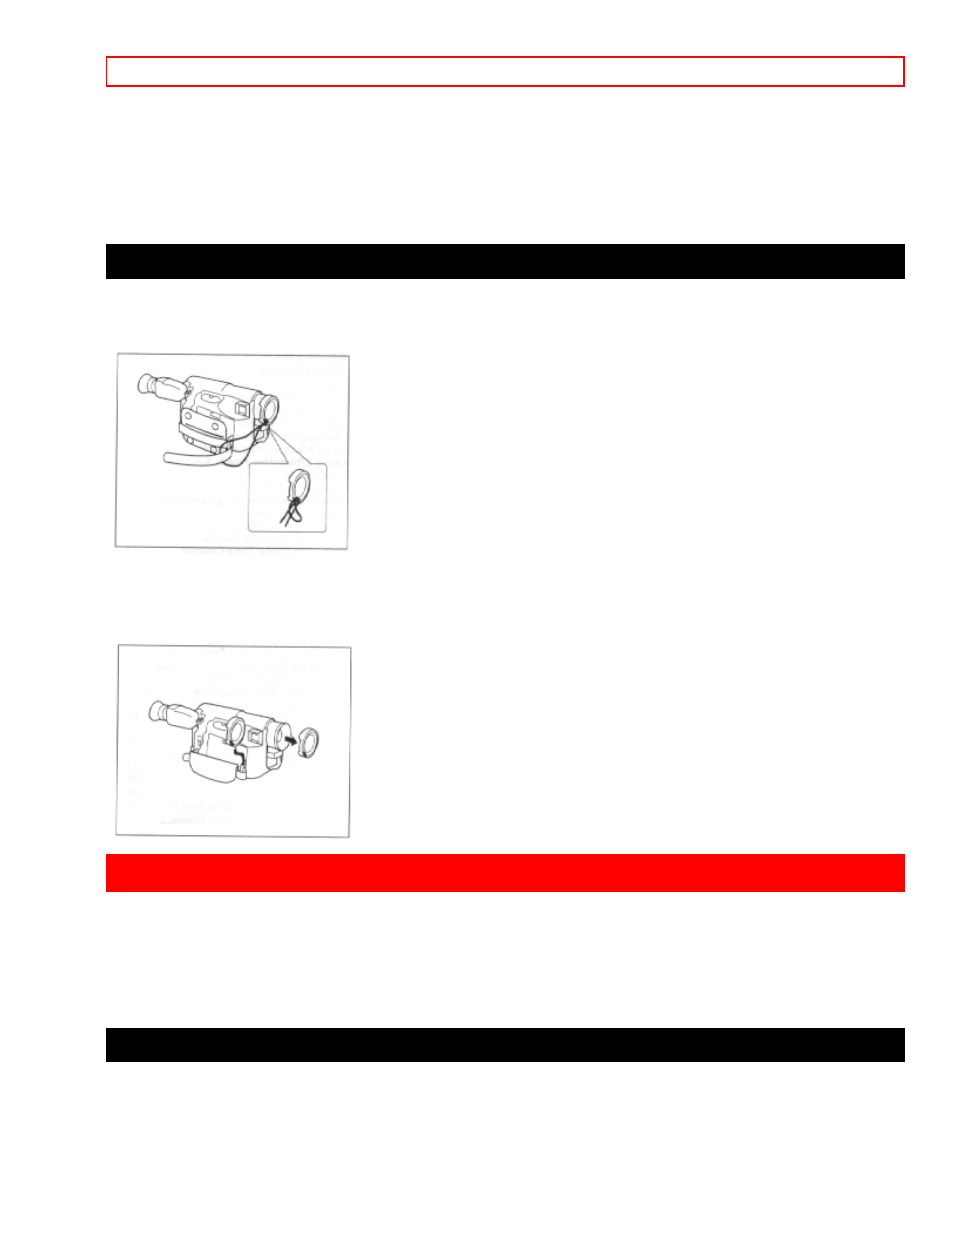
Lens Cap
Using the lens cap string:
Pass the string through the lens cap and grip belt and attach it as shown in the figure.
Removing the lens cap
Always attach the lens cap to protect the lens when carrying or storing the camcorder. During shooting attach the
lens cap as shown in the figure to prevent it from being lost.
Getting Started
This section guides you through the initial preparation of the camcorder. None of these processes are complex.
Set aside some time, relax, and familiarize yourself with this quality instrument.
Enjoy getting to know all about your Hitachi 8mm camcorder. The more comfortable and familiar you are with the
machine and its features, the more you can make it do for you. Let's get started!
It is crucial that you read and understand all the safety instructions before you begin. If you haven't read the safety
instructions yet, please take the time to do so now.
Charging the Battery
The first step is to set the battery to charge. It takes approximately an hour (VM-BP82G), enough time to
familiarize yourself with some of the basic features of the camcorder. Once fully charged the battery will give an
operating time of approximately 55 minutes, but this is reduced to a half to one-third depending on how often you
use zoom and start/stop functions.
Charge the battery at a temperature range of 50°F(10°C) - 86°F(30°C) to prevent damage to the battery.