System configuration – Harman-Kardon AVR 445 User Manual
Page 25
SYSTEM CONFIGURATION 25
ENGLISH
System Configuration
The
V -CONVERSION
setting will not apply
any video enhancement or processing to the
incoming video signal, but it will output it in one
of the following ways, depending on the input
source.
• A standard-definition (480i or 576i) analog
signal (composite, S-video or component) will
be converted so that it is available at its input
resolution, at the standard composite, S-video
or component analog video outputs. The signal
will also be available at the record outputs.
• An analog component high-definition signal
will be output at its input resolution as an
analog component signal, but not through the
analog composite or S-video monitor, or HDMI
or record outputs.
• HDMI input signals, regardless of their resolu-
tion, will be output through the HDMI outputs.
The
BYPASS
setting will not apply any video
enhancement or processing to the incoming
video signal, but it will output it in one of the fol-
lowing ways, depending on the input source.
• Analog signals (composite, S-video or compo-
nent) will output only in the resolution and for-
mat that matches the input for both the main
“Monitor” connection as well as for the record
outputs.
• HDMI input signals, regardless of their resolu-
tion, will be output through the HDMI outputs.
When any needed change to the video process-
ing setting has been made, press the
⁄
/
¤
Navigation Button
EF to move to the
next line.
At the
A/V SYNC DELAY
line, you are able
to enter a setting that delays the audio output
slightly behind the video so that the loss of lip
sync that may occur due to digital video
processing in the transmission of a program, in
the playback unit or in the display is corrected.
This lack of lip sync is not a fault of the sources;
rather, it is a by-product of video signal
processing. In most cases, we recommend that
the delay adjustment be made using the direct-
access controls on the remote so that you may
more accurately adjust the delay while viewing
the on-screen image, following the instructions
shown on page 33, but you may also make it
here using the menu system. As the amount of
delay needed may vary from one source to
another, we strongly recommend that you adjust
it for each input.
To adjust the A/V sync delay time from the
IN/OUT SETUP
menu, make certain that
the cursor is pointing to the
A/V SYNC
DELAY
line, and then press the
‹
/
›
Navigation Button
EF until the desired
amount of delay is applied so that the on-screen
video matches the audio.
When all configuration adjustments on this menu
screen have been made, press the
⁄
/
¤
Navigation Button
EF until the on-
screen cursor is pointing to
PAGE 2
and then
press the Set Button
FQ to move to the
second screen of input/output settings. If all
settings for input configuration are complete,
press the
⁄
/
¤
Navigation Button
EF
until the on-screen cursor is pointing to
MASTER MENU
and then press the Set
Button
FQ to return to the main menu
screen.
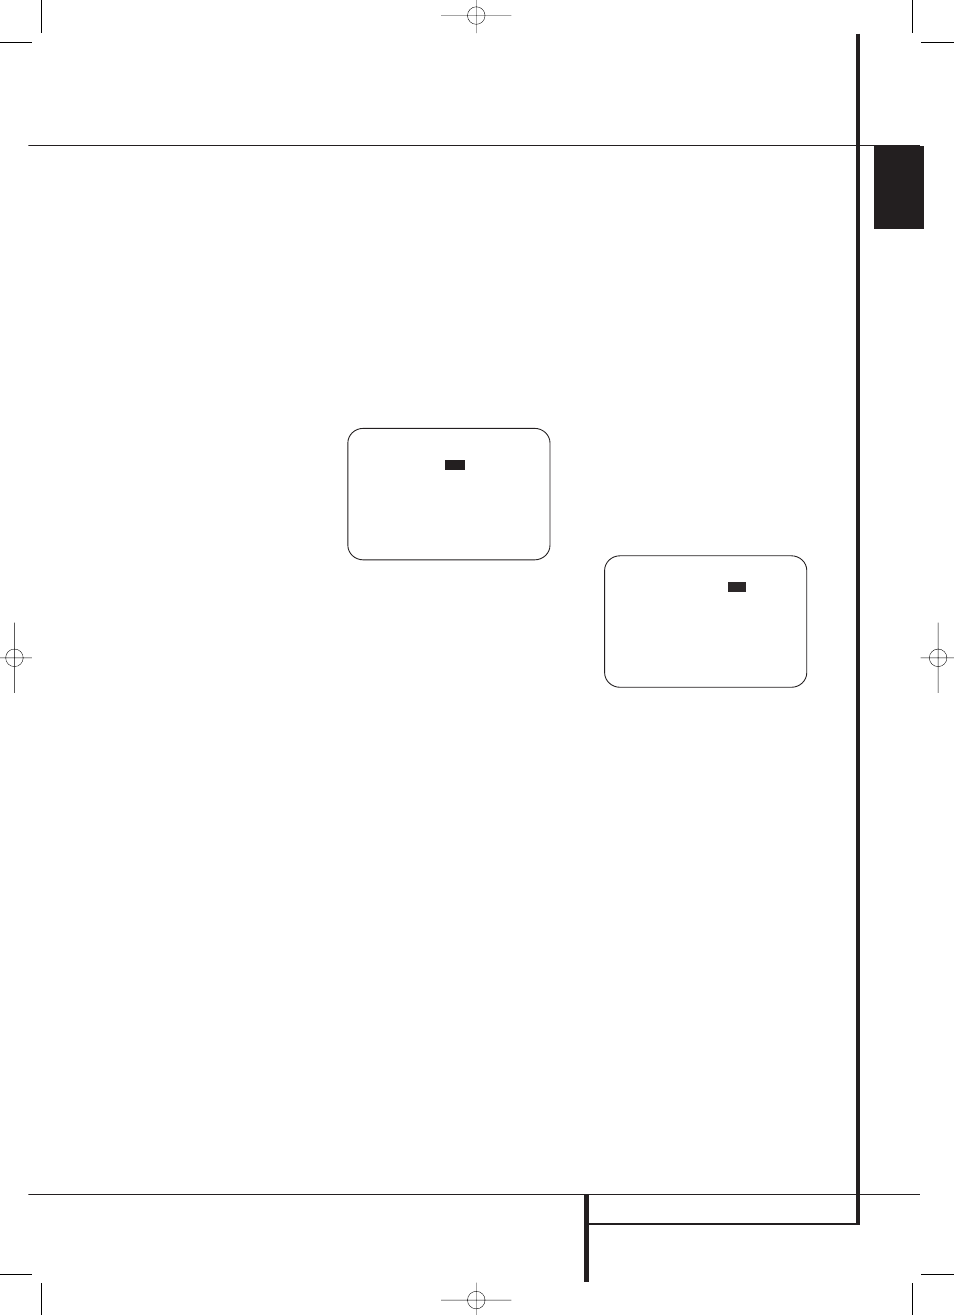
The second page of the
IN/OUT SETUP
menu (Figure 9) allows you to further configure
the AVR 445 for special custom features.
Figure 9
An exclusive Harman Kardon feature is the ability
to switch front panel jacks from their normal use
as inputs to output connections so that portable
recording devices may easily be connected. The
front panel analog Video 4 Jacks Ô are
normally set as an input for use with camcorders,
video games and other portable audio/video
products, but they may be switched to an output
for connection to portable audio/video recorders.
To temporarily switch them to outputs, select the
IN/OUT SETUP
menu. Press the
¤
button
EF until the on-screen ➞ cursor is pointing
to the
VIDEO 4
line. Press the
›
button
EF so that the word
OUT
is highlighted.
Note that the Input/Output Status Indicator
( between the S and Composite video jacks
will turn red, indicating that the analog Video 4
jacks Ô are now record outputs.
Selection of the jacks as an output will remain
effective as long as the AVR is on. However, once
the unit is turned off, the jack will revert to its
normal use as an input when the unit is turned on
again.
The
REC OUT
line enables you to select what
the audio output is at the analog record outputs
for the input source being configured. Press the
‹
/
›
Navigation Button
EF to choose
one of the following if you wish to change the
default setting:
•
ANALOG
selects an unprocessed pass-
through of an analog source and is the default
setting for most inputs.
•
DSP DOWNMIX
selects a two-channel
downmix of a multichannel digital input.
When the adjustment has been made, or if no
adjustment is required and all settings on this
page are complete, press the
⁄
/
¤
Navigation
Button
EF until the on-screen cursor is
pointing to
PAGE 1
and then press the Set
Button
FQ to return to the main
IN/OUT SETUP
menu to configure another
input, or if no further input configuration
adjustments are needed, press the
⁄
/
¤
Navigation Button
EF until the on-
screen cursor is pointing to
MASTER MENU
and then press the Set Button
FQ to
return to the main menu screen.
Audio Setup
This menu allows you to configure the tone con-
trols. If you do not wish to change any of those
settings at this time, proceed to the next menu
screen. However, to make configuration changes
to those parameters, make certain that the
MASTER MENU
is on the screen with the
➞
cursor pointing to the
AUDIO SETUP
line,
and press the Set Button
FQ. The
AUDIO SETUP
menu (Figure 12) will appear.
Figure 12
The first line controls whether or not the
bass/treble tone controls are in the signal path.
The normal default is for them to be in-line, but if
you wish to remove them from the circuit for
“flat” response, first make certain that the
➞
cursor is pointing to the
TONE
line on the
menu and press the
‹
/
›
Navigation Button
EF so that
OUT
is highlighted in reverse
video.
If you wish to leave the tone controls in the
signal path, the amount off boost or cut for bass
and treble may be adjusted by pressing the
⁄
/
¤
Navigation Button
EF so that the
➞ cursor is next to the line for the setting you
wish to adjust. Next, press the
‹
/
›
Navigation
Button
EF until the desired setting is
shown.
When all desired changes have been made on
this menu, press the
⁄
/
¤
Navigation Button
EF so that the ➞ cursor is next to the
B A C K T O M A I N M E N U
line and press
the Set Button
FQ.
* A U D I O S E T U P *
T O N E
:
I N
O U T
B A S S
: 0
T R E B L E
: 0
B A C K T O M A S T E R M E N U
→
* I N / O U T S E T U P *
V I D E O 4 :
I N
O U T
R E C O U T : A N A L O G
M A S T E R M E N U P A G E 1
➔
➔
30362_AVR445_ENG 20/11/06 14:56 Side 25