Attaching the reflector, Reflector in correct position for installation, 25 attaching the reflector – Hughes AN6-098P User Manual
Page 43
Chapter 3 • Assembling the antenna
1037312-0001 Revision A
25
Attaching the reflector
Follow these instructions to attach the antenna reflector to the
reflector bracket.
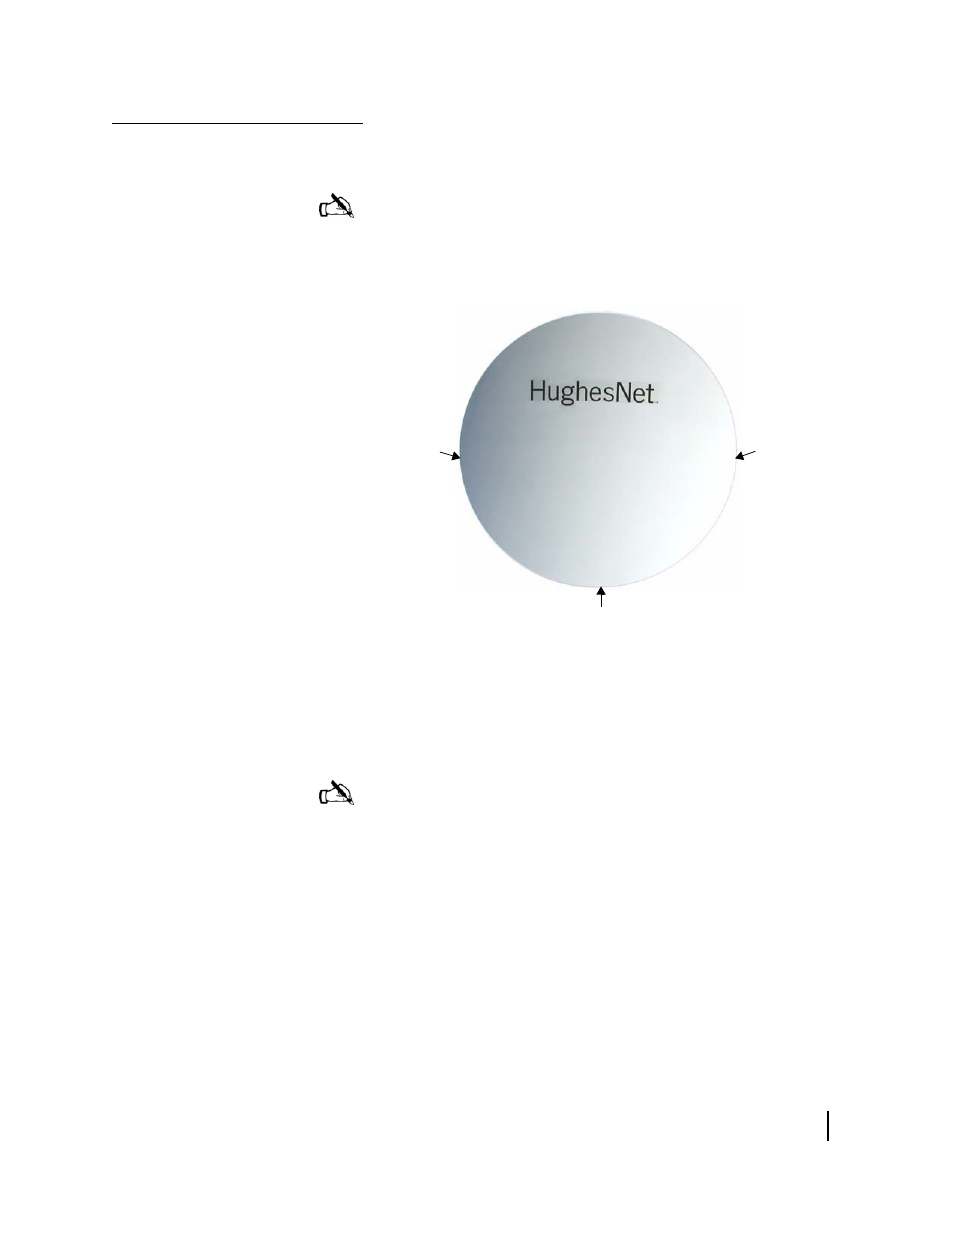
1. Orient the reflector so the HughesNet logo on the front is
near the top, as shown in Figure 16.
2. Lift the reflector and align the four mounting holes on the
back of the reflector with the four mounting holes on the
reflector bracket. See Figure 17.
Note:
This task is easier if someone assists you.
Figure 16: Reflector in correct position for installation
Hole for attaching
feed support tube
Hole for
attaching
feed rod
Hole for
attaching
feed rod
Note:
To make it easier to position the reflector and insert
the screws (steps 2 and 3), you can adjust the elevation of the
Az/El and reflector bracket assembly beyond the 80° mark on
the elevation scale so the surface of the reflector bracket that
attaches to the reflector is nearly horizontal. Then you can lay
the reflector on the bracket, with the holes in the reflector
facing the bracket. This method (not illustrated here) is
especially useful when one person installs the antenna.
To use this method you must loosen the fine elevation
adjustment nuts and elevation lockdown bolts identified in
Figure 48 on page 60. Be sure to tighten the elevation
lockdown bolts before laying the reflector on the bracket.