System settings, Disconnect the usb cable to power-off the dj-202 – Roland DJ-202 2-Channel, 4-Deck DJ Controller for Serato DJ Lite User Manual
Page 15
15
System Settings
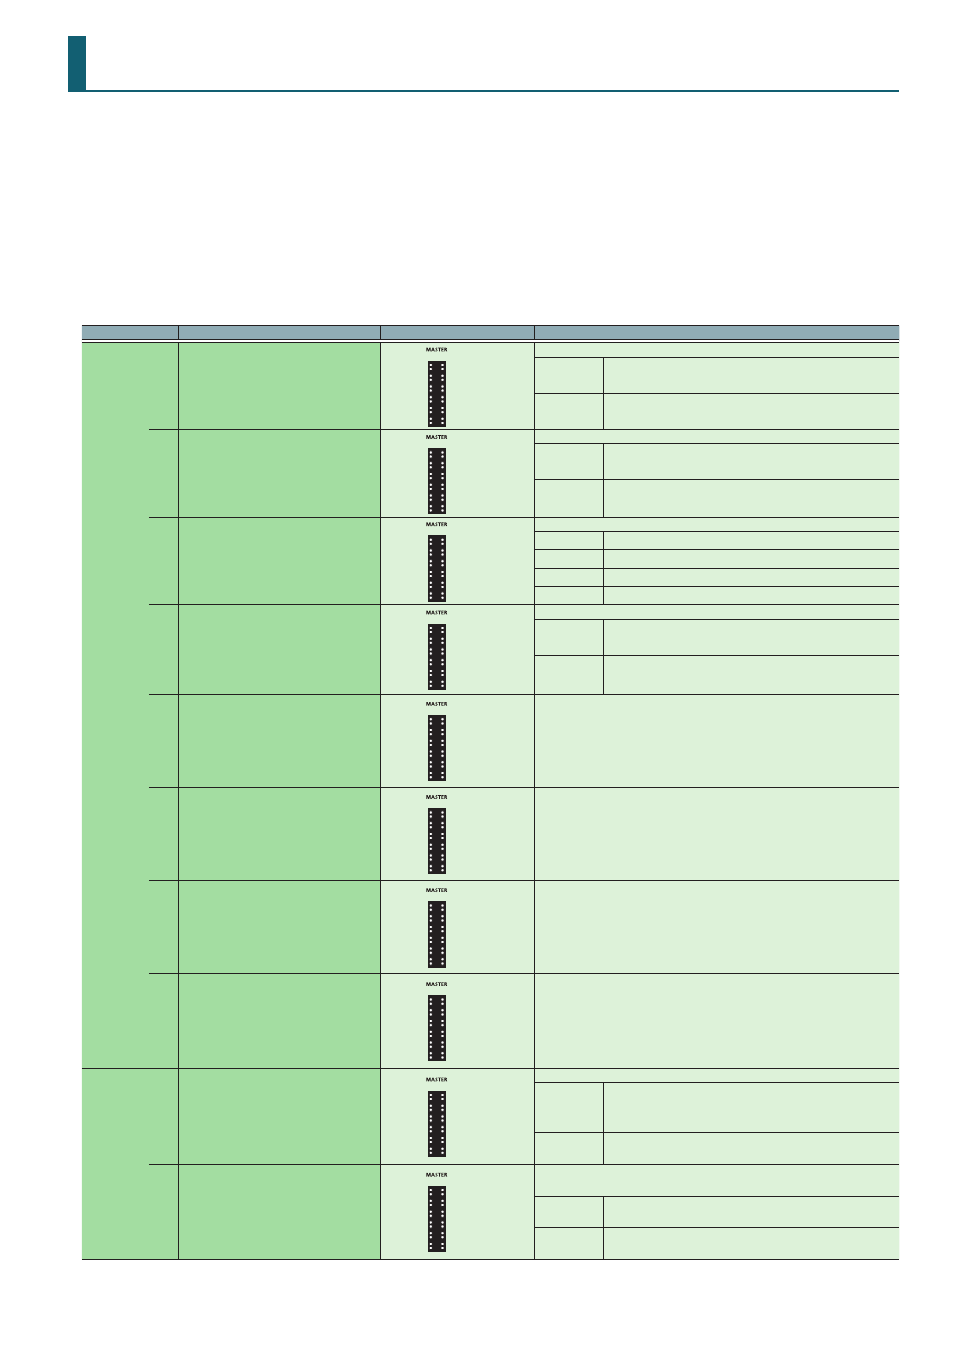
1.
While holding down the [LOAD] button at the right side (R channel) of the browser section, use a USB cable to connect the DJ-202 to
your computer; continue holding down the [LOAD] button until the SEQUENCER section’s [START/STOP] button blinks.
The DJ-202 is in system setting mode.
2.
Press the performance pad that corresponds with the setting you want to make.
The MASTER level indicator is lit, indicating the current value of the setting.
3.
Use the rotary selector to change the value of the setting.
4.
When you’ve finished making settings, press the blinking [START/STOP] button.
All of the MASTER level indicators are lit, and then all buttons and pads blink.
5.
Disconnect the USB cable to power-off the DJ-202.
Pad
Item
Value (Bold: default)
Explanation
L channel
[1]
Mic audio low cut filter setting
OFF
1
2
3
4
5
6
7
8
9
10
Adjusts the strength of the low cut filter applied to the mic audio.
1–10
Higher values produce a stronger effect.
OFF
The low cut filter is not applied.
[2]
Mic audio noise gate setting
OFF
1
2
3
4
5
6
7
8
9
10
Specifies the strength of the noise gate applied to the mic audio.
1–10
As the value increases, even higher-level sound will be cut.
OFF
The noise gate is not applied.
[3]
Mic input effect selection
OFF
Reverb
Delay
Delay + Reverb
Specifies the effect that is applied to the mic audio.
Reverb
Reverb is applied.
Delay
Delay is applied.
Delay + Reverb Delay and reverb are applied simultaneously.
OFF
No effect is applied.
[4]
Mic input effect setting
OFF
1
2
3
4
5
6
7
8
9
10
Adjusts the depth of the effect that is applied to the mic audio.
1–10
Higher values apply the effect more deeply.
OFF
No effect is applied.
[5]
Master output adjustment
0
-3
-6
-12
-18
Adjusts the reference level of the master output.
[6]
Margin at both ends of cross fader
0
1
2
3
4
5
6
7
8
9
10
Specifies the margin at both ends of the cross fader. Higher values increase the margin,
providing more play at each end of the cross fader.
[7]
Demo mode time setting
OFF
1
2
3
4
5
6
7
8
9
10
Specifies the time (minutes) from when the DJ-202 was last operated until it enters demo
mode.
If this is OFF, demo mode will not operate.
[8]
LED brightness adjustment
0
1
2
3
Adjusts the brightness when a button, pad, or indicator is lit.
Higher values decrease the brightness.
R channel
[1]
USB mode setting
Generic
Vendor
Set this as appropriate for the USB driver that you’re using.
Generic
Choose this if you want to use the generic USB driver provided by your
computer’s operating system.
* If the USB mode is set to Generic, you can not use Serato DJ Intro /
Serato DJ.
Vendor
Choose this if you want to use the dedicated DJ-202 USB driver that you
downloaded from the Roland website.
[2]
Jog dial top surface sensitivity adjustment
Normal
Level 1
Level 2
Level 3
Level 4
Level 5
Adjusts the sensitivity for when you take your hand off of the jog dial.
Normal
Normal sensitivity.
Level 1–5
Higher values improve the response.