PLANET XGS3-42000R User Manual
Page 7
Step3 Secure the brackets tightly.
Step4 Follow the same steps to attach the second bracket to the opposite side.
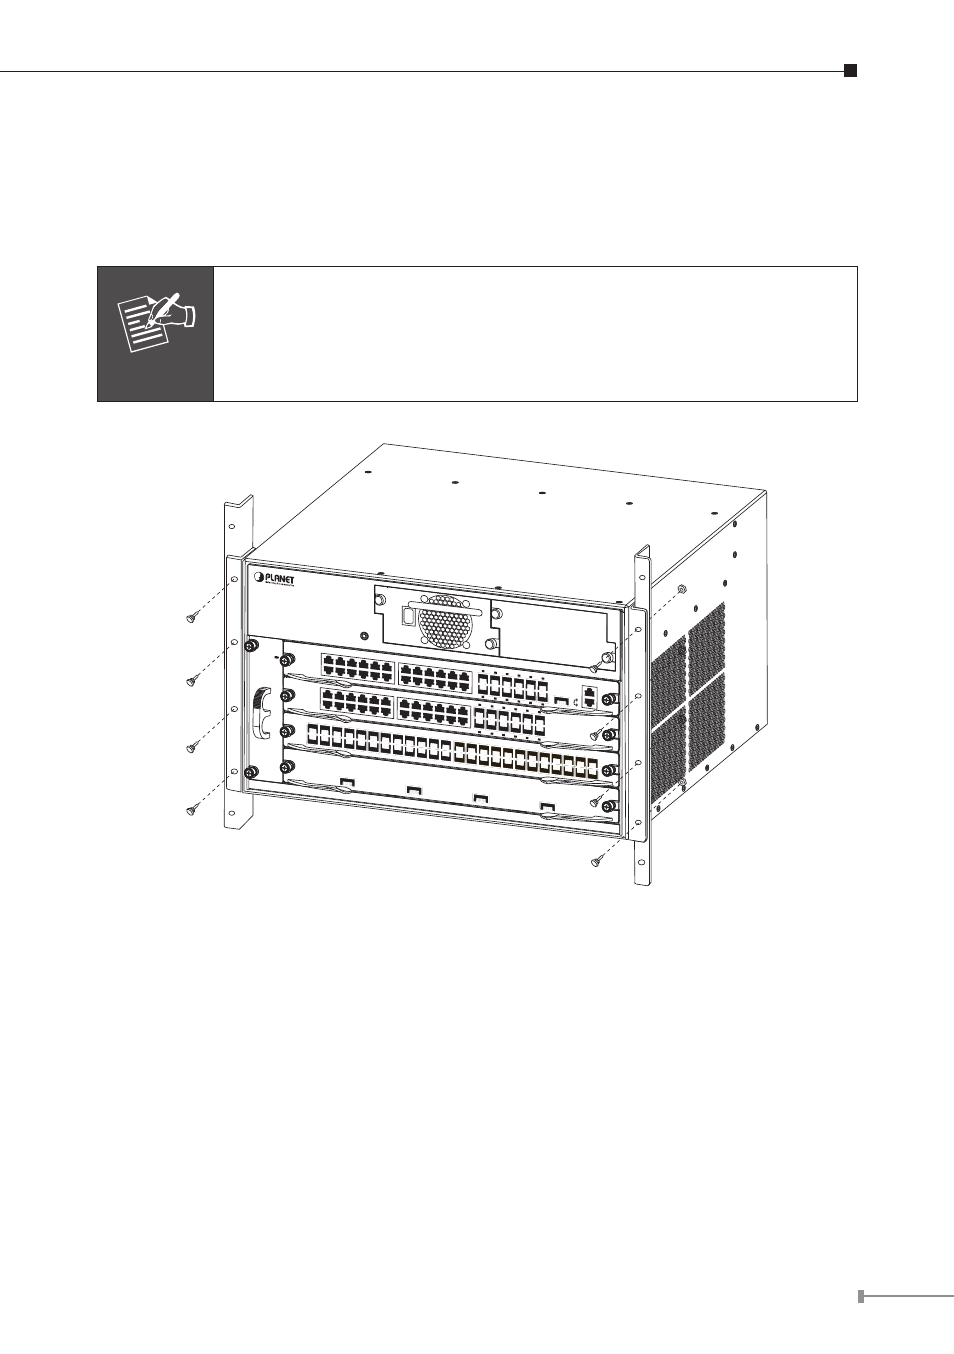
Step5 After the brackets are attached to the XGS3-42000R, use suitable screws
to securely attach the brackets to the rack, as shown in Figure 3-2.
Note
Please take care and avoid crash, that may cause the device
damage or any harm to the installer due to the device falling or
drop.
The handles are designed for sliding into cabinet only; please don’t
use handles to lift the Chassis Switch.
2
1
3
4
XGS3-42000R
Layer 3 4-Slot Chassis Switch
O
I
XGS3-PWR-AC
ON
OFF
Fault
Output good
XGS3-M24GX
2
PWR RUN
Master FAN
1
4
3
6
5
8
7
10
9
12
11
14
13
16
15
18
17
20
19
22
21
24
23
25
XFP
25
Ethernet
LNK
ACT
Console, 9600, N, 8, 1
XGS3-S24G
2
PWR RUN
1
4
3
6
5
8
7
10
9
12
11
14
13
16
15
18
17
20
19
22
21
24
23
14
13
16
15
18
17
20
19
22
21
24
23
XGS3-S48GF
2
1
4
3
6
5
8
7
10
9
12
11
14
13
16
15
18
17
20
19
22
21
24
23
26
25
28
27
30
29
32
31
34
33
36
35
38
37
40
39
42
41
44
43
46
45
48
47
PWR RUN
XGS3-S4XG
1
LNK
ACT
2
LNK
ACT
3
LNK
ACT
4
XFP
XFP
XFP
XFP
LNK
ACT
14
13
16
15
18
17
20
19
22
21
24
23
Figure 3-2 Mounting the XGS3-42000R in a Rack