Turning the bulletin board on/off – TA Triumph-Adler DC 2025 User Manual
Page 114

Section 6 Various Settings and Registration
6-2
(Inch)
(Metric)
(Inch)
(Metric)
Turning the Bulletin Board ON/OFF
If you use the Bulletin Board function, you only need to enter
documents into memory once and they will be available for
transmission to any number of receiving parties upon receipt of their
polling request. (Refer to “(1) Polling Transmission”, page 4-6.) In
order to use the Bulletin Board function, it is necessary to turn it ON
here in advance.
* If you want to cancel the procedure part way through, press the
Reset key. The touch panel will return to the initial mode settings.
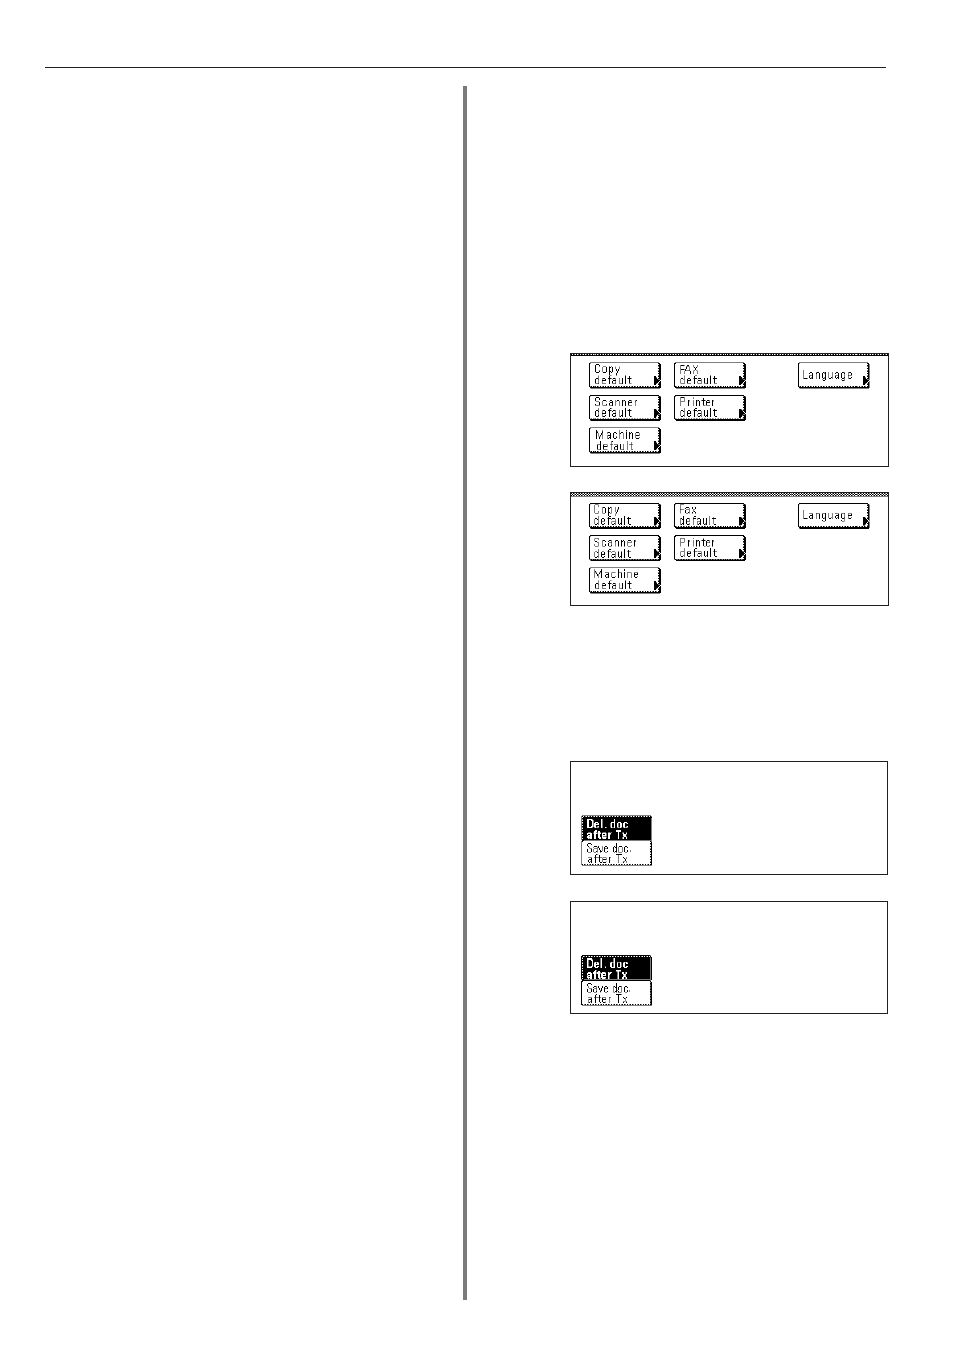
1. Press the Default key. The Default Setting screen will appear.
2. Touch the “Fax default” key.
3. Touch the “
▼” cursor key until “Bulletin Board” is highlighted.
4. Touch the “Change #” key.
5. Select whether you want to turn the Bulletin Board function ON or
OFF. Touch the “Save doc. after Tx” key to turn it ON and the “Del.
doc. after Tx” key to turn it OFF.
* If you select “Del. doc. after Tx”, the documents to be deleted
from memory after they are transmitted once. If you select “Save
doc. after Tx”, the documents will remain in memory waiting for
the next polling request even after they are transmitted.
6. Touch the “Close” key. If you are finished making settings, press
the Reset key.
5. In the screen for step 4, select whether or not you want the Activity
Report to be automatically printed out. Touch the “On” key to have
it printed automatically and the “Off” key to stop print out.
6. In the screen for step 4, select whether or not you want the
Transmission Report to be automatically printed out. Touch the
“On” key to have it printed automatically and the “Off” key to stop
print out. If you want it to be printed out only under certain condi-
tions, touch the "Output on condition" key.
7. In the screen for step 4, select whether or not you want the
Reception Report to be automatically printed out. Touch the “On”
key to have it printed automatically and the “Off” key to stop print
out. If you want it to be printed out only under certain conditions,
touch the “Output on condition” key.
8. In the screen for step 4, select whether or not you want the
Delayed Communication Report to be automatically printed out.
Touch the “On” key to have it printed automatically and the “Off”
key to stop print out.
9. In the screen for step 4, select whether or not you want the
Restricted Access Report to be automatically printed out. Touch the
“On” key to have it printed automatically and the “Off” key to stop
print out.
10. In the screen for step 4, select whether or not you want the
NW-FAX Transmission Report to be automatically sent by e-mail
when the optional Printer/Scanner Kit is installed on the fax
machine. Touch the “On” key to have it sent automatically and the
“Off” key to stop sending it. Touch the “Output on condition” key to
have it sent only under certain conditions (a communication error,
a Broadcast Transmission, and a transmission that uses the
timer.).
11. Touch the “Close” key. If you are finished making settings, press
the Reset key.
