Removing and installing ink cartridges – Epson 1200 User Manual
Page 37
31
Removing and Installing Ink Cartridges
You can replace a cartridge when the
B black or
A color ink out light is either
flashing or on.
If you perform these steps when both ink out lights are off, the printer cleans the print
head, as described on page 27. If you need to replace an ink cartridge before the lights
flash (because the ink is too old, for example), follow the instructions in “Replacing an
Outdated Ink Cartridge” on page 33.
1. Make sure the printer is turned on and not printing, then open the printer cover.
2. Press the
R cleaning button and hold it for about three seconds until the print
head moves left and the
P power light begins flashing.
To avoid damaging the printer, never move the print head by
hand.
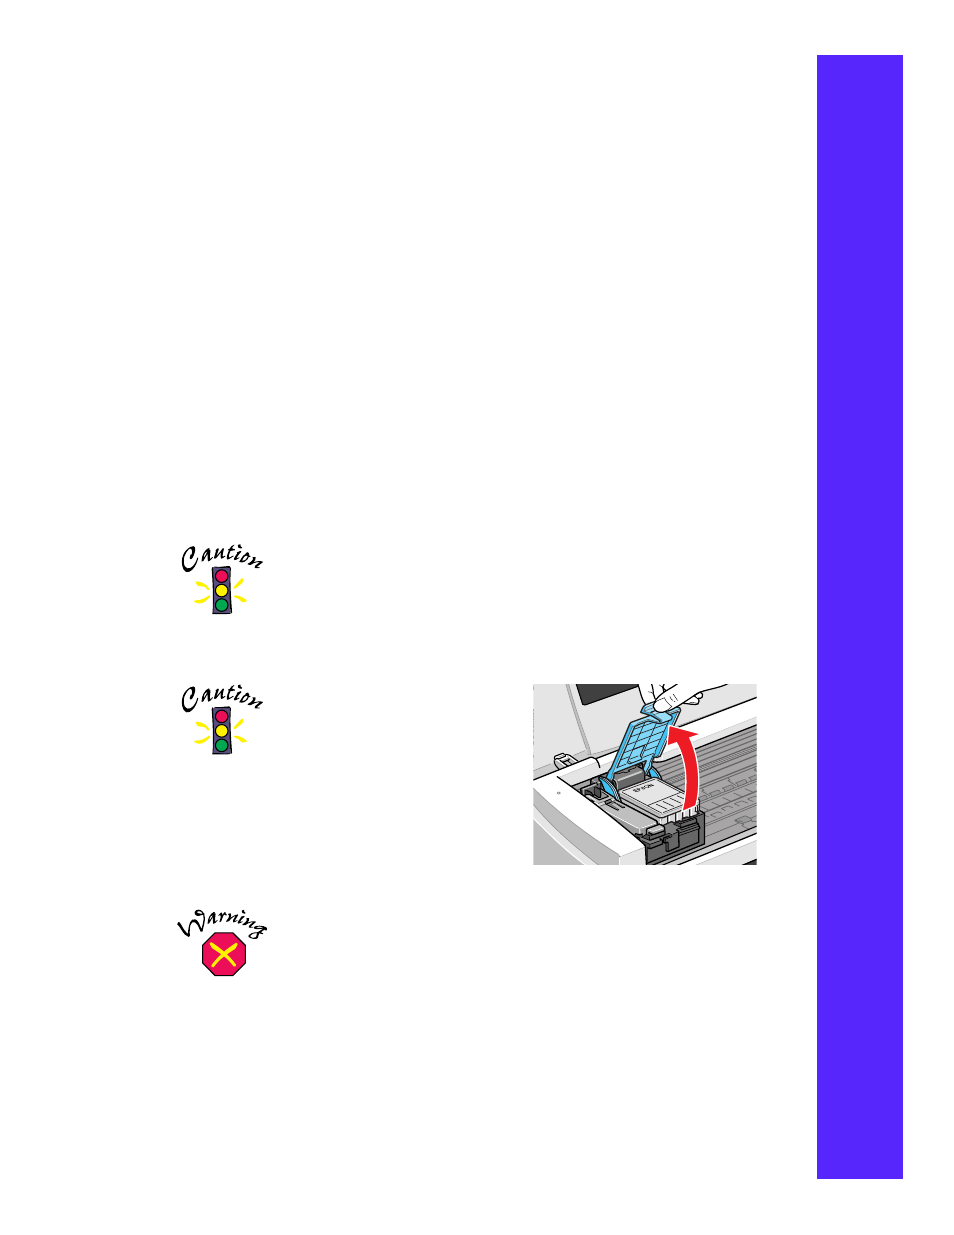
3. Pull up the ink cartridge clamp. The cartridge rises up from its holder.
Don’t open the clamp or
remove a cartridge except
to replace it with a new
one. Once you remove a
cartridge, you can’t reuse
it, even if it contains ink.
4. Lift the cartridge out of the printer and
dispose of it carefully.
If ink gets on your hands, wash them thoroughly with soap
and water. If ink gets into your eyes, flush them immediately
with water.