Customizing print settings – Epson 1200 User Manual
Page 30
24
Customizing Print Settings
For maximum control over your project, you can customize your print settings and
experiment with special effects and color management. You can even save your
custom settings as a group so you can use them whenever you print a similar project.
1. Open an application and create your project. Then access the main printer
settings dialog box as described on page 13 (Windows) or page 16 (Macintosh).
2. Select the correct Media Type setting for your paper and choose
Color
or
Black
Ink.
3. Click the
Custom
button, then click the
Advanced
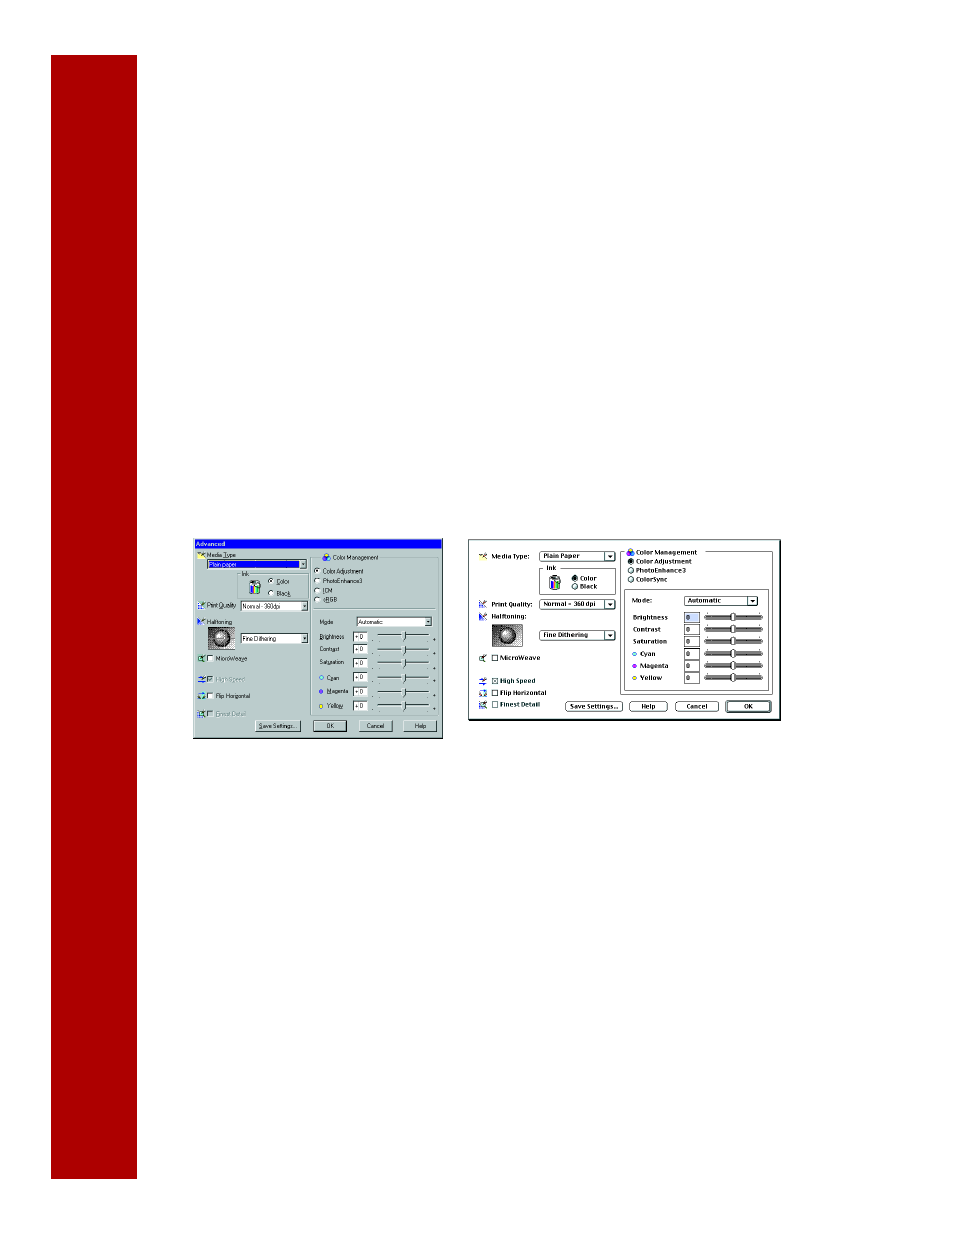
button. You see the Advanced
dialog box:
4. On the Advanced dialog box, you can customize these settings:
■
Media Type
and
Ink
These settings are the same as the ones you selected on the main printer settings
dialog box. You can change them here as you customize your settings, if needed.
■
Print Quality
Selects the print resolution you want to use, from
Economy
to
Photo-1440 dpi
,
depending on what’s available for the Media Type you selected and whether you
want to print a draft or a finished document.
■
Halftoning
Selects the method you want to use for printing the dot patterns in your images.
For photographs, select
Error Diffusion
; for graphs or other images with precise
edges, select
Fine Dithering
.
Windows
Macintosh