Elation Professional 575E User Manual
Page 11
Design Spot 575E™
©Elation Professional® 11
Design Spot 575E™
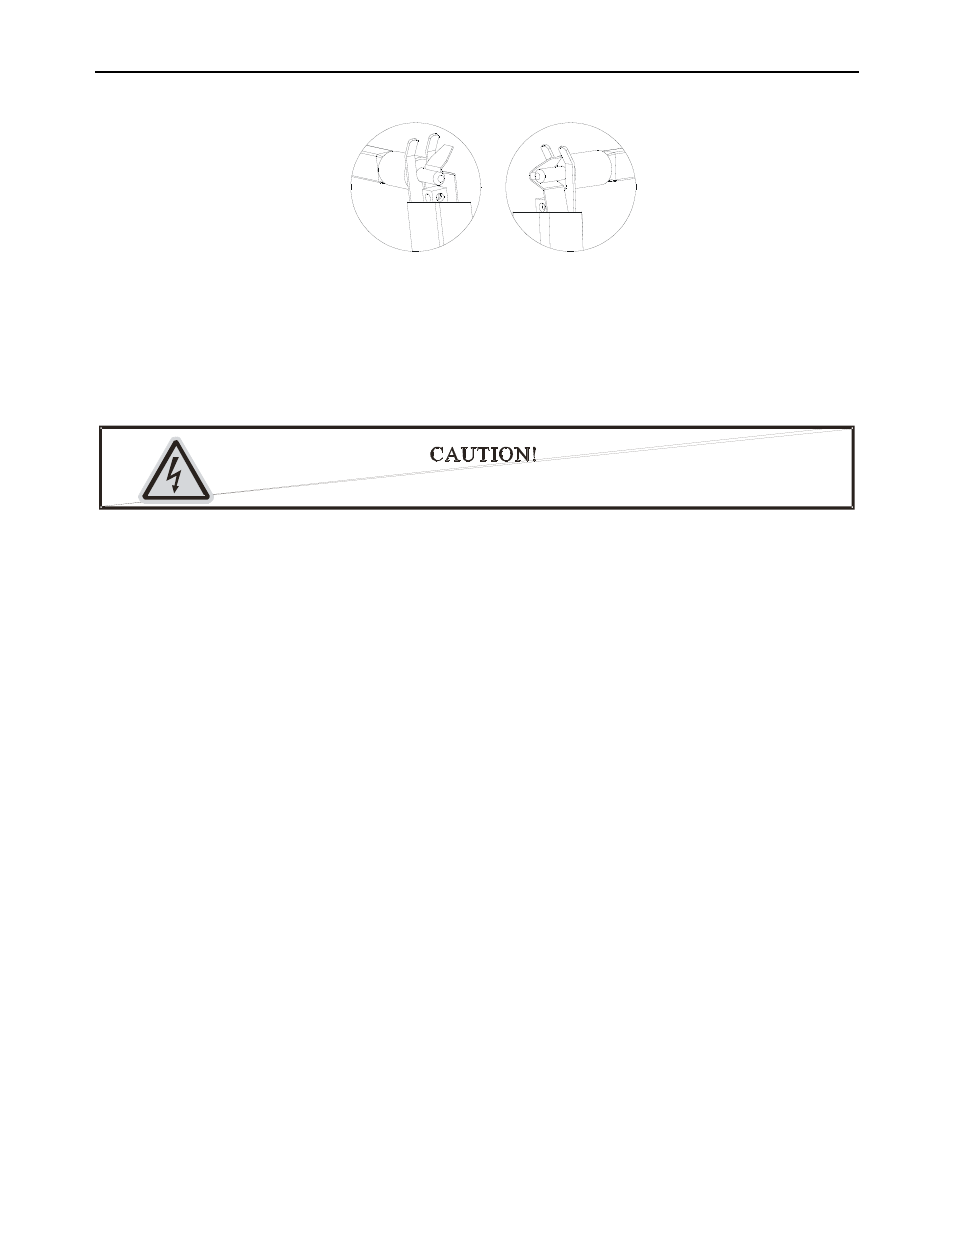
OK
NO
5. Once the lamp has been inserted into the socket, gently slide the socket assembly
back into place and secure with the four retaining screws.
6. Reset the lamp run time in the system menu.
7. Always be sure to optimize the lamp after lamp replacement.
Do not operate this device with open cover
Lamp Optimization
The lamp orientation and optimization must be adjusted after every lamp change. This
procedure centers the lamp in the reflector. Proper optimization will increase lamp life and
ensure a bright, crisp, and even output. Improper optimization may add a yellow tint to the
lamp output and reduce intensity. The minimum deviation amount is 1.0mm. Running the
fixture within a lower deviation can cause damage to the lamp and/or lens.
The Design Spot 575E™ lamp holder is aligned at the factory. However, due to slight
imperfections in all lamps, fine adjustments will improve light performance. Please follow the
procedure below for proper lamp optimization:
1. Using either a DMX controller or the control panel on the unit (see “SPOT” in the
fixture menu on page 33), strike the lamp and focus the light on a flat surface (beam
open, white, no gobo, no effect).
2. Center the hot-spot (the brightest part of the beam) using the 3 adjustment screws
labeled 1, 2, and 3 as illustrated on the next page. Turn one screw at a time to drag
the hot-spot diagonally across the projected image. If you cannot detect a hot-spot,
adjust the lamp until the light is even.